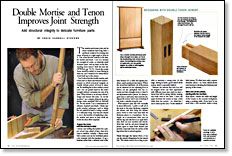
Double Mortise and Tenon Improves Joint Strength
Add structural integrity to delicate furniture parts
Synopsis: This article explains how to design and execute a double mortise-and-tenon joint. First, prepare the stock with the end use in mind, and then think through the layout. Mark and cut the joinery, starting with the mortises. The author explains how two tenons are not twice the work and gives examples of designing with double-tenon joinery. He also shows how to make a simple jig for routing mortises.
The mortise-and-tenon joint and its many variations have long been a preferred method for joining two pieces of wood at a right angle or close to it. One of my favorite versions is the double mortise and tenon. I use it to increase the strength of a joint on relatively small furniture parts, such as those on the freestanding room screen I built last year. I knew the screen frame would be subject to some flexing in daily use, and I wanted to be certain that it would hold up to the stresses.
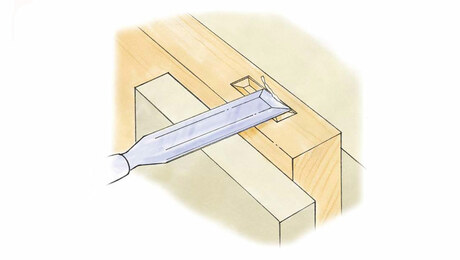
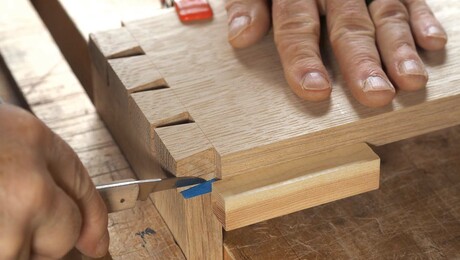
You’ll often find the double mortise-andtenon joint on chairs and window sashesprojects in which structural integrity on visually delicate pieces of wood is essential. By doubling the surface within a wood joint, you can greatly improve the joint’s strength without increasing the size of its parts. What follows is an account of how I design and execute this joint. To cut the mortises I use a simple plywood jig and a plunge router equipped with an end-mill bit. For the tenons I use a combination of tablesaw, bandsaw and chisels. Others may prefer another technique, such as doing the job entirely by hand or using a mortiser or drill-press setup. Any way you choose to cut it, the benefits of employing a double mortise and tenon in your work are worth the extra effort required.
Prepare the stock with the end use in mind
I always start milling the lumber for a project several days ahead of time, then set it aside to stabilize. Initially, I flatten stock with a jointer and rip the individual pieces a bit oversized with the bandsaw. (I use a bandsaw rather than a tablesaw most of the time because it’s a safer and quieter machine, and it produces less waste.) When the wood has stabilized, all of the pieces can be rejointed on two adjoining faces to flatten out any springback that has occurred and then brought down to their final thicknesses with a planer. It’s always a good idea to mill some extra stock for setting up the joinery and to use as backups if you make a mistake along the way.
From Fine Woodworking #149
For the full article, download the PDF below:
Fine Woodworking Recommended Products

Marking knife: Hock Double-Bevel Violin Knife, 3/4 in.

Suizan Japanese Pull Saw

Pfiel Chip Carving Knife


Log in or create an account to post a comment.
Sign up Log in