Bench-Chisel Techniques
Used correctly, a simple set of chisels covers all of your chopping and paring needs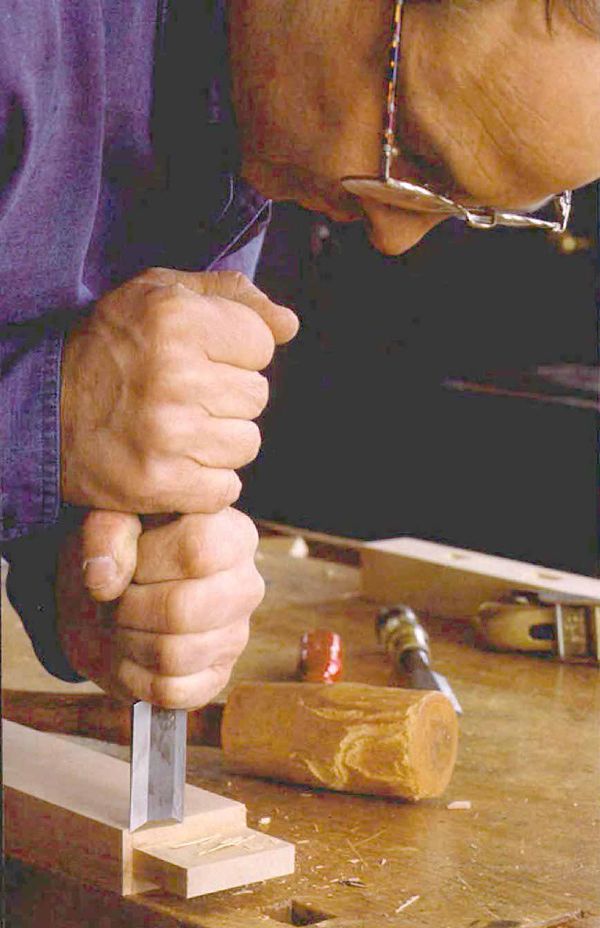
Synopsis: The only differences between sets of bench chisels are the quality of the steel and the shapes of the blades, says Garrett Hack, and he offers a primer here on chisel history, care, maintenance, and use. He painstakingly describes preparing (tuning) the chisel, choosing and grinding a bevel angle, sharpening and honing. Hack explains chopping and paring techniques and demonstrates several uses for chisels in the woodshop.
A few thousand years ago someone clever hammered out a hunk of bronze into a narrow blade, fitted a handle to one end, sharpened the other against a stone and produced a chisel. Generations of craftsmen since have tweaked the design: Tough steel replaced soft bronze, the shape and length of the blade were modified to suit various tasks, but in essence, chisels have not changed much. They are still simple in form and, when used effectively, one of the most useful tools in the shop.
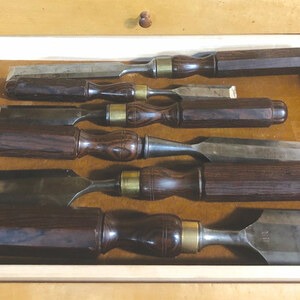
Every week catalogs arrive, full of a dizzying array of different chisels: long, fine-bladed paring chisels; stout mortise chisels; heavy and wide framing chisels; stubby butt chisels; intriguing Japanese chisels; and many sets of bench chisels. Few other classic hand tools are still available in such variety. Unless you work entirely by hand, all you really need is a good set of what I call bench chisels or, as some prefer, firmer chisels. These are chisels with blades about 4 in. to 6 in. long, in a wide range of widths from about in. to 2 in. and with a wooden or plastic handle.
The only substantial differences between sets of bench chisels are the quality of the steel and the shapes of the blades. The blades on my everyday set of Swedish bench chisels are slightly tapered in length and beveled along the long sides. Tapering the blade yields a tool stout enough for the hard work of chopping a mortise yet light enough to pare one-handed. A blade with flat sides is stronger than one with beveled sides and is less expensive to manufacture. But a beveled blade can reach into tighter places, such as for cutting small dovetails.
Prepare the chisel
As with many other tools, the performance of a chisel is determined by how well it is tuned. The back of the chisel—the unbeveled side—must be dead flat for at least in., and preferably 1 in. to 2 in., behind the cutting edge. This flat plane guides and controls the cut: A curved back will rock and provide little control.
From Fine Woodworking #150
For the full article, download the PDF below:
Fine Woodworking Recommended Products
Veritas Wheel Marking Gauge

Stanley Powerlock 16-ft. tape measure
Veritas Micro-Adjust Wheel Marking Gauge




Log in or create an account to post a comment.
Sign up Log in