Master the Miter
How to trim, glue up and reinforce this multipurpose joint
Synopsis: Gary Rogowski explains how to make miters that will serve you well in frames for veneered panels, applying wrap-around molding, or picture-frame construction. He offers tips on how to cut miters with a tablesaw or chopsaw, checking for square, fine-tuning your accuracy, adjusting during dry-fit stages, and how to glue up and clamp tricky pieces. He offers information on trimming by hand or with machines, how to strengthen miters and how to make splines and keys.
The attraction of a miter joint is easy to see. It is an elegant and straightforward method for joining parts that meet at an angle without showing any end grain. Whether you are building the frame for a veneered panel (tabletops, case goods), applying wrap-around molding or constructing a simple picture frame, a miter joint will serve your needs. But as the saying goes, the devil is in the details. The very visibility of the miter joint means that errors in machining or assembly are hard to conceal. However, with a little patience and lots of practice cutting and assembling miters, you too can master the joint.
Generally used for right-angle corners between two boards of equal thickness and width, miters are made with matching cuts. These cuts are at 45° so no end grain shows. But the miter joint isn’t reliable solely as a glue joint for most constructions. Where any real tenacity is required, strengthening with biscuits, splines or keys is always the prudent choice. In short, to get perfect miters requires perfectly mating joints, a slip-proof gluing system and at least one form of strengthening.
Cut miter joints with a chopsaw or tablesaw
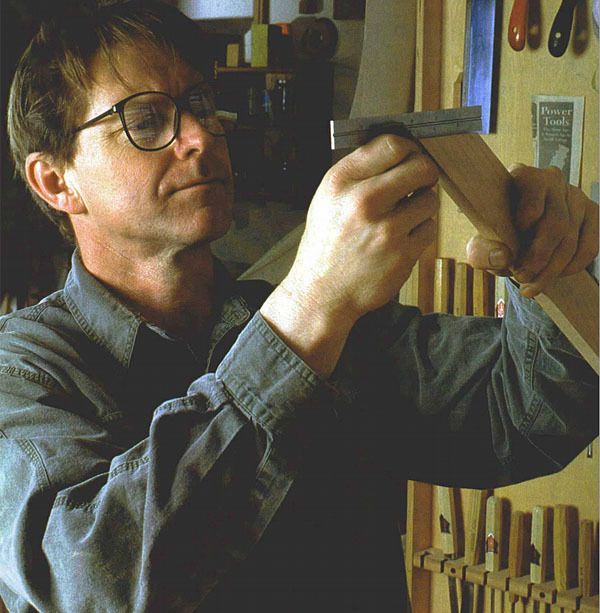
No matter what type of saw you cut miters with, use a sharp, clean blade. Generally the more teeth to a blade, the smoother the cut, but no blade will cut well if it’s dull or covered with pitch. Every cut is made in two directions: at 45° across the width of a board and at 90° across its face. For a miter to close up well, both angles need to be cut exactly. Make rough adjustments using a plastic 45° drafting triangle, then take several practice cuts, checking the results with a combination square.
A chopsaw works great at cutting miters. Just make sure the fence is flat and straight. If necessary, add an auxiliary fence and shim it to make it square to the table. Frame parts can lie flat on the chopsaw table. Angle the blade 45° to the fence to make the cuts. Clamp stops onto the auxiliary fence to index matching cuts.
When cutting miters on a tablesaw, you’ll get the best results using a jig that holds your work to move it past the blade.
The miter gauge is, of course, the standard jig used for cutting miters. Be sure to check your settings for the angle of cut (see the photos below). Attach an auxiliary fence to the miter gauge to support the workpiece near the blade.
From Fine Woodworking #151
For the full article, download the PDF below:
Fine Woodworking Recommended Products

Suizan Japanese Pull Saw

Dubuque Clamp Works Bar Clamps - 4 pack

Starrett 12-in. combination square


Log in or create an account to post a comment.
Sign up Log in