Surface Prep: Why Sanding Isn’t Enough
Three-step process leaves a flawless surface for finishing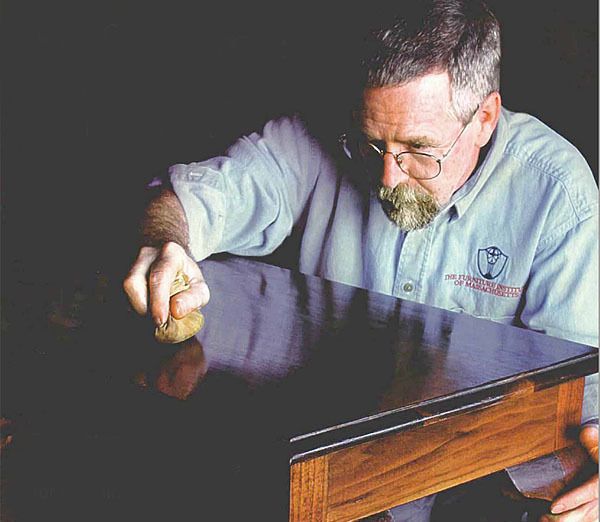
Synopsis: Jointer and planer knives go dull after just a few board feet, heating the surface of your wood and pounding it into compressed fibers. In this article, Philip C. Lowe shows how to plane, scrape, and sand your project by hand to reveal the best surface of the wood and prepare it for a finish. You’ll learn tips for success on using handplanes, cabinet scrapers, wide card scrapers, and sandpaper.
As the knives on your jointer and planer go dull after the first few board feet, the surfaces of your boards take a turn for the worse. Instead of cutting the wood cleanly, the dull knives heat the surface and pound it into a compressed layer of fibers. Unfortunately, many woodworkers go straight to sandpaper at this point, removing just the tool marks and no more. Without slicing well below that crushed layer, they never see the full beauty of the wood. Minute characteristics, such as the pores and medullary rays, are obscured. To expose these hidden elements, the surface must be cut cleanly. One reason why antiques have such a glow is that all of the surfaces were planed and scraped.
I haven’t been able to improve much on the classic methods for fine surface preparation. I still find that a sharp smoothing plane and scrapers are the most efficient tools to get the best surface. Aside from cutting quickly below that “compression layer,” these tools leave a dead-flat surface and produce less dust.
The following process may seem like a lot of bother, but each stage involves only a few strokes with a well-tuned tool to remove the marks made by the previous tool. Don’t get me wrong—I love the thickness planer as much as the next guy. It takes away hours of drudgery, leaving more time for joinery and ornamentation. But it’s just a starting point for fine surface preparation.
STEP 1 HANDPLANE ALL SURFACES
The process starts after the parts have been thickness-planed and the panels have been joined. Begin by planing all surfaces with a No. 4 smoother. Sharpen the blade with a slight curve over its entire width, leaving the corners about in. back from the center. This crown prevents the corners from digging in. An iron that is correctly ground and properly adjusted laterally leaves a series of subtle undulations or hollows in the surface.
A handplane quickly flattens a surface, leaving it level but textured. A random-orbit sander, on the other hand, just follows the ups and downs that are already there. If you put a glossy finish on a tabletop that has gone straight from glue-up to sandpaper, be sure not to look at it in a raking light. You’ll see hollows where there was planer snipe, where boards were misaligned and where the sander lingered.
From Fine Woodworking #152
For the full article, download the PDF below:
Fine Woodworking Recommended Products


Marking knife: Hock Double-Bevel Violin Knife, 3/4 in.





Log in or create an account to post a comment.
Sign up Log in