Build Bookshelves in a Day
Made with simple housed lap joints, this knockdown unit is engineered for stability and speedy assembly.
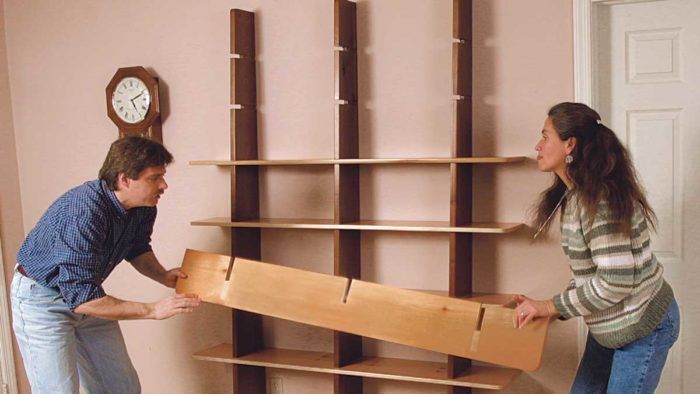
Synopsis: Steve Latta designed a set of bookshelves that will cover a lot of wall but requires only a little time and material to build. Using housed lap joints cut with a router and tablesaw, this unique design can be taken apart and reassembled in minutes. The more weight you put on the shelving, the more secure it is, and it’s a great project for using up scraps.
I get the most pure enjoyment from reproducing 18th-century furniture, but every now and then it’s nice to break out of that mode and dive into a project that I can knock out in a day or two. This set of bookshelves is just such a beast, and it will cover a lot of wall in the little amount of time required to build it. I’ve made three versions of this design since I built the first one about 10 years ago. The first has lived in three separate homes, but now it fits the dining room in our new home.
There are some nice features about this design. When you combine the simplicity of the joinery with the absence of hardware, you have a bookcase that can be taken apart and reassembled in minutes. The angle on the bottom of each vertical makes the case lean toward the wall, so the more weight that you put on it, the more secure it is. In most cases, there is no need to tie it to the wall. Although, if you have kids, you may want to add a few fasteners as a precaution. A couple of corner braces attached under the bottom shelf and along the top shelf should do the trick.
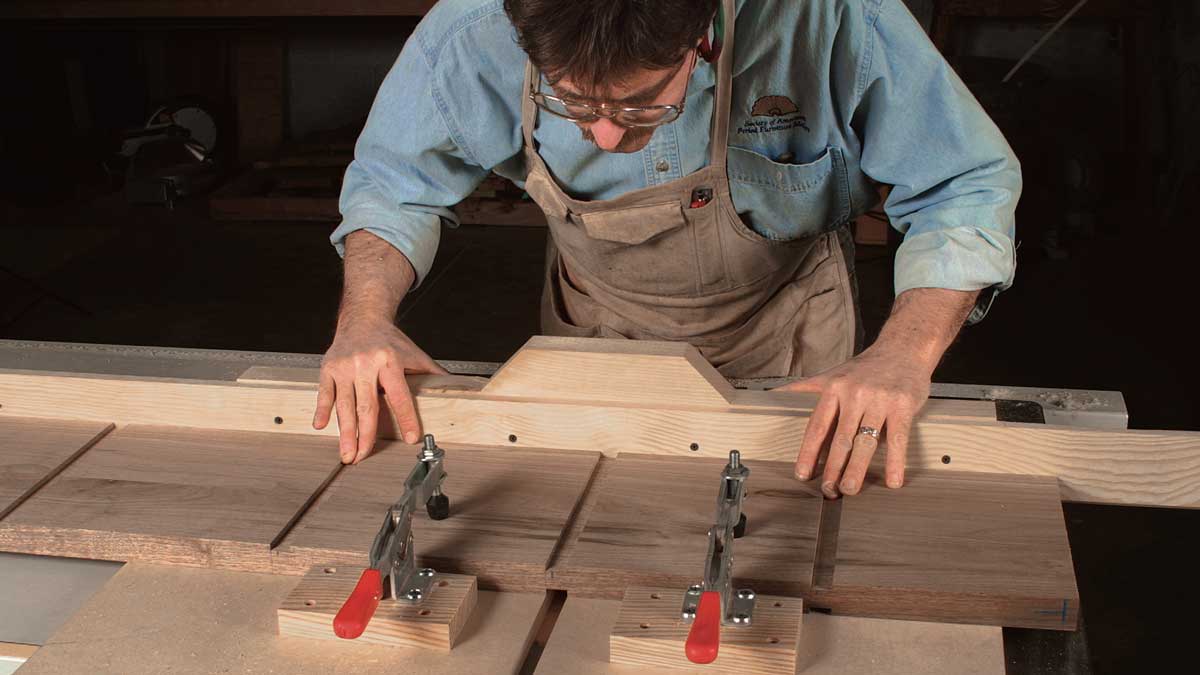
Choose your wood and size the joints
This is a great project for using up old scraps. For these units, I used some less than perfectly clear leftovers of walnut for the verticals and dimensioned #2 white pine 1x12s for the shelves. If you don’t have boards wide enough to make the verticals (mine are 10 in. wide at the bottom), you can glue them up from smaller boards, but make sure the front piece is wide enough that you won’t expose a glueline when you cut the taper on the front edge. For the pine shelves, I bought more width than I needed so that I could cut around knots and defects to end up with clear front edges on all of them.
The shelves and the verticals lock together with what I call a housed lap joint (see the drawing on p. 34). The shelves are notched wherever they meet a vertical, and the verticals are notched and dadoed on both sides so that the shelves sit firmly on the shoulders of the dadoes. I cut the dadoes slightly wider (1 ⁄32 in. or so) than the shelf material is thick. That way, the pieces slide together fairly easily, even after a finish has been applied to them. Don’t be obsessive about getting a microfine fit. The joy of this design is lost if you end up having to put together the unit by beating it with a block of wood and a hammer.
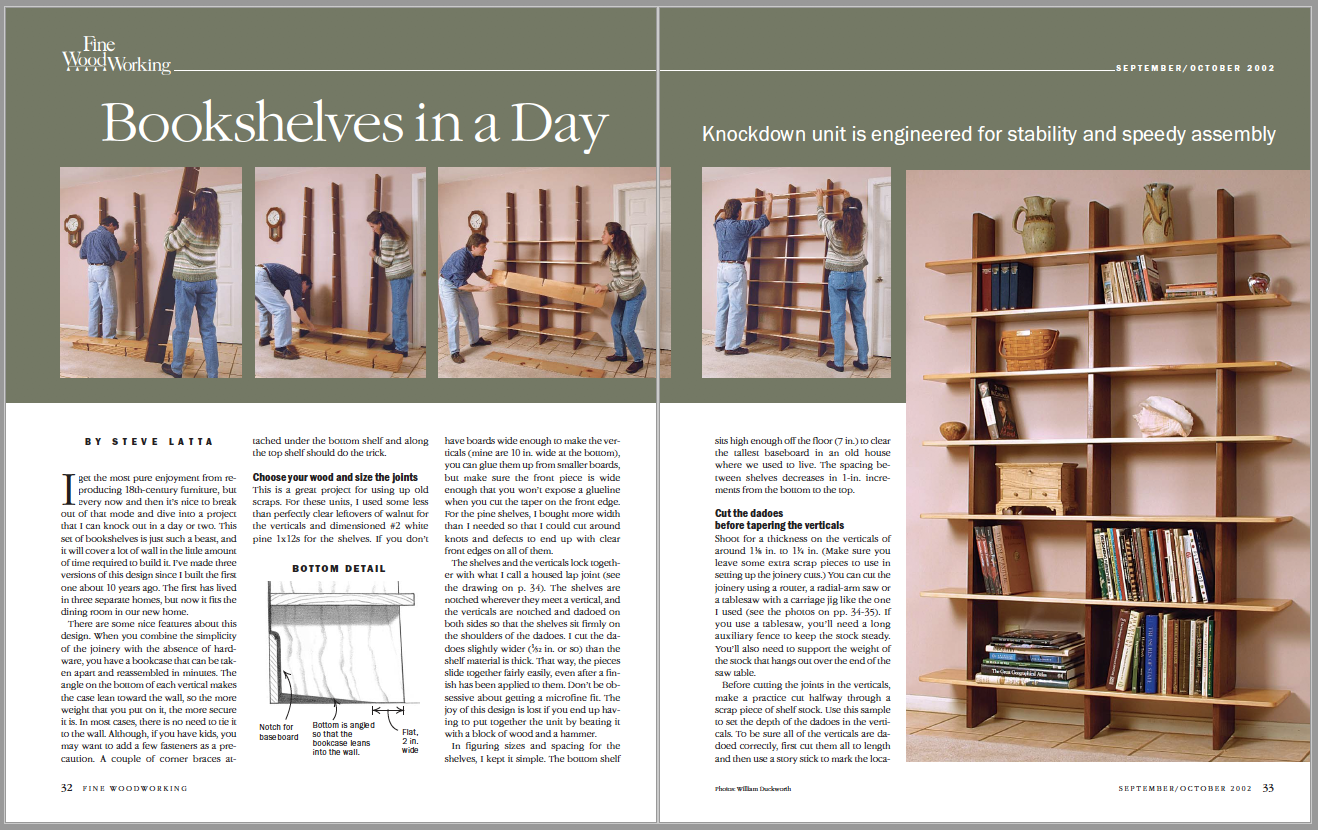 From Fine Woodworking #158
For the full article, download the PDF below:
Fine Woodworking Recommended Products
Veritas Standard Wheel Marking Gauge
Circle Guide

Stanley Powerlock 16-ft. tape measure


Comments
Wonderful design, but I do not think the taper tilts the shelves' weight towards the wall.
If the 2" front section is cut perpendicular to the back of the
standards, then the back edge of the standards will be perpendicular to the surface on which the 2" section rests. The part of the base that does not touch the floor has no effect on the angle.
What I think keeps the shelves from tipping forward is both the practice of pushing shelf contents to the rear of each shelf and also the fact that the higher shelves are narrower than the lower ones.
The taper does negate any irregularities in the floor near the wall might have on the way the shelves sit.
The taper is there to provide some relief from any irregularity in the floor.
For example, carpet fitters often double up the carpet at the edge of the floor, creating a bump near the wall. The taper in the bottom section accounts for that kind of bump. If the bottom of the vertical pieces were square as opposed to being tapered then any non squareness of the floor under the bookcase could tilt it forwards. Finally, since the centre of gravity will be behind the short front flat sections (the 2" 'legs' or 'standards' as I think you called them), the foot design will have a tendency to pull the bookcase towards the wall. Imagine that you took a car's back wheels off - the centre of gravity is still well behind the front wheels and the car would fall on the back of its chassis. The same principle is going on here - as the shelves are much wider than 2", so the centre of gravity will be well behind the 2" standards. If you still have trouble visualising this, imagine that the wall was not there - the bookcase would fall backwards. If the feet were full-width and square it would not (providing the floor was flat). You are right that putting books and other items towards the back of the shelves increases this force, as it moves the centre of gravity towards the back, and therefore further away from the 2" standards, increasing the tilting force.
Log in or create an account to post a comment.
Sign up Log in