Gluing Up Tabletops
Strategies for milling, matching, gluing, and clamping large panels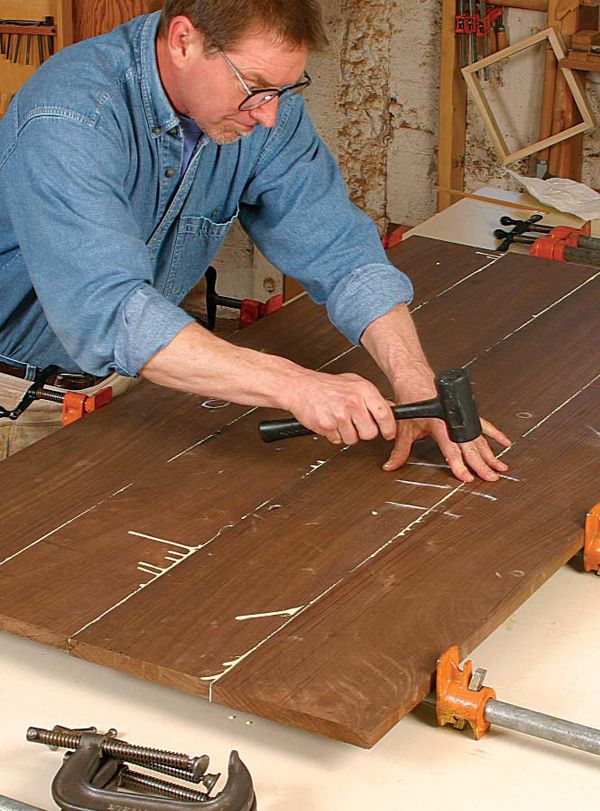
Synopsis:
Making large-panel tabletops doesn’t have to be intimidating. Gary Rogowski explains all the steps needed to mill, match, glue up, and properly clamp your work. The skills involved can then benefit you in other projects, such as constructing carcases or frame-and-panel work. He explains how to lay out the stock to help prevent problems later, and shows how to mill pieces by hand for those without a jointer. Rogowski also shares tricks like leveling your workbench precisely to ensure a professional result.
From Fine Woodworking #166
For many woodworkers, the thought of making a large tabletop can be intimidating. After all, a tabletop is big and heavy—two good reasons for an elevated fear factor. Plus, it’s nearly impossible to find individual boards wide enough to make such a big part. To create a wide surface, several narrow boards must be butted edge to edge and glued together. And that big, heavy surface needs to be flat, straight, smooth, and strong. So it’s easy to understand why many shy away from making big tabletops.
But, as I have discovered during my 29 years as a woodworker, the procedure isn’t that scary. A well-made top is mostly the result of following tried-and-true steps. These techniques can be used to make any surface, large or small, whether solid-wood desktops, carcase sides and backs, or panels in frame-and-panel construction.
Before reaching for the glue and clamps, it’s worth spending time getting the boards ready. For starters, you want boards that are a little thicker, wider, and longer than needed. To minimize any tendency toward warping, they should be given time to acclimate to shop temperature and humidity. As soon as the boards are brought inside, they should be stored flat with stickers in between each one so that air can circulate. Letting the boards rest in the shop for a few weeks is ideal, but as little as a day or two can prove helpful.
Once the boards have acclimated to the shop environment, flatten one face of each one on the jointer before using the thickness planer to flatten the opposite faces. Continue planing the boards until they’re within 1⁄32 in. to 1⁄16 in. of the final thickness. Later you’ll either handplane or sand the faces to final thickness. Then, after jointing one long edge on each board, use the tablesaw to rip the opposite edge parallel to the first.
Once the boards are flat and straight, you’re ready to lay them out. Generally, though, to create a tabletop that looks good, you need to consider a few things before finally deciding on the layout.
Before any of the boards can be glued, both edges need to be planed true and flat, either on the jointer or with a handplane. The jointer usually is the best way to go. But for those of you who don’t have a jointer, a handplane gets the job done just as effectively with a little more effort.
For the full article, download the PDF below.
Fine Woodworking Recommended Products
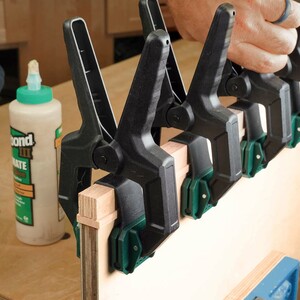
WoodRiver 3" Edgeband Spring Clamp
Rockler Deluxe Panel Clamp





Log in or create an account to post a comment.
Sign up Log in