A Tablesaw Primer: Ripping and Crosscutting
Proper techniques to help you make accurate and safe cuts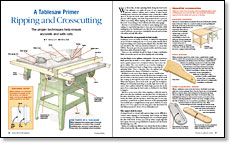
Synopsis: Though the tablesaw can be used to make many different cuts, it’s used mostly to make boards shorter or narrower. This article covers the essentials of ripping and crosscutting, as well as how good work habits produce smooth and accurate cuts safely and easily. From details on proper table setup and safety guards to preparing stock, the author makes these basic skills appealing. He gives multiple tips on avoiding kickback and ejection, as well as step-by-step directions on positioning boards and using fences and stop blocks for safety and efficiency.
With its flat, circular spinning blade doing the hard work, the tablesaw can make all sorts of cuts, among them grooves, dadoes, rabbets, and a variety of other woodworking joints. However, the tablesaw most commonly is called upon to do just two basic tasks: make wide boards narrower, a process called ripping, and make long boards shorter, a process called crosscutting. When ripping, the rip fence is used to guide the stock. Crosscutting is done with the aid of the miter gauge.
Because so much tablesaw run time is spent ripping and crosscutting, it’s especially important to have good work habits while making these two fundamental cuts. After all, when used properly, a good tablesaw can produce remarkably smooth and accurate cuts safely and with little effort.
The saw must be set up properly for best results
A tablesaw won’t cut easily, accurately, or safely if it’s improperly set up. So before making any rip- or crosscut, make sure the saw is in good working order and properly adjusted. Also, the table of the saw should be flat, with any deviation limited to no more than 0.010 in. The same goes for any extension tables. And when assembled, those tables all should be flush. Then, too, the sawblade should be sharp. A sharp combination blade can produce good cuts when ripping and crosscutting.
Use the blade cover, splitter, and pawls—
The saw must have a blade guard that includes a cover, splitter, and pawls. Granted, such a guard system isn’t a foolproof device, but it does improve safety. The cover itself acts as a barrier, helping to block any misdirected hand or finger from contacting the spinning blade. That’s a big plus. Also, the splitter and pawls minimize the chance of kickback or ejection.
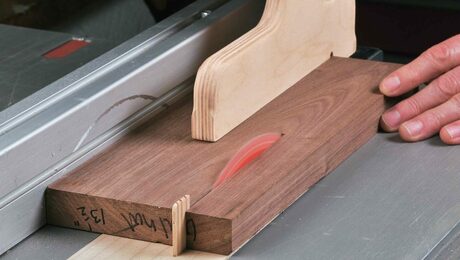
Kickback occurs most often during a ripcut, usually when the workpiece twists away from the rip fence just enough to contact the teeth on the back portion of the blade; those are the teeth just coming up through the insert after traveling under the saw. When that happens, those back teeth can grab the workpiece, lifting it and instantly launching it, usually right back at the operator. But a splitter behind the blade helps prevent the workpiece from contacting the back teeth, so kickback is less likely to happen.
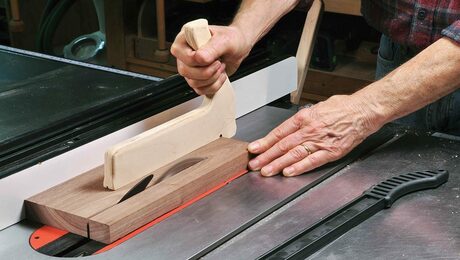
Ejection occurs most often when ripping a relatively narrow piece, just after the sawblade cuts the piece free. At that point, if the piece should tip, twist, or bend, it can become pinched between the blade and the rip fence. And if the piece is not supported by a push block or pawls, the force of the spinning blade can send the piece straight back at warp speed. Indeed, I’ve seen photos of a 3 ⁄4-in.-square by 4-ft.-long piece that shot back 6 ft. and fully penetrated a sheet of 3 ⁄4-in.-thick plywood.
For the full article, download the PDF below:
Fine Woodworking Recommended Products
Fein Turbo II HEPA Wet/Dry Dust Extractor

Stanley Powerlock 16-ft. tape measure
Shop Fox W1826




Log in or create an account to post a comment.
Sign up Log in