Scaling Furniture from Photos
Apply the laws of perspective to create working drawings from photographs
Synopsis: Have you ever wanted to build a piece of furniture after seeing it in a photograph? This article by Miguel Gómez-Ibáñez provides step-by-step instructions to create accurate and comprehensive project plans from a photograph. Tips for drawing in perspective and drawing to scale are detailed as he walks readers through a drawing of a contemporary-style secretary desk. A few measuring and drawing tools are all you need to get started.
From Fine Woodworking #170
Thumbing through magazines and books, you may see furniture that you would like to make. But to do that, you need a set of working drawings. To evaluate proportions and details accurately, you need to draw the piece to scale.
Published photos usually provide overall dimensions: depth, width, and height. While helpful, they do not provide enough information on which to base a detailed drawing.
Using a copy of the photo of the furniture piece, string, a straightedge, an architect’s scale, a sharp pencil, a bench or table with a sheet of plywood, and a T-square, it’s possible to generate lines on each plane of the image beginning with one known dimension. Then you can break down the overall dimensions into smaller increments within that framework. This technique opens up a lot of opportunity to build projects without plans yet remain faithful to the originals.
During the 15th century, artists in Florence, Italy, developed a process for perspective drawing that allowed them to depict accurately three-dimensional objects on a two-dimensional canvas using simple principles. These artists realized that objects that are closer to you appear larger than those that are farther away. Additionally, parallel lines on each face appear to converge as they recede into the distance and, ultimately, appear to vanish altogether at a single point on the horizon. The viewer’s eye level then is denoted by a horizon line. Finally, lines constructed to form (or partially form) an image will converge to a point on the horizon line—known as the vanishing point.
Applying perspective-drawing principles to photographs is perspective drawing in reverse. Here, you begin with a completed drawing (the photocopy of your photo), and the task is to determine the horizon line and vanishing points.
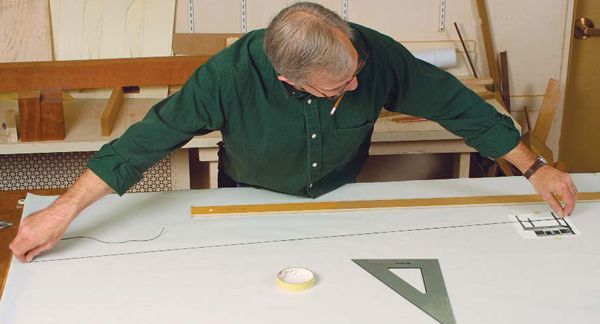
Start by taping paper onto your drafting table, making sure the paper extends to both ends of the table. You’ll need the room because the vanishing points of the perspective drawing will carry well beyond the photograph on each side.
Next, think about where the vanishing points will land. Usually, one will be close by, and the other much farther away. If the vanishing points are too far apart to fit on the drafting table, bring them closer together by reducing the scale of the photocopied image. Then, situate the photocopy so that the vertical lines that define the sides of the piece are perpendicular to the parallel rule or T-square, and tape the photocopy to the paper.
For the full article, download the PDF below.
Fine Woodworking Recommended Products

Starrett 12-in. combination square

Stanley Powerlock 16-ft. tape measure

Festool DF 500 Q-Set Domino Joiner


Log in or create an account to post a comment.
Sign up Log in