Chris Becksvoort’s Favorite Dovetail Tricks
Learn five ways to increase accuracy and reduce the time it takes to execute hand-cut dovetails.
Synopsis: Pins first, or tails first? Either will do when cutting dovetails, says longtime woodworker Christian Becksvoort (who happens to be a tails-first guy). Becksvoort, who has cut thousands of dovetails in his years as a woodworker, shares his five favorite tips for making the job faster and easier, such as cutting two pieces at once, using alignment blocks and a graphite pencil for markup and fitting, and strategies for easier glue-ups.
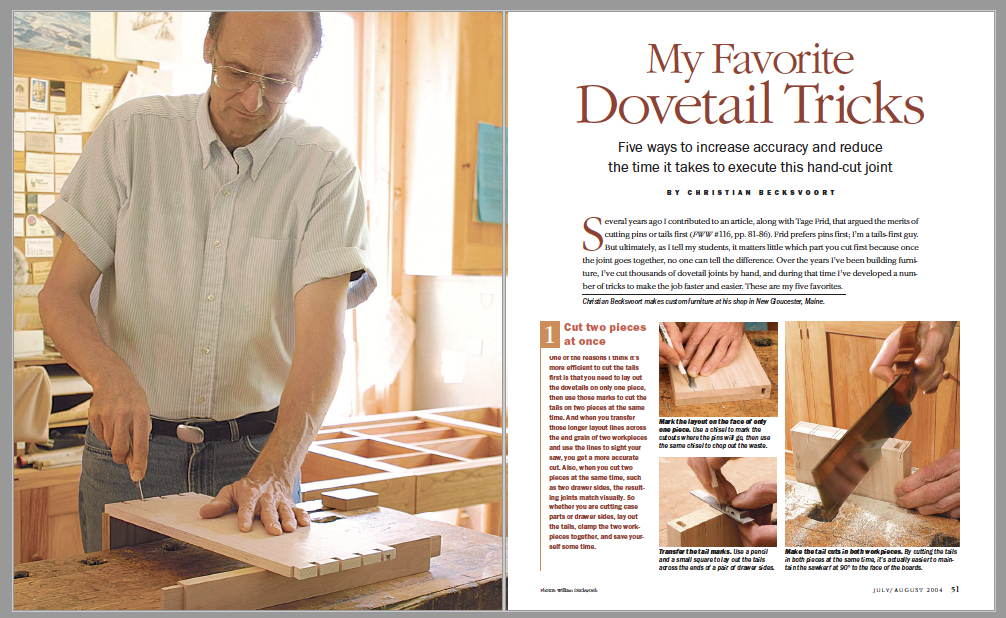
Several years ago I contributed to an article, along with Tage Frid, that argued the merits of cutting pins or tails first (FWW #116). Frid prefers pins first; I’m a tails-first guy. But ultimately, as I tell my students, it matters little which part you cut first because once the joint goes together, no one can tell the difference.
Over the years I’ve been building furniture, I’ve cut thousands of dovetail joints by hand, and during that time I’ve developed a number of tricks to make the job faster and easier. These are my five favorites.
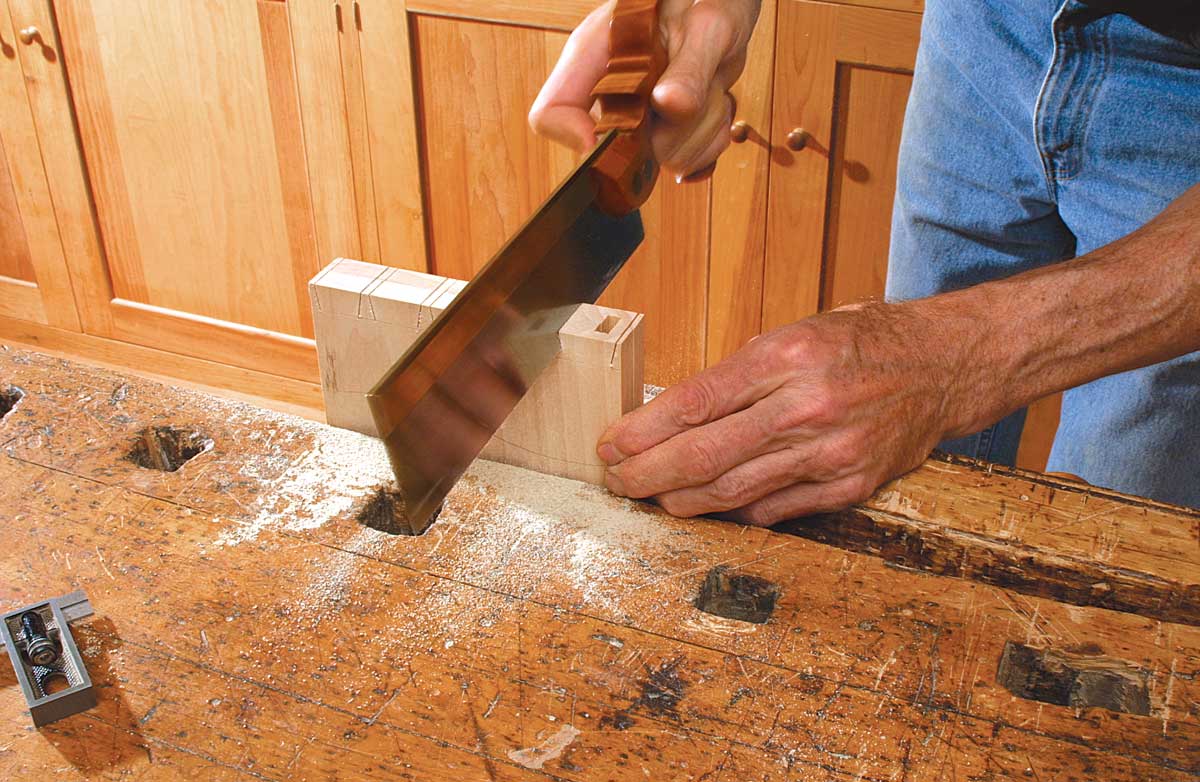
1. Cut two pieces at once. One of the reasons I think it’s more efficient to cut the tails first is that you need to lay out the dovetails on only one piece, then use those marks to cut the tails on two pieces at the same time. And when you transfer those longer layout lines across the end grain of two workpieces and use the lines to sight your saw, you get a more accurate cut. Also, when you cut two pieces at the same time, such as two drawer sides, the resulting joints match visually. So whether you are cutting case parts or drawer sides, lay out the tails, clamp the two workpieces together, and save yourself some time.
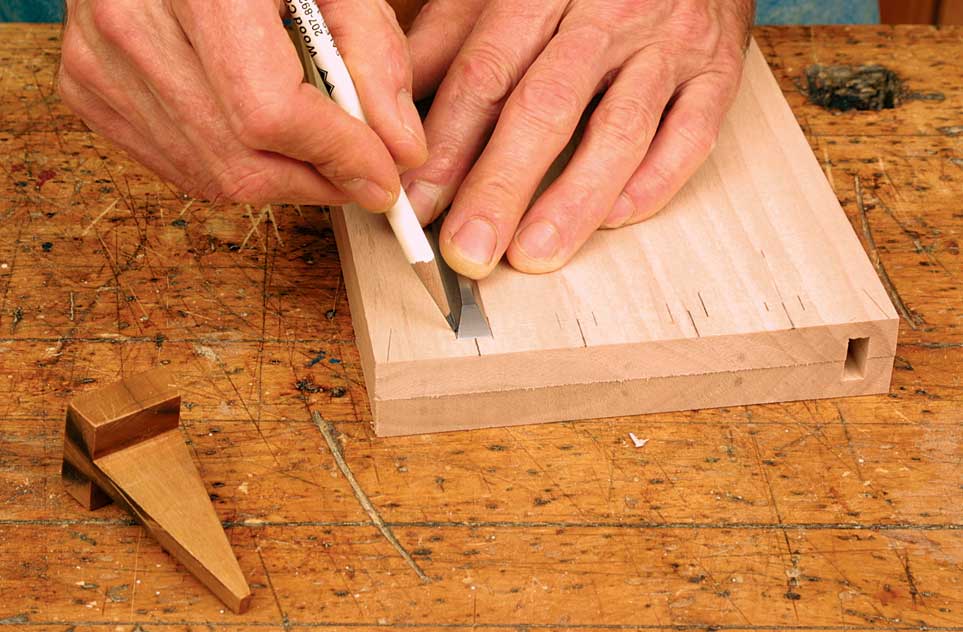
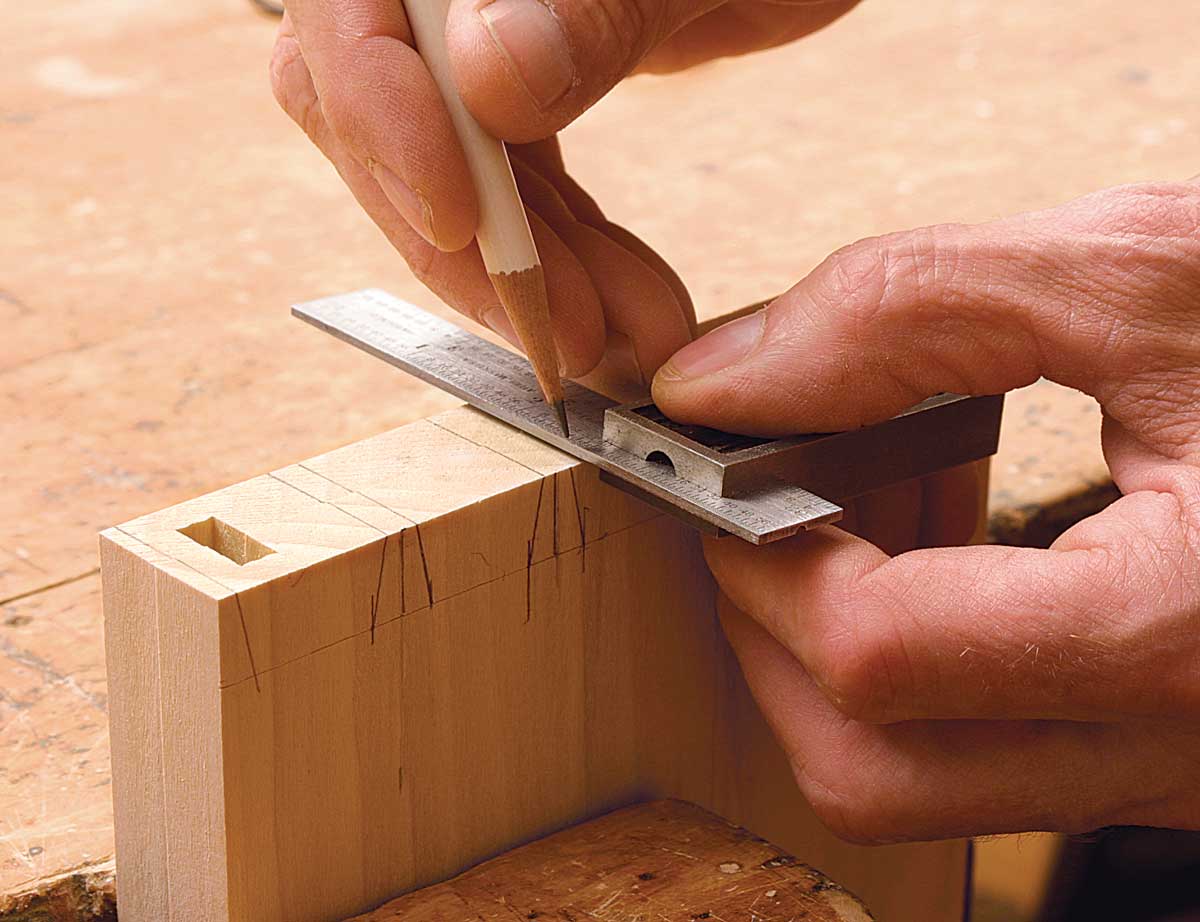
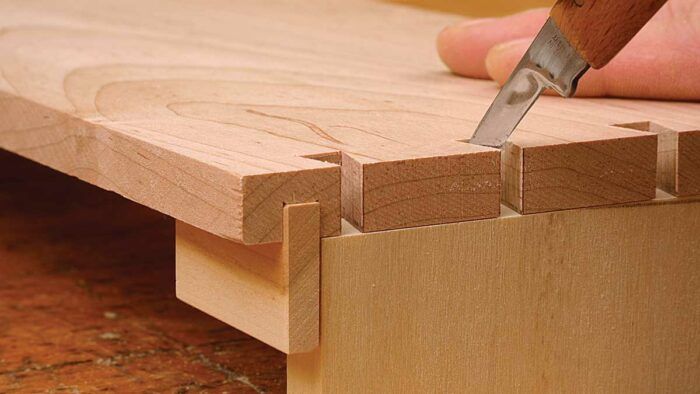
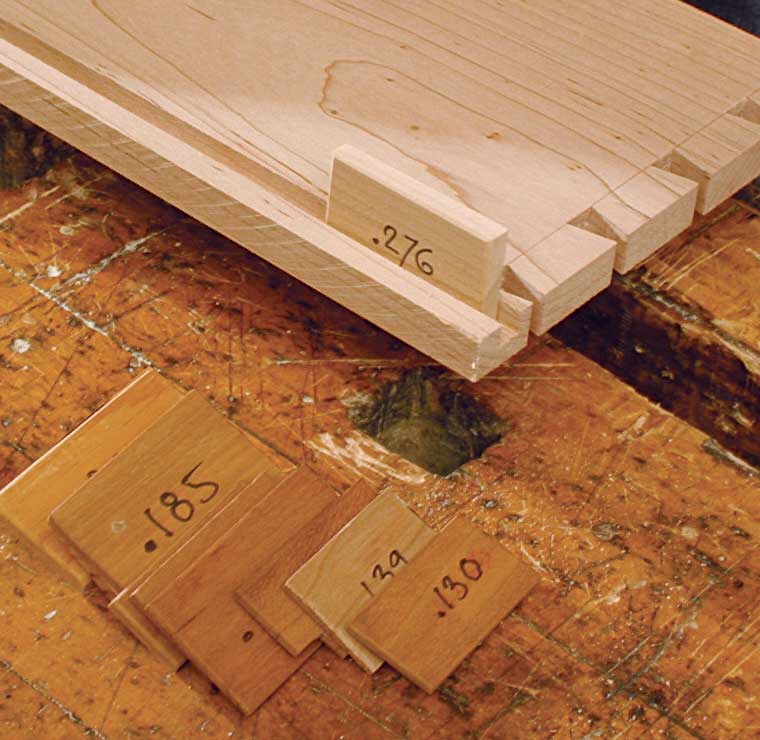
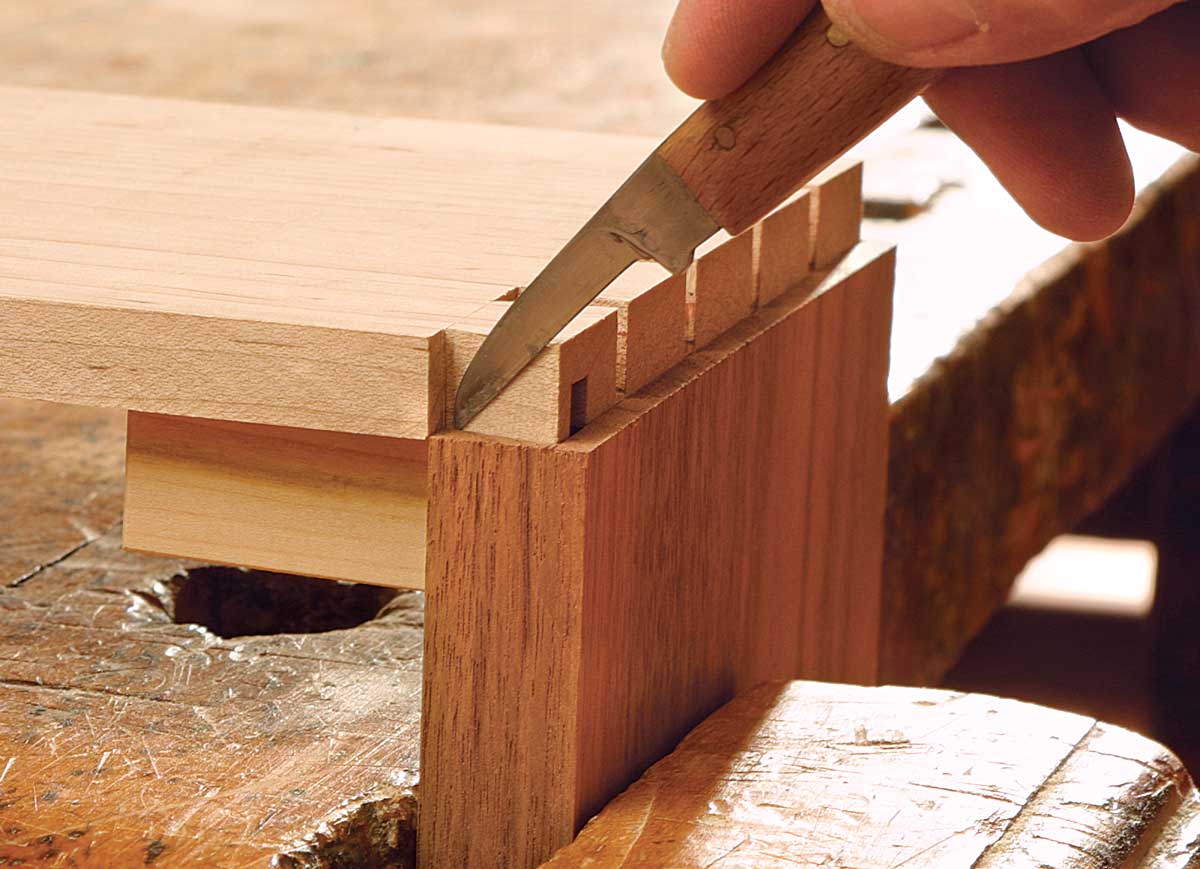
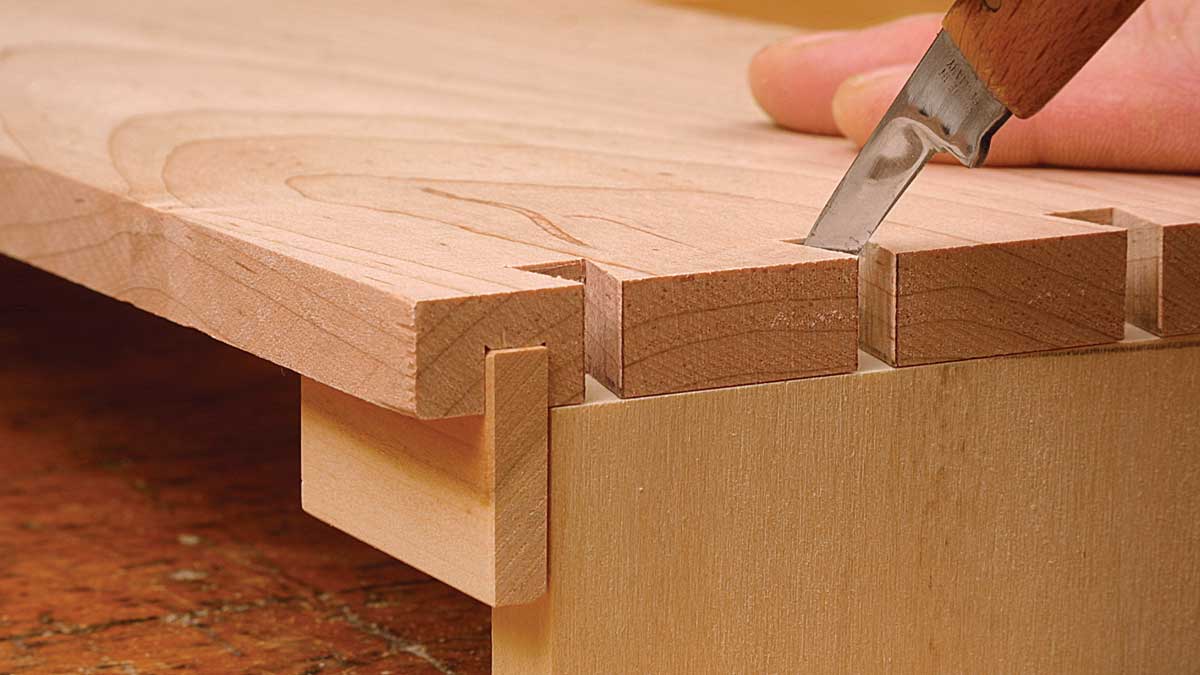
2. Use alignment blocks when marking drawer parts. Have you ever dovetailed a drawer, glued it up, fitted it to the opening, and found that everything looked great until you slid the drawer bottom in place and discovered that the front and side grooves weren’t aligned? I’ve done that, and learned from my mistake. Now I cut the bottom grooves first, using the tablesaw, before I lay out dovetails and cut and chop the tails on the side pieces. To transfer the tail cuts onto the drawer front, I use an alignment spacer made of a small block of hardwood (usually cherry). I keep a bunch of spacers on hand, about 1 in. wide by 2 in. long, machined to different thicknesses, and choose the one that fits best in the grooves I’ve just cut. The spacer should slide into the groove and stay put. I push it into the groove on the drawer front so that it projects about 1⁄4 in., and then place the drawer side onto the spacer, which makes the bottom grooves align perfectly. I mark the dovetail pins with a slim knife, finish cutting all of the joints, and voilà, all of the drawer pieces align perfectly when the bottoms are slid into place.
 From Fine Woodworking #171
For the full article, download the PDF below.
Fine Woodworking Recommended Products

Suizan Japanese Pull Saw

Marking knife: Hock Double-Bevel Violin Knife, 3/4 in.
Leigh Super 18 Jig




Log in or create an account to post a comment.
Sign up Log in