Turned Drawer Pulls
Making your own knobs is a fast way to add custom details to your furniture projects
Synopsis: Why pay for knobs and drawer pulls when you can make your own, ensuring that every element of your finished piece has been hand-crafted? Philip C. Lowe details two basic methods for turning knobs on the lathe. One you’ve mastered his basic method, you can explore different styles and patterns such as rosettes, contrasting wood accents, and large-diameter knobs.
From Fine Woodworking #172
When a project calls for turned knobs for drawers or doors, I always make my own. I hate paying for something I can make in my shop. But more important, making every element of a furniture piece, down to the knobs, brings a feeling of accomplishment that I don’t get from using store-bought parts.
When turning knobs on the lathe, there are two basic methods to follow and a few different ways to add decorative elements. There also are some tricks for making matching knobs.
Turn long-grain knobs between centers: You have one initial choice when designing a turned knob. Should it be turned on a faceplate or as a spindle between two centers? Spindle-turned knobs are made with the grain running in the long direction and attach to the drawer face with a tenon. In this orientation, you can cut several knobs from one length of stock—ideal when a project calls for multiple matching knobs. This typically is the method I use to turn a knob with a narrow diameter.
Turn multiple knobs from one spindle— One popular example of a spindle-turned knob is the Shaker drawer pull. A number of classical profiles exist, but they don’t vary a great deal. The one shown at the top of the facing page consists of a tenon, followed by a fillet, an asymmetrical cove called a scotia, and a bead. Some refer to this kind of knob as a mushroom pull.
Begin with 4/4 stock and cut a piece of equal width and thickness. Each knob will require about 2 1⁄4 in. of material, so size the length of the material according to the number of knobs you want to make. But don’t turn more than four knobs per spindle because it is difficult to create the narrow diameter tenons on a piece that is too long; the pressure from the tool will create chatter. If I need more than four knobs, I’ll turn them from multiple spindles.
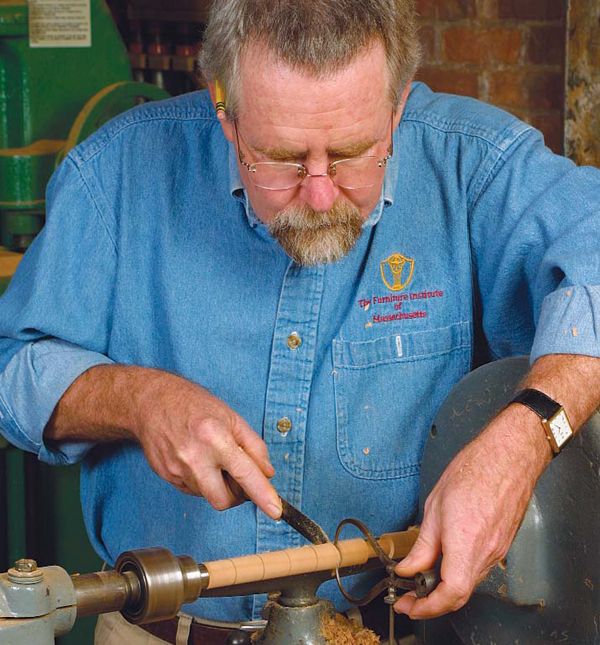
Mount the spindle on the lathe and use a roughing gouge to turn a cylinder with a consistent diameter. Then mark off the location of each tenon with a pencil, and turn down the area with a parting tool to the desired diameter. Choose a diameter that is equal to a standard drill bit, as this will make it easy to mount the knobs on the drawer fronts.
After each tenon has been turned to the correct diameter, cut a small chamfer with a skew chisel into the end of the tenon where it meets the next knob on the spindle. This will make it easy to separate each knob. Remove the spindle from the lathe and cut off the individual roughed-out knobs at the bandsaw.
For the full article, download the PDF below:
Fine Woodworking Recommended Products

Stanley Powerlock 16-ft. tape measure

Estwing Dead-Blow Mallet


Log in or create an account to post a comment.
Sign up Log in