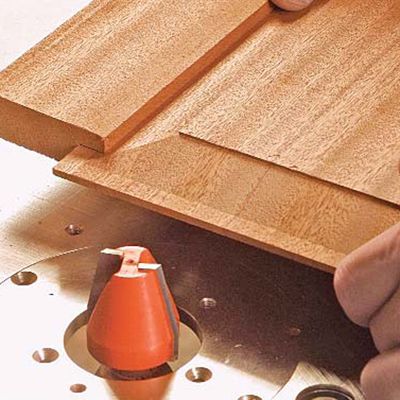
Three Ways to Raise a Panel
Fire up your router or tablesaw, or raise the panel using hand tools
Synopsis: There are almost as many ways to cut raised panels as there are tools in the woodshop. The shaper may be the most efficient, but if you don’t own one, a number of other methods will work. In text and step-by-step photos, Matthew Teague details how to raise a panel by hand, on the router table, and on the tablesaw.
From #173
Frame-and-panel construction is among the woodworker’s greatest inventions. Not only does it solve many of the problems we encounter with wood movement, but it also looks good, creating visual interest by adding shadow lines and reflecting light across different planes.
There are almost as many ways to cut raised panels as there are tools in the workshop. While the shaper is probably the most efficient, many woodworkers don’t own a shaper. Depending on the piece I’m building and the number of panels I have to cut, I use one of three methods—hand tools, a router table, or a tablesaw outfitted with a panel-raising jig. Whatever method you choose, start with a panel that is sized to the opening in the frame plus the depth of the grooves—minus just a little in the width to account for wood movement.
The panels built for this article actually are both raised and fielded: The bevel makes it a raised panel, and the shouldered step up to the center, known as the field, makes it fielded.
A traditional look with hand tools: If you’re not in a rush, are aiming for a traditional look, or simply want to hone your handtool skills, raising panels by hand is a good option. The only tools you’ll need are a cutting gauge and a rabbet plane (a Stanley No. 78, a Record No. 778, or similar).
Start by laying out the field and tongue. Scribe layout lines on the face of the panel with a cutting gauge, then deepen them with a marking knife and a straightedge. Now scribe the edge of the panel to determine the thickness of the tongue. The goal is to plane away the material on a bevel with the two scribe lines as your boundaries. When laying out the bevel, aim for an angle that is between 15° and 25°. Use shallower angles with larger panels to increase the width of the bevel.
The first cut is a simple rabbet, establishing a shoulder to separate the bevel from the field. Set the depth stop on the rabbet plane to cut a rabbet about 3 ⁄16 in. deep, and adjust the fence so that the width of the rabbet reaches the scribe lines on the panel’s face. Begin by planing the cross-grain ends. Use a backer board to prevent tearout where the plane exits the workpiece. However, if there still is tearout, you can clean up the unsightly edges when you plane the long-grain sides. There’s no need to use a backer board as you plane the long grain.
With a rabbet on all four sides, begin on the bevel. Again, bevel the cross-grain ends first and then finish up with the long-grain sides.
For the full article, download the PDF below:
Fine Woodworking Recommended Products

Milwaukee M12 23-Gauge Cordless Pin Nailer

Festool DF 500 Q-Set Domino Joiner

Stanley Powerlock 16-ft. tape measure


Log in or create an account to post a comment.
Sign up Log in