An Oil-and-Wax Finish
This low-luster finish highlights the wood and is easy to apply and renew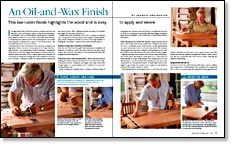
Synopsis: This low-tech oil-and-wax finish requires no special tools. What it lacks in durability it makes up for in other ways: It is beautiful, functional, and easy to repair. The key is to get a smooth surface first with a handplane and card scraper, then sand selectively where needed. After raising the grain and resanding, Shackleton floods the surface with several coats of oil, burnishes it, waxes, and buffs for a lovely shine.
I strongly believe that a finish should not come between the end user and a piece of furniture. Hence, I stay away from plastictype finishes, such as polyurethanes and lacquers or varnishes. These finishes tend to sit on top of the wood rather than soak into it, obliterating the subtle textures left by handplanes. One of the most frequent comments from visitors to my showroom is, “We saw the furniture and came in to feel it.”
All finishes have their drawbacks; this one lacks durability and high-gloss sheen. However, I am prepared to forego the durability because I get repairability (without having to refinish the whole piece) and better aging. My furniture is meant to be functional as well as beautiful: Even if it gets dinged and scratched, an occasional rewaxing and reoiling allows these defects to become part of the piece, making it feel like an antique that has weathered the storms of time. With a high-gloss finish, the repair of scratches and dings can become a horror story.
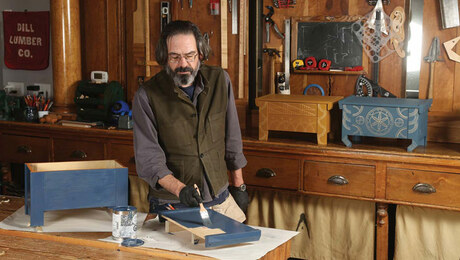
Equally important, this finish is low tech. It requires no special tools or a spray booth. In my shop, I don’t employ a dedicated finisher. Each craftsperson builds his piece from rough lumber to buffing the wax finish, a method most readers should relate to.
Surface preparation is the key to this finish
After the wood has been through a thickness planer, handplane all surfaces. On areas in which the grain has torn out, use a card scraper. The aim is for the surface to have that smooth and fresh, straight-from-the-blade look.
Selectively sand with 220-grit paper—There’s still quite a bit of sanding involved, mostly in areas that won’t cut clean, such as difficult grain patterns, end grain, and edges. Sand large areas with 220-grit paper on a palm sander, but be careful not to stray into cleanly planed areas.
When working on confined areas, it’s better to fold the sheet of sandpaper into quarters and sand by hand, working with the grain or close to it. Sandpaper is powerful stuff, and things can happen faster than you imagine, so be careful not to create hollow areas in the surface.
From Fine Woodworking #175
For the full article, download the PDF below:
Fine Woodworking Recommended Products

Bumblechutes Bee’Nooba Wax
Foam Brushes
Waterlox Original




Log in or create an account to post a comment.
Sign up Log in