Tips for Hollowing End Grain
End grain can be ornery; here are some tools and strategies for hollowing it on the lathe
Synopsis: Woodturner Alan Lacer details the use of the hook tool and the ring tool in bowl turning. To master these aggressive cutting tools, Lacer suggests practicing on green wood. He explains how to mount the log on the lathe, how to rough out the exterior, how to hollow out the inside, and how to scrape and sand to achieve a finished surface. To avoid cracks, the finished piece must be dried slowly before the finish is applied.
End grain is the bane of many woodworkers. Furniture makers go to great lengths to hide it, and finishing end grain poses a number of problems. End grain can be just as ornery in wood turning.
Hollowing into end grain requires a different approach than hollowing into face grain. With a facegrain turning, a gouge is used in a cutting action that travels from the rim to the center (see FWW #147, p. 52). In this orientation, the bevel of the gouge rubs against the inside wall while cutting the wood fibers in the direction of the grain. However, a gouge does just the opposite when hollowing into end grain. Rather than laying down the fibers, it tears them.
To our benefit, wood turners have relied on a solution that dates back many centuries: the hook tool and its modern counterpart, the ring tool (see the photo on p. 102). In essence, these two tools work like a bowl gouge with the flute bent to 90°. Unlike a gouge, the hook or ring tool is used in a cutting action from center to rim. The cutting area and bevel are at right angles to the shaft of the tool, thus making it possible to rub the bevel against the wood as it cuts. A hollow center on the ring or hook tool provides a place for the wood chips to exit the cut.
Practice on a green-wood bowl
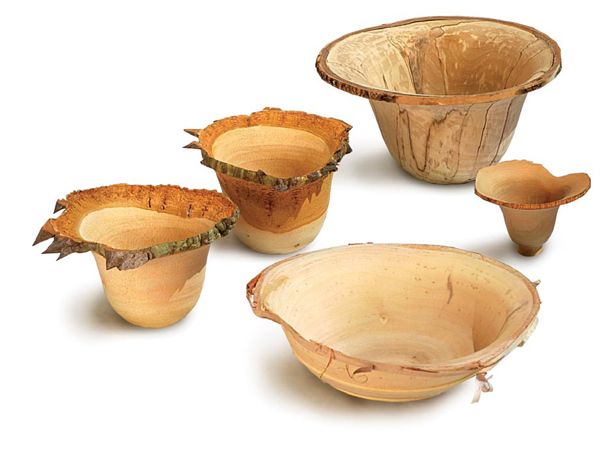
Hook and ring tools have a bad reputation because they are very aggressive and can catch easily. I find the best way to teach people how to hollow into end grain with these tools is to turn a shallow green-wood bowl. Green wood cuts much easier and cleaner than kilndried lumber, and bowls made with it can incorporate a natural edge that often will distort as it dries, adding an element of surprise to a design.
Another benefit of green-wood turning is that material is easy to find. I like to use freshly cut logs or tree limbs measuring anywhere from 3 in. to 12 in. dia.
Identify the center and mount the log
Most logs are not truly round. As a matter of fact, they come in about every shape other than square. So to incorporate a natural-edge rim successfully, you need to take some care when locating the center point. I use a shopmade template of Plexiglas inscribed with different diameter circles. I line up a circle with the perimeter of the log and then mark the center with an awl.
When first mounted between centers, the log will be off balance, so make sure it’s on the lathe securely and that your lathe is set to a slow speed. Pound a four-spur center into the base end of the log and use a live-cup center to hold the rim end at the tailstock.
From Fine Woodworking #177
For the full article, download the PDF below:
Fine Woodworking Recommended Products

CrushGrind Pepper Mill Mechanism


Log in or create an account to post a comment.
Sign up Log in