All About Specialty Joints
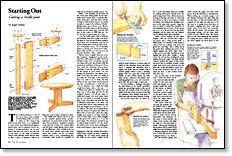
Joinery can always be accomplished with simple means, but with a little creativity a simple joint can become a complex one. Combining components of several joints into one advanced operation can be accomplished to create a wide variety of specialty joints.
The Basics:
• The bridle joint: An attractive joint that combines the mortise and tenon and the half-lap.
• The scarf joint: Use this specialty joint to join the end-grain ends of two workpieces.
The bridle joint
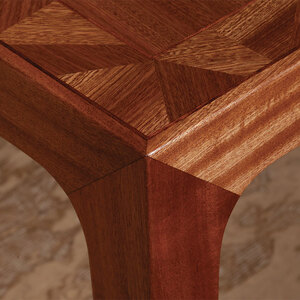
A bridle joint is used in situations where a leg is set into a continuous top rail on a table or a sideboard and has features of both the mortise and tenon and half-lap joints. By maintaining the rail as a single piece and having the leg straddle it, the construction remains rigid and strong.
Examples of this joint include the Shaker rocking chair, where the front and back posts attach to the rockers. It is also found on some Arts and Crafts-style dining chairs.
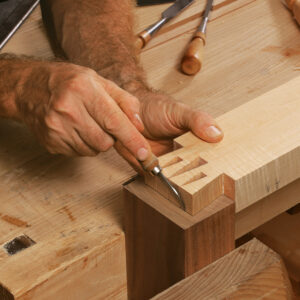
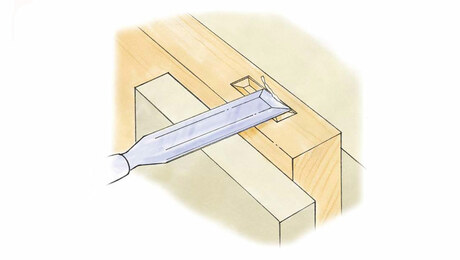
The joint can be made with both parts flush or with the leg portion left proud. Since the leg has the open slot cut into its end, it is usually cut first. The width of the slot should not exceed 1/3 the thickness of the material and should be as deep as the width of the skirt or rail it will fit over. The shoulders and cheeks of the rail should be cut to fit the open slot of the leg.
The scarf joint
An end grain-to-end grain joint will not produce a strong glue bond. A scarf joint is a way to extend the length of a board by aligning long grain-to-long grain surfaces for a strong and almost invisible seam. The longer the seam, the stronger and less conspicuous the end result.
The simplest scarf is a diagonal long grain splice, called an edge-to-edge scarf. This is cut across the long-grain face of the board. The other is called an end-to-end scarf. This version is cut across the end grain of the board. Which one to use will depend on the required strength.
Once both halves of the joint are cut and prepared for joining, some means of positioning and holding the pieces in place is necessary. Otherwise the angled cuts will slip away from each other. The simplest way to fix the pieces for gluing is to clamp on blocks that will both prevent slippage and provide parallel clamping surfaces for the clamps.
Another way is to cut keys into the joint to reinforce the pieces mechanically until they are clamped and dry.
Fine Woodworking Recommended Products
Veritas Standard Wheel Marking Gauge
Leigh D4R Pro

Starrett 4" Double Square







Log in or create an account to post a comment.
Sign up Log in