Circle Guide for the Router

This fixture for routing circles has several advantages over commercial circle guides: it’s cheaper, it cuts circles smaller than the router base and it allows repeat set-ups to precise radii without trial and error.
The guide is easy to make. Screw a piece of 1/4-in. plywood to the base of your router, carefully countersinking the screws. The plywood should be as wide as your router base and somewhat longer than the largest radius you intend to cut. Saw of drill a clearance hole for the router bit.
Let’s say you need a 4-in. radius circle. Measure from the edge of the bit out 4 in. and drill a small hole at that point. Insert a brad in the hole, point up, to serve as a pivot. Drill a centerhole in a piece of scrap, place it on the guide, rout a short arc and measure the radius produced. You’ll be lucky if it is right the first time. Regardless, label that hole with whatever radius it produces, say, 4-1/16 in. Then make another hole closer or farther, as the case may be, until you get the radius you want. Remember to mark each hole as you go. Since the markings are accurate for only that particular bit, you can divide the guide into sections and head each group of holes with the bit used 1/2-in. straight, for example.
Brian J. Bill, Old Bridge, N.J.
Fine Woodworking Magazine, December 1982 No. 37

Fine Woodworking Recommended Products
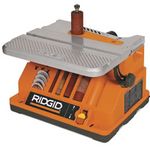
Ridgid EB4424 Oscillating Spindle/Belt Sander
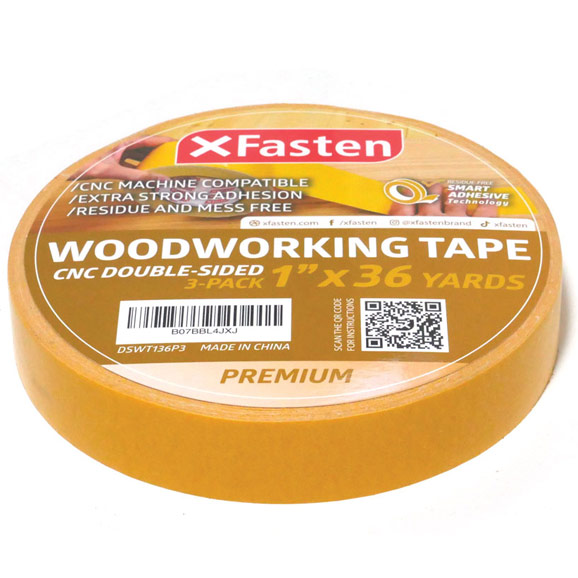
Double Sided Tape
Incra Miter 1000HD







Log in or create an account to post a comment.
Sign up Log in