Copying Cornice Molding on the Tablesaw
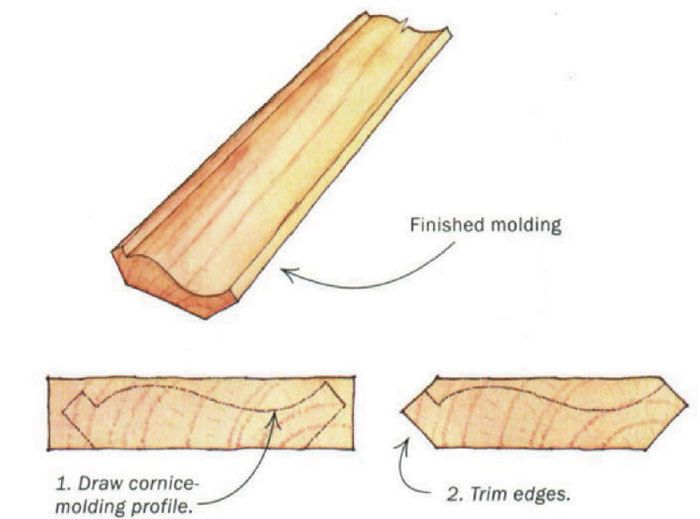
While remodeling a Victorian-style wood-paneled bathroom, I needed one 5-ft. length of cornice molding to complete the job. After striking out with local suppliers and running up some hefty long-distance phone bills, I found that it would cost about $150 to make the custom knives to run one 5-ft. piece of molding.
Recalling the many times I’ve cut simple cove moldings on my tablesaw, I had a sudden brainstorm that would enable me to make the cornice in my shop. First, I drew the molding profile on both ends of a blank, a little longer than 5 ft. Then I made two 45¡ bevel cuts on each edge of the blank to define the top and bottom edges of the molding. Next, I built a cradle of 1/2-in. medium-density fiberboard (MDF) a bit longer and slightly wider than the workpiece. I screwed the workpiece to the inside of the cradle, facedown, as shown. The cradle eliminates the problems that would result from cutting away the surfaces of the molding if I tried to mill it directly, facedown on the saw.
I made a series of cuts to define the profile, working from both sides of the cradle. For each cut, I tilted the blade to cut as close to 90¡ to the face of the curve as possible. This makes a cleaner profile and minimizes some of the steps and grooves that have to be scraped and sanded away to complete the shape. After some sanding, I had a cornice molding that was indistinguishable from the original and the satisfaction of proving to myself that it could be done. I also saved $150 to boot.
Ross M. Greer, Alexandria, Ont., Canada
Fine Woodworking Magazine, June 1999 No. 136
Fine Woodworking Recommended Products

Stanley Powerlock 16-ft. tape measure
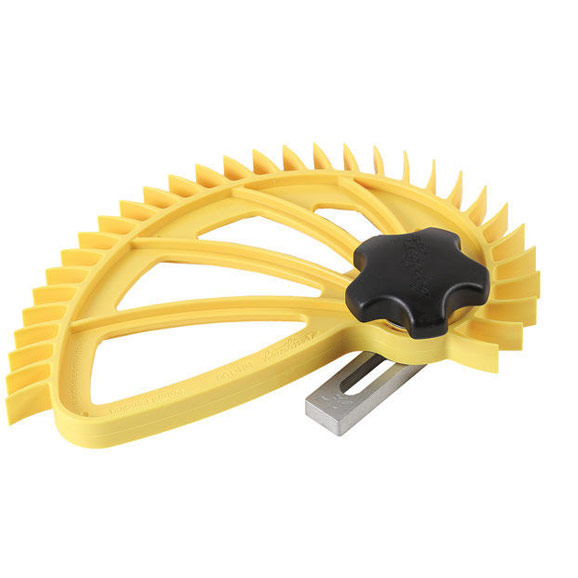
Hedgehog featherboards
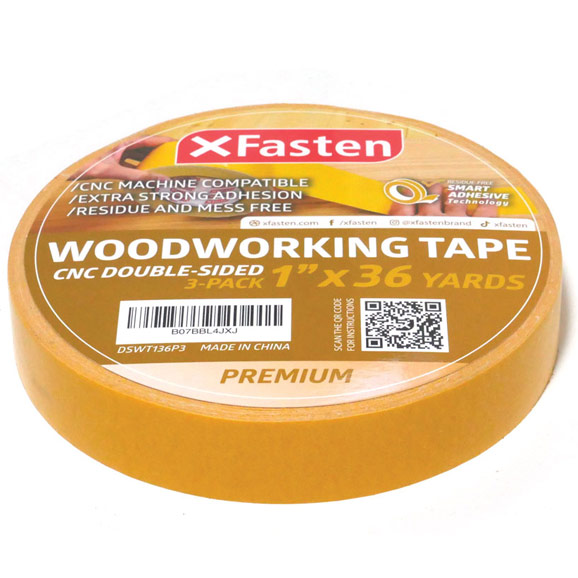
Double Sided Tape




Log in or create an account to post a comment.
Sign up Log in