Making Fluted Panels Revisited
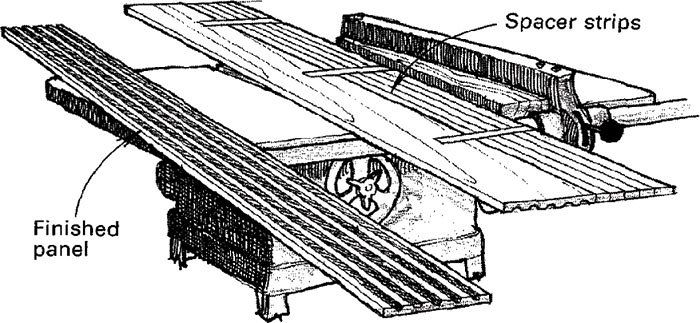
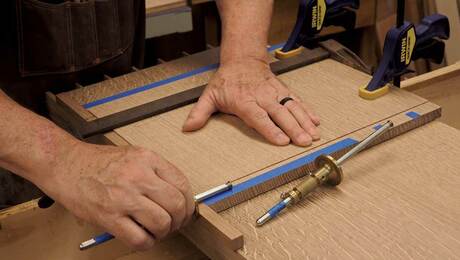
Here’s an improvement to Wayne Kulesza’s method for making fluted panels (Fine Woodworking #67, p. 8). First, determine the proper fence angle to produce the flute width desired, then clamp an auxiliary fence to the saw. Tape several spacer strips to the side of the workpiece; the width of the spacer strips determines the distance between flutes. Push the workpiece and spacers through the saw to cut the first flute. If your blade is sharp and the flute not too deep, it should be possible to cut each flute in one pass.
After you have sawn the first flute, slice off the outermost spacer by cutting the tape with a utility knife. Continue making passes and removing spacers until you have completed the panel. The spacer strips eliminate the time required in resetting the fence for each pass through the blade.
If the blade binds and prevents you from cutting each flute in one pass, there are two alternatives: You can raise the blade in increments as you cut each flute, or you can make a series of shallow flutes across the width of the board, then replace the spacer strips, raise the blade and repeat the series until full depth is achieved. To ensure equal depth on all flutes, I would choose the second alternative.
Joe Videtic, Joliet, Ill.
Fine Woodworking Magazine, August 1988 No. 71

Fine Woodworking Recommended Products

Estwing Dead-Blow Mallet

Stanley Powerlock 16-ft. tape measure
Bessey K-Body Parallel-Jaw Clamp







Log in or create an account to post a comment.
Sign up Log in