Multi-Use Bandsaw Auxiliary Table
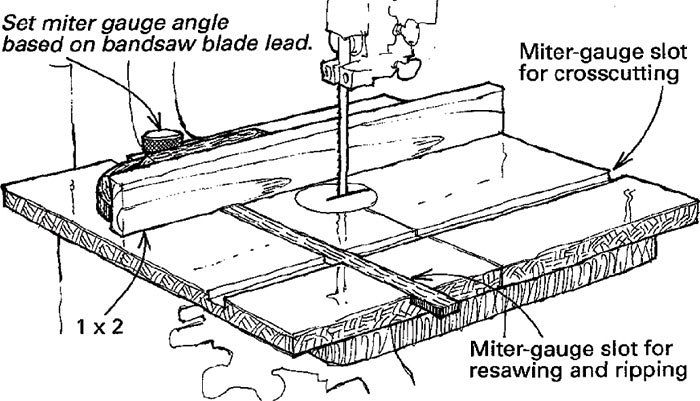
Ripping and resawing on the bandsaw is always a problem because of the tendency of each blade to naturally lead the cut in a slightly different direction. The traditional method of compensation is to find the lead angle, mark a line on the table, and then clamp a makeshift fence parallel to this line. The auxiliary table shown in the sketch improves on that solution by borrowing your tablesaw’s miter gauge for ripping as well as crosscutting on your bandsaw.
I made my auxiliary table from a discarded laminated kitchen countertop, but a good grade of plywood would work just as well. Size it a little larger than the original table, then drill through both tables and fasten them together with four countersunk carriage bolts. Cut a slot for blade entry and a hole with a recessed edge for the throat plate. Now cut two 3/4-in. dadoes to fit the miter gauge. Cut one parallel to the blade for standard crosscutting operations and then a second dado at a 90¡ angle to the first for ripping and resawing.
To find a blade’s lead angle, mark a centerline on a piece of 1×2 scrap stock. Carefully rip freehand along this line until the stock reaches the rear of the table. Leave the 1×2 in this position and insert the miter gauge in the second slot as shown. Loosen the protractor adjustment knob, and slide the miter gauge up to the workpiece. Adjust the fence angle to the lead angle you just found, then tighten the protractor knob. Remove the 1×2, position the miter gauge for the desired cut width, measuring from the front of the blade, and clamp the gauge in place. You’re now set up for accurate, repeatable ripping or resawing.
Anthony P. Matlosz, Howell, N.J.
Fine Woodworking Magazine, February 1993 No. 98

Fine Woodworking Recommended Products

Starrett 12-in. combination square
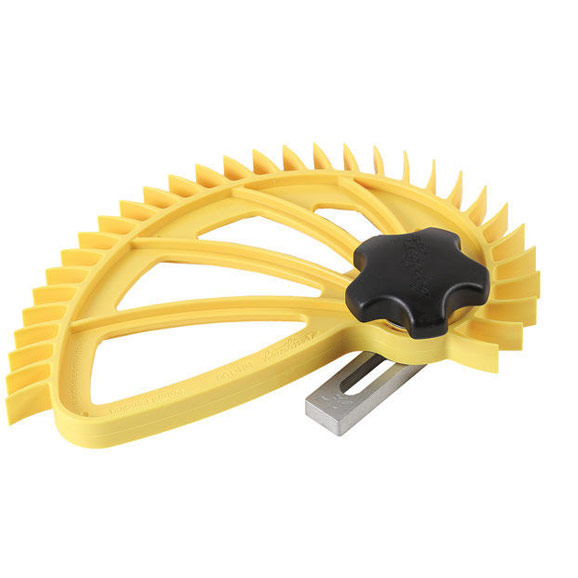
Hedgehog featherboards
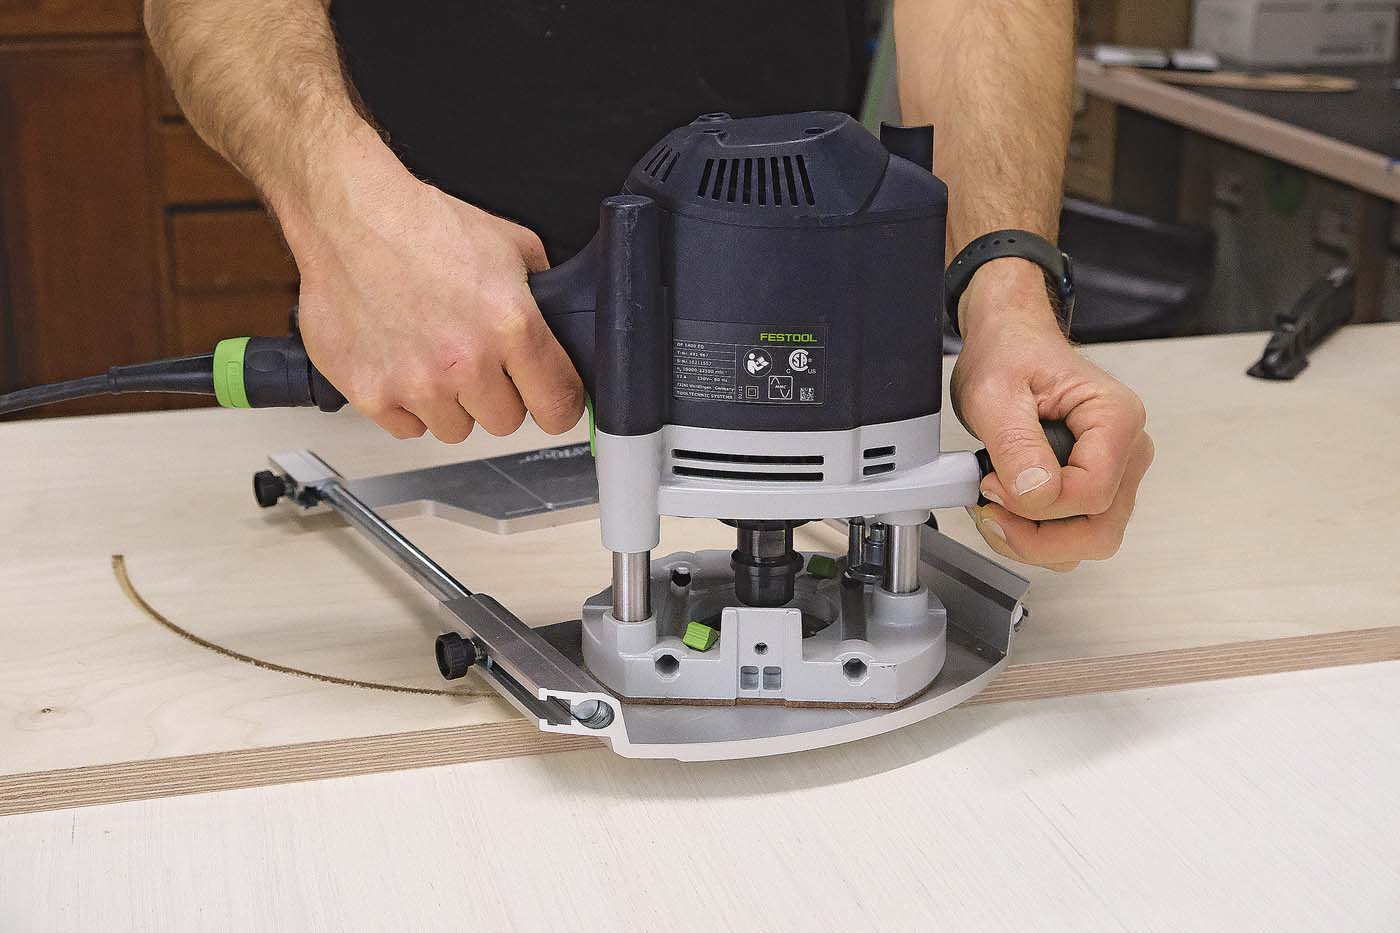
Woodriver Circle Cutting Jig




Log in or create an account to post a comment.
Sign up Log in