Pivoting Router Mortising Fixture
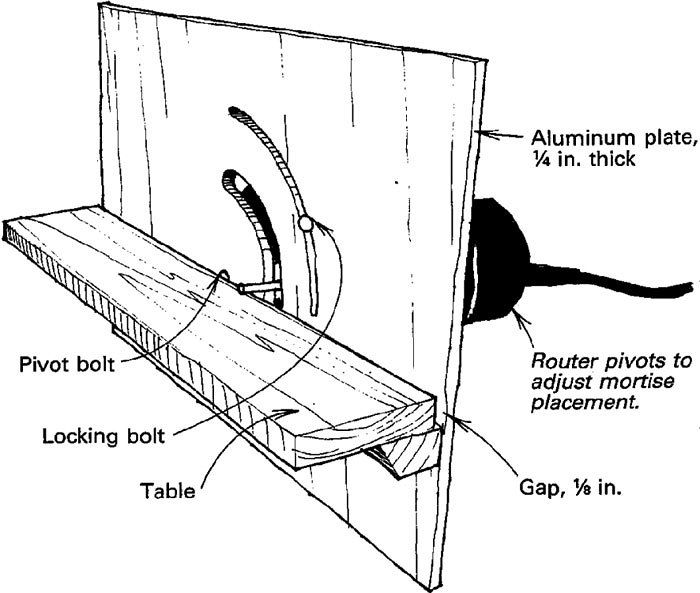
Because I needed to cut more than 400 mortises in a short period of time, I built this pivoting router fixture. With it, I can cut two mortises in about one minute, including the layout time, so the four hours I spent building the jig were quickly repaid.
The router is attached to an aluminum plate with a single bolt so it will pivot to adjust for the position of the mortise in the stock. The plate has two concentric slots centered on the pivot bolt: one for the mortising bit and one for a locking bolt and wing nut. A cleat to support the table is screwed to the plate and a hardwood table is glued and screwed to the cleat with a 1/8-in. gap left between the table and plate for chip and dust clearance. My aluminum plate is 1/4 x 12 x 20. I recommend 6061 aluminum with a hardness of at least T3. You can mill the curved slots in the plate by building a special pivoting fixture and using a milling cutter in the drill press. Or, if you’re patient and careful, you can rout the slots with a router and double-flute carbide bits with a trammel or circle-cutting fixture. Take several light cuts. After the plate is completed, install the fence and attach your router.
To use the mortising jig, bolt or clamp it to the edge of a stout table or workbench. Adjust the router for mortise placement and depth of cut. Then, start the router and push the stock from left to right past the bit. Plunge the stock onto the bit for stopped mortises. Use stop blocks for repetitive cuts or draw layout lines on your stock to show you where to start and stop your mortise in relation to the bit’s slot. Don’t try to mortise pieces that are too narrow or are shorter than about 12 in. In addition, use the same caution you would with any router-table operation.
James E. Gier, Pine, Ariz.
Fine Woodworking Magazine, October 1989 No. 78
Fine Woodworking Recommended Products
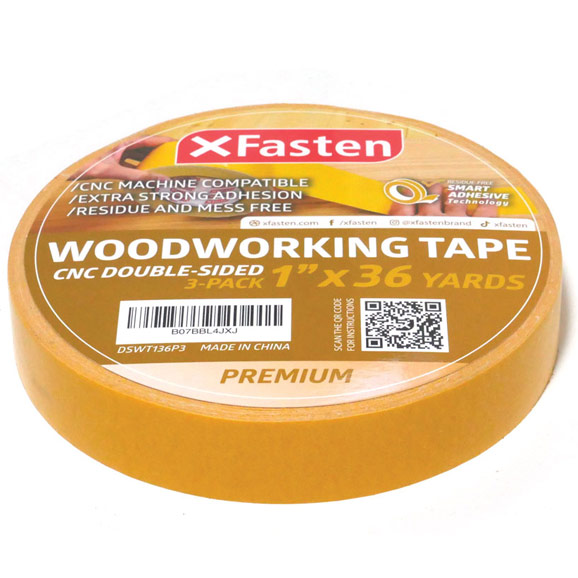
Double Sided Tape
Veritas Standard Wheel Marking Gauge

Olfa Knife




Log in or create an account to post a comment.
Sign up Log in