Roller Hold-In for Resawing
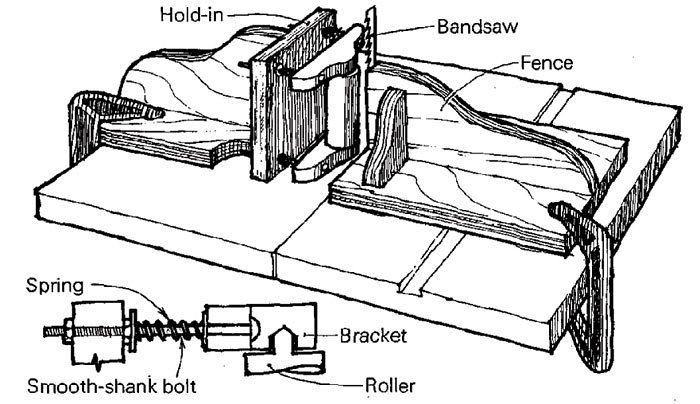
Before I built this roller hold-in, I found myself using one hand to hold the work against the bandsaw fence and the other to steer and feed the stock. I didn’t feel balanced and comfortable, and my hands were too close to the blade at the end of the cut. The roller fixture that solved these problems cost me $2.50, two hours of work and two trips to the hardware store.
The fixture consists of a base, two roller brackets and a roller. I made the base from plywood and glued and screwed it together for strength. Be sure to make the base large enough so you can clamp it easily to both the back and side of the saw table. I cut the roller brackets and turned the roller from maple. My version of the roller is about 1-1/4 in. in diameter and 5-1/2 in. long, an ideal size for my 8-in. resaw-capacity bandsaw. I turned the roller and the 1/2-in. axles as a single unit. An enhancement that I didn’t include on my roller fixture would be to point the axle ends to provide a low-friction bearing where the axle runs in the brackets. Attach the roller brackets and roller to the base with bolts, washers and nuts as shown in the drawing. Be sure to use bolts with a smooth shank where they pass through the brackets, else the brackets will bind on the bolt.
To use the hold-in, set the fence in position for the proper thickness of cut. Now bring the roller fixture into position and clamp so the roller exerts the proper pressure and touches the work just forward of the blade. If you use the narrow-faced fence shown in the sketch it is important to plane the stock between each resaw, because the narrow contact tends to duplicate any waviness or imperfection in the face of the stock. Reset the roller hold-in after each cut to regain the proper hold-in pressure.
Dennis LaBelle, Traverse City, Mich.
Fine Woodworking Magazine, February 1982 No. 32
Fine Woodworking Recommended Products
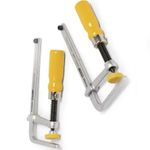
MicroJig Matchfit dovetail clamps

Jorgensen 6 inch Bar Clamp Set, 4 Pack
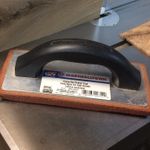
Grout float








Log in or create an account to post a comment.
Sign up Log in