Router Table Borrows Table Saw’s Fixtures
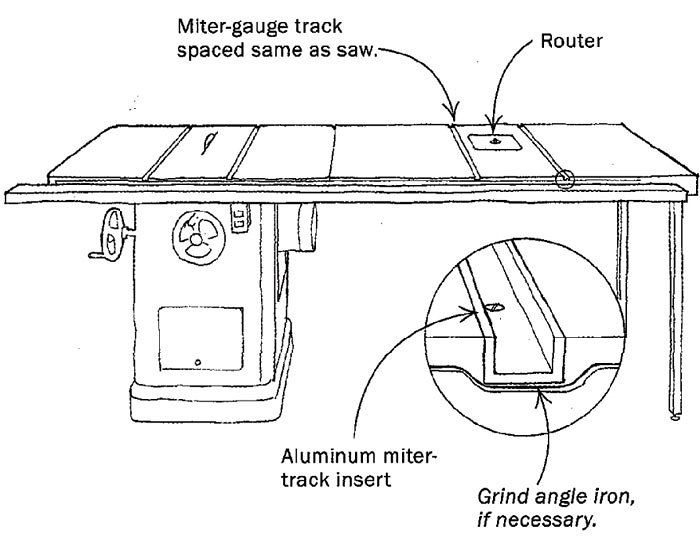
One of the unique advantages of the high-end European combination machines is that you can use the sliding table and the crosscut fence with both the shaper and the tablesaw. I decided to do something similar on my tablesaw by mounting a router in the extension table and installing two miter-gauge slots in the extension table that matched the spacing of those on the saw table. This allows me to use not only the rip fence and the miter gauge but also any sliding fixtures I’ve made for the saw.
To make this setup, you need to purchase aluminum miter-track inserts (sold by Rockler and other mail-order woodworking suppliers). These inserts are necessary because most extension tables are made from sheet goods that will not hold up to extended wear.
Installation is easy. Simply use your saw’s rip fence to guide a router fitted with a straight bit. Rout two parallel dadoes in the top of the extension table, matching the spacing of the slots in the saw table. Screw the aluminum miter-track inserts in place, and you are ready to go.
One word of caution: Be sure to grind or file away the lip of the angle iron at the front and back of the extension table, as needed, to provide enough clearance before routing the groove.
Judd Fancher, Glendale, Ariz.
Fine Woodworking Magazine, December 2001 No. 152

Fine Woodworking Recommended Products
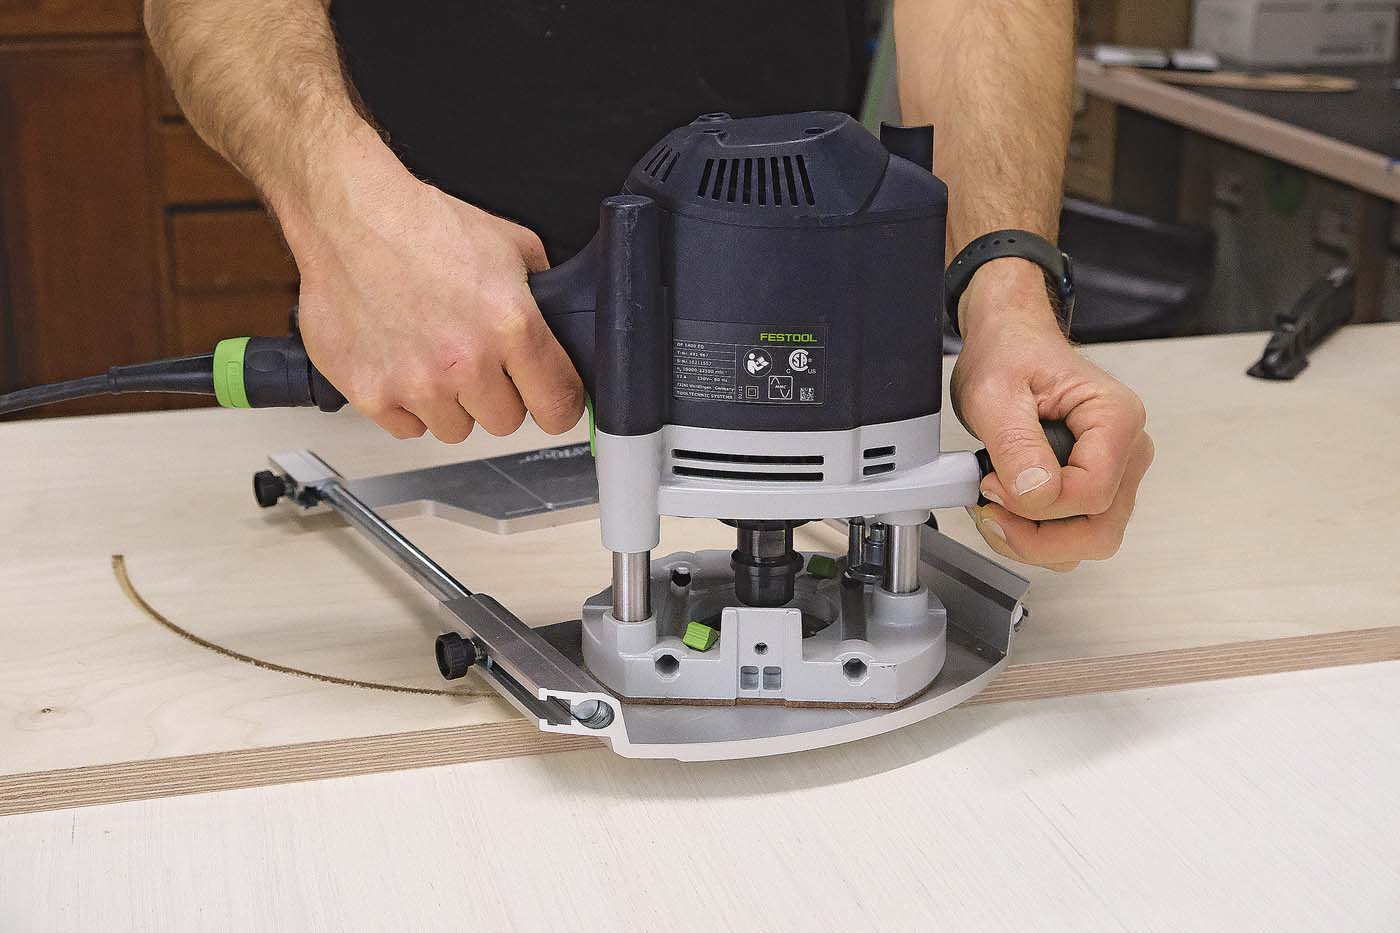
Woodriver Circle Cutting Jig
Double Sided Tape
Hedgehog featherboards




Comments
I mounted my router on the right extension table of my Delta Unisaw. The table top sagged over the years, potentially from the weight of the router. If you go this route, you should consider beefing up the table so it will not sag. I did not add the aluminum tracks, which might provide some support. I plan to replace this setup with a cast iron router extension.
Log in or create an account to post a comment.
Sign up Log in