Routing Dado Joints
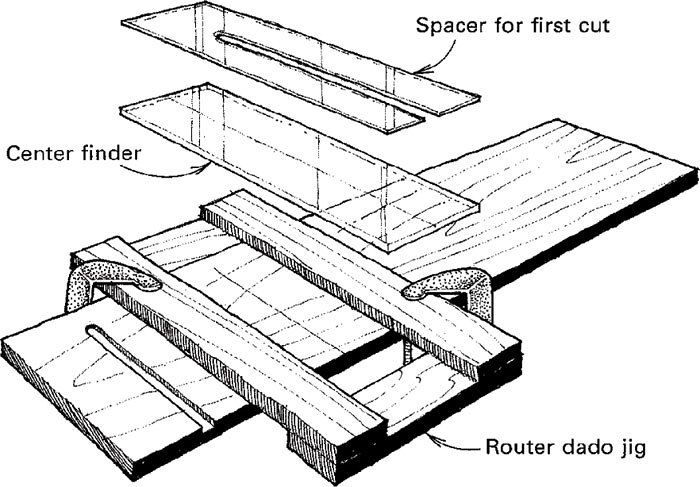
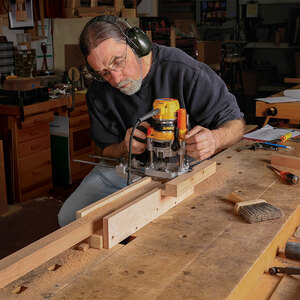
In the high-school furniture-making class I teach, we use a router and a parallel guide like the one shown above to cut most of our dado joints. Even though the guide alone helps reduce errors, we use two simple plastic fixtures to increase accuracy and reduce the number of mistakes made by new woodworkers.
The first fixture is a clear plastic position finder, which we use to locate the guide quickly and accurately on the workpiece. To make one, cut the plastic the same width as your router base and as long as the guide. Then, scribe a centerline the length of the finder. To use it, first lay out the centerlines of the dados on your workpiece. Place the position finder in the guide, move the guide so the scribe line is positioned over the layout line and then clamp the guide in place.
The majority of our dado cuts are 3/4 in. wide and 3/8 in. deep, which is too heavy a cut to make in one pass. Rather than reset the routing depth over and over for each cut, we use the second fixture, a 3/16-in.-thick piece of plastic, as a spacer for the first cut. Like the finder above, cut the spacer the same width as the router base and the same length as the guide. Cut a 1-in. slot down the middle of the spacer to within a couple of inches of one end. To use, put the spacer between the guide fences, set the router for the full 3/8-in. depth of cut and make the first pass. Remove the spacer and make a second pass to the final depth.
J.K. Blasius, Bowling Green, Ohio
Fine Woodworking Magazine, December 1988 No. 73
Fine Woodworking Recommended Products
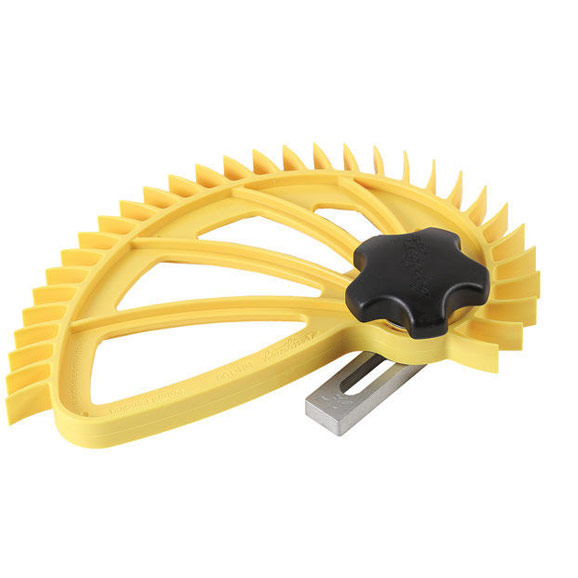
Hedgehog featherboards

Suizan Japanese Pull Saw
Incra Miter 1000HD







Log in or create an account to post a comment.
Sign up Log in