Shaping Beams with a Router
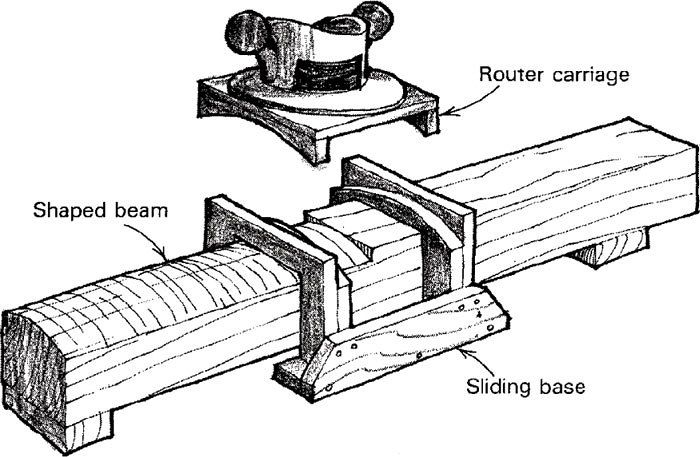
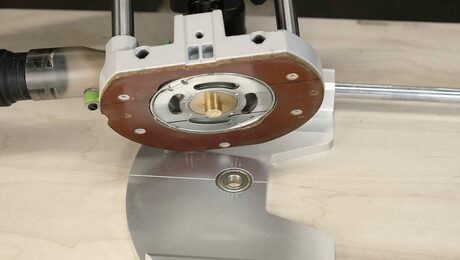
Four years ago my eight-year-old daughter, an aspiring gymnast, pleaded for a balance beam of her own to practice on. Her request required me to find a way to shape the sides of a 16-ft. beam into uniform arcs, so that the finished beam would be as near regulation size and shape as possible. My solution was a sliding jig that guided a router with a 1-in. bit. The jig consists of two parts: the sliding base and the router carriage. Curved rails on these parts guide the router in the proper arc. In laying out the jig you must increase the radius of the curved rails by the amount that the bit protrudes from the router base so that the end of the bit follows the desired finished radius. I recommend you lay out the plan of the jig full-size to verify the correct juxtaposition of beam, cutter and jig.
To use the device, start at one end of the beam and arc the router to and fro as you slide the jig along. The router will let you know how much of a bite to take. The process is slow but accurate. To finish up the very ends of the beam, where the bit can’t reach, you can rig up some additional bearing surface or simply use a chisel and plane.
Burt Babkes, Eugene, Ore.
Fine Woodworking Magazine, February 1986 No. 56

Fine Woodworking Recommended Products
Incra Miter 1000HD
MicroJig Matchfit dovetail clamps

Double Sided Tape




Log in or create an account to post a comment.
Sign up Log in