Using a Shopmade Mortising Jig
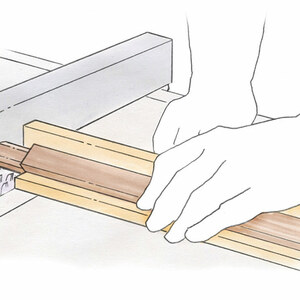
A sturdy jig, used with a plunge router and edge guide, ensures well-cut mortisesJeff Miller, Chicago furniture maker, teacher, and writer, demonstrates his tried-and-true method for making mortises. An auxiliary fence, mounted to the edge guide, slides in a groove to keep the router bit running straight.


Comments
Great video, thanks. Just curious on what/whose tool you use? I have been using Amana tools and I find that they are about .002 undersize from their listed size. So a 1/4 downcut bit is really .248.
Good tips. Seems the major flaw in this jig is that the orange clamps severely limit the thickness of the piece into which you are plunging the mortise.....to maybe 1-1.5 inches. Am I missing something?
I meant to say it seems to limit the WIDTH of the piece.
This definitely limits the width of the work piece. I overcame this by extending the mortising block with another board joined with rabbet in the board fit into a groove in the mortising block. I used DeStaco style clamps, which have less of a mounting footprint. I also raised the clamps off the board by 1/4 inch with a small block so that I can clamp a wider range of work piece thickness.
What are the dimensons for this project?
Log in or create an account to post a comment.
Sign up Log in