Lumber Storage Solutions
Shopmade racks and carts keep material organized and accessible.
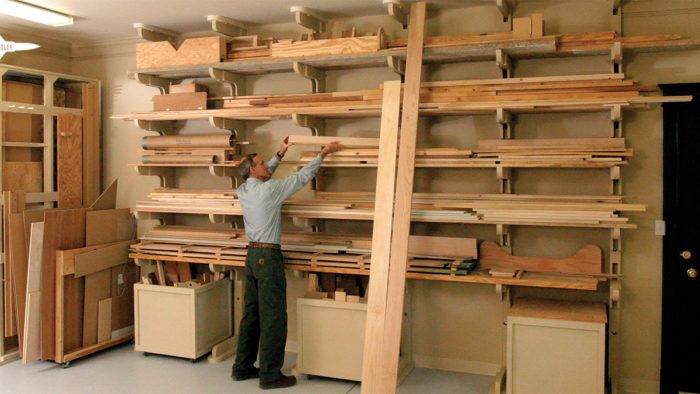
Synopsis: The centerpiece of Andy Beasley’s lumber storage system is a horizontal rack along one wall of his shop. Combined with shopmade carts and a storage rack for sheet goods, Beasley’s system allows him to store a lot of heavy material while taking up little space. Following the author’s step-by-step instructions, readers will be able to customize an efficient system that will help turn a chaotic shop into an efficient one.
I once read that the idea of infinite space was perhaps the most difficult concept for the mind of man to grasp. I beg to differ. Anyone who ever has tried to create a functional shop knows that fitting it into a finite space is a far more challenging proposition. Once all of the necessary tools, materials, and that last bottle of glue have been shoehorned into the workshop, you can find yourself on the outside looking in.
When building my shop several years ago, I experimented with different layouts until I found the one that worked best for me. I’ve been happy with the result, largely because the lumber-storage system I developed added considerably to the efficiency of my shop while taking up little of its finite space.
Wall rack handles the long stuff
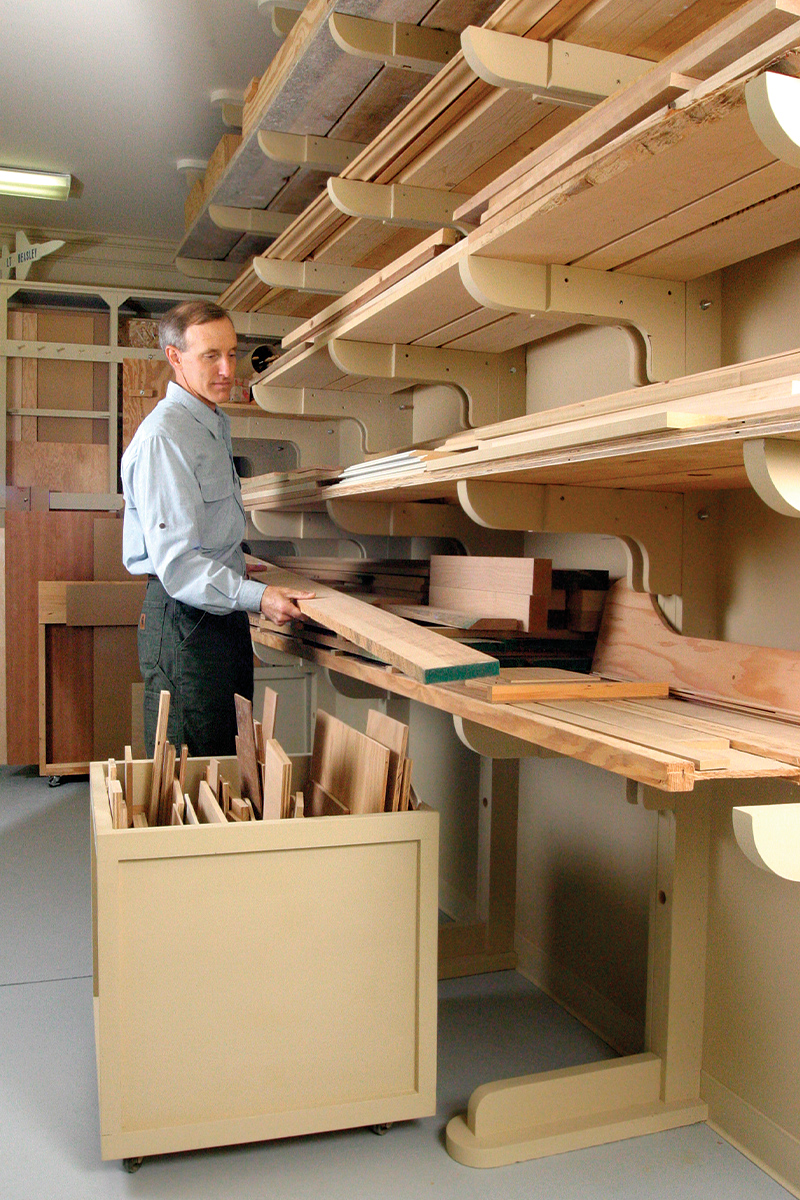
The centerpiece of my storage system is a horizontal rack along one wall. The rack is exceptionally stable, and the various levels hold a lot of material within a small footprint. The design is straightforward, the materials are relatively inexpensive, and the construction time is short.
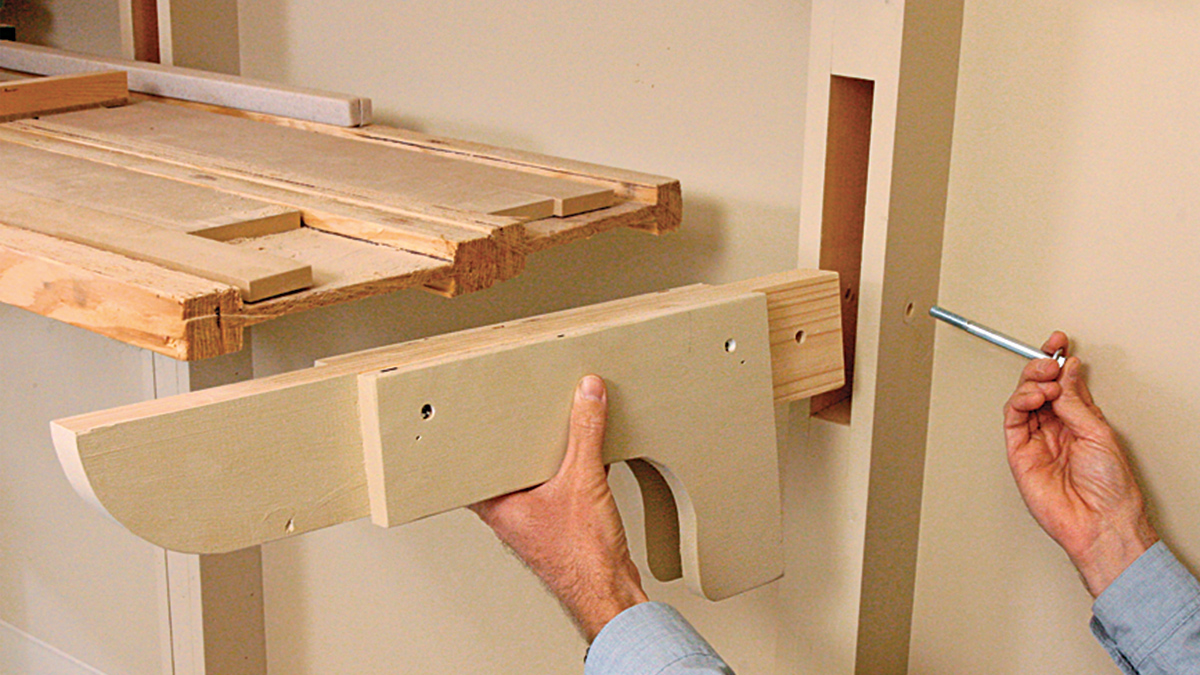
I frequently store 16-ft. lengths of molding, so I decided to install six vertical stanchions to provide the necessary horizontal space. The 2×6 studs in the shop wall are on 16-in. centers; I installed a stanchion on every other one, or 32 in. on center. These stanchions are merely lengths of 1×4 pine, glued and nailed to 2×4 spacers. The spacers add stiffness, create pockets for the support arms, and provide a solid attachment point for the lag screws that mount the assembly to the wall.
Although the stanchion assembly is simple to build, it helps to choose stock that is straight, without bow or twist. Gluing and nailing the pieces together on a level floor is an easy way to keep them true.
This rack is designed to support considerable weight if it is mounted securely to a sturdy wall. To attach the stanchions to the shop wall, I first marked the locations of the electrical wires in the wall so that I could give them a wide berth. Then I secured the stanchions with 6-in. lag screws through the spacer blocks and into the wall studs.
This rack can be attached equally well to a concrete wall as long as heavy-duty masonry anchors are used. The small, plastic expanding anchors used to hang pictures on cinderblock walls won’t provide the necessary pull-out resistance. For similar reasons, don’t mount this rack to a hollow gypsum or paneled wall.
The head and foot of each stanchion help prevent twisting, stabilizing the rack when it’s under load. The head is screwed to a ceiling truss, while the matching foot is glued securely to the floor. The horizontal support arms do the hard work.
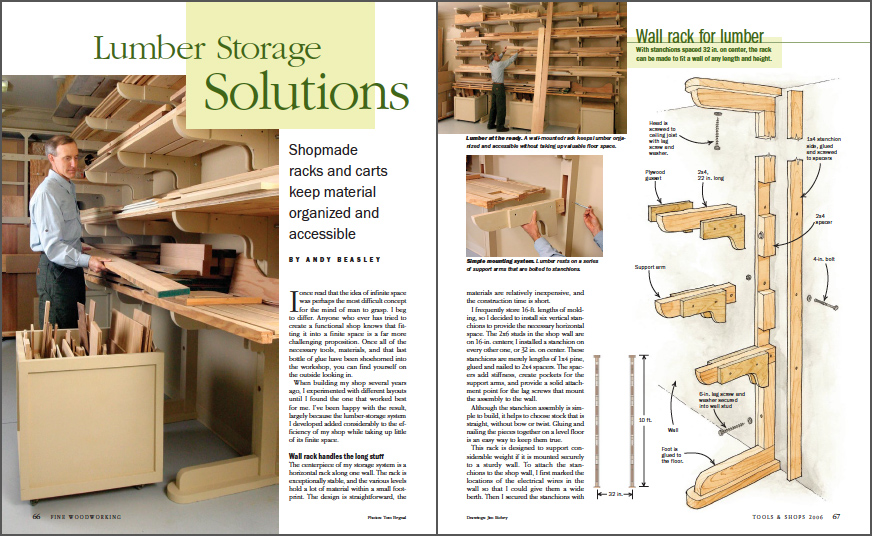
From Fine Woodworking #181
To view the entire article, please click the View PDF button below.
Fine Woodworking Recommended Products
WoodRiver Router Bit Storage Case

Woodriver Rechargeable Desiccant Bag



Log in or create an account to post a comment.
Sign up Log in