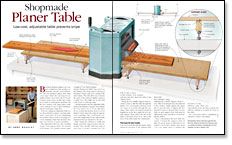
Synopsis: Benchtop thickness planers are compact workhorses that produce remarkably smooth wood surfaces. But in the process, they often create a slightly deeper cut at each end of a board—a problem known as snipe. As Andy Beasley explains, adding an adjustable table to a benchtop thickness planer can help make snipe a non-issue. Beasley’s shopmade table has four supports that give it a slight rise at each end, thereby making the snipe problem disappear.
Benchtop thickness planers are compact workhorses that produce remarkably smooth wood surfaces. But, like any thickness planer, they often create snipe—that’s the 2-in.-long (or so), slightly deeper cut at each end of a board. Granted, some newer models have made good strides at reducing the problem, but like the common cold, snipe defies eradication. Indeed, it’s rare to find a thickness planed board that’s snipe-free.
However, adding an adjustable table to a benchtop thickness planer can help make snipe a non-issue—if not by eliminating the problem, then at least by keeping it to a bare minimum. Snipe that measures less than, say, 0.004 in. is rarely a problem.
This adjustable table has only a handful of parts. Four support cleats—two in front of the planer, two behind—mount under a length of 1⁄2-in.-thick mediumdensity fiberboard (MDF) that serves as the tabletop. The cleats attach to the top of the planer cabinet with a few carriage bolts and washers. The bolts allow me to elevate the ends of the tabletop slightly, giving it a subtle bow. This slight rise at each end is the secret to reducing snipe.
I should mention that the adjustable table reduces the thickness capacity of my planer by 1⁄2 in., from 6 in. to 51⁄2 in. But since 31⁄2 in. is about the thickest stock I’ve ever planed, I don’t expect the reduced capacity to be a problem. Also, you’ll need to remove the folding infeed and outfeed table extensions that are attached to the saw.
After cutting the tabletop to width and length, attach the support cleats to the underside. First, though, drill both ends of each cleat to accept a carriage bolt. The bolt accepts a series of flat washers, lock washers, and hex nuts that attach the table to the cabinet below.
Mount the two middle support cleats securely to form a stiff, flat table through the planer. Two wood guide rails keep stock on course as it travels through the machine. Then, with a 6-ft.-long level placed lengthwise on the bed, adjust the two outside support cleats until each end of the table is elevated about 1⁄8 in. above the level of the table under the cutterheads.
From Fine Woodworking #183
For the full article, download the PDF below:
Fine Woodworking Recommended Products
Milescraft 4007 6in Bench Clamp
Makita LS1219L Miter Saw
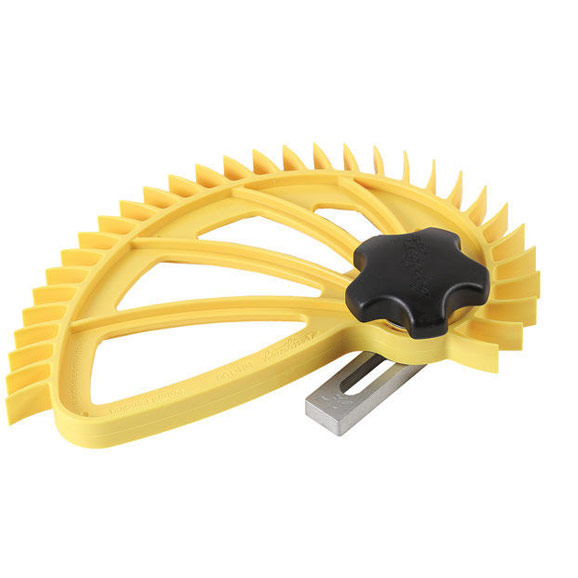
Hedgehog featherboards




Log in or create an account to post a comment.
Sign up Log in