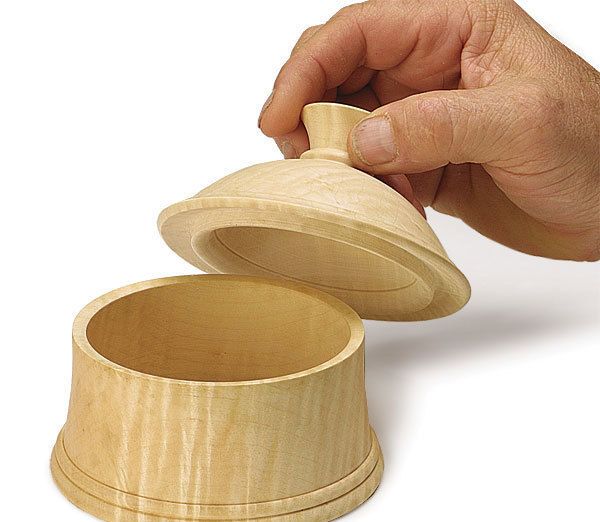
Even after 35 years as a professional wood turner, I never tire of making lidded boxes, perhaps because the round, small containers still offer infinite design challenges.
I find inspiration for boxes everywhere I look, in natural and man-made things. This box is very architectural, a walled structure topped by a roof, or lid, with an overhanging lip and a cupola for a knobby handle. However, boxes can be almost any shape and size, from highly decorated to remarkably simple. The walls can be monumentally thick or ultrathin. And it is not mandatory that the internal form reflect the exterior shape.
No matter what design I pursue, I always follow the same procedures to ensure that the finished piece is visually balanced and of high quality. I turn the box first, then refine the lid in relation to it. This project requires mounting the workpieces in a chuck several times, in several orientations.
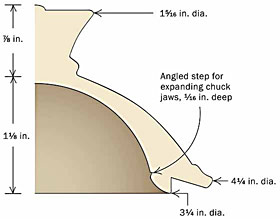
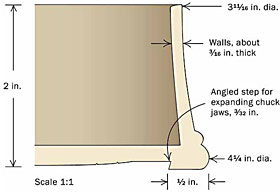
I rely on a self-centering four-jaw chuck with dovetail jaws. The jaws fit into shallow grooves that I cut in the wood. The grooves allow me to pop the turning off and on the lathe as many times as necessary, and they also hide the minimal marks left by the serrated jaws.
Start with the box
The lidded box is a faceplate project, with the grain at 90° to the lathe axis. I often cut a pair of blanks for the box and lid from the same 2-in.-thick seasoned block of wood.
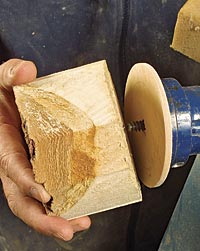
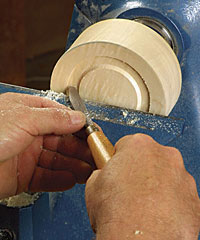
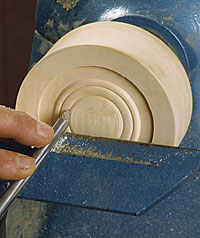
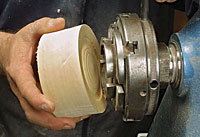
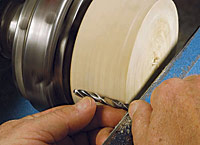
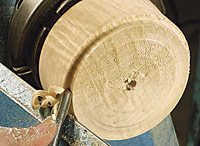
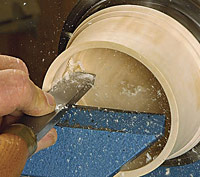
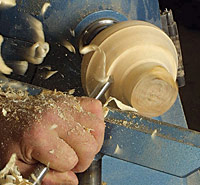
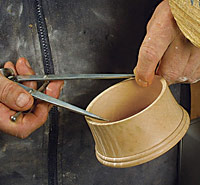
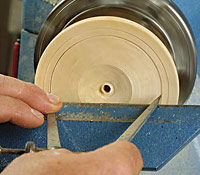
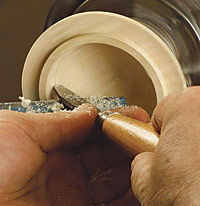
Mount the box on the lathe (see photos, above), true the blank, and square the base to the side. Then turn the base to completion. It needs a foot around the perimeter and a slightly recessed center so that the final box will sit only on the foot. The best tool for cutting the recess is a small scraper with the face and left edge sharpened.
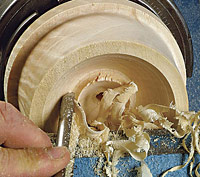
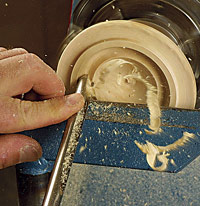
I like to add some decoration to the base. In this case, I rolled two beads with a shallow gouge (see photo 4, above). Then I sanded the base and added a coat of finish.
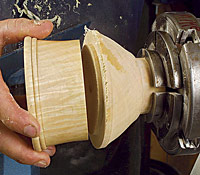
Next, remove the center-screw chuck from the lathe and replace it with the four-jaw chuck. Mount the box on the chuck, and finish turning its profile. I prefer a 3/8-in. shallow gouge with a long fingernail grind for working the exterior and turning two beads on the outside, at the base. If you have a problem getting a clean cut on the end grain with the gouge, try shear scraping by holding a roundnose scraper at about 45° to the tool rest. A successful shear scrape will produce thin shavings, as opposed to the dust produced by a standard scraping cut.
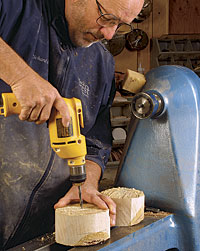
With the profile completed, hollow the box (see photos, below). Plan the depth of the box so that the base will be at least 3/8 in. thick, and then mark the depth by driving a 1/4-in. drill bit into the center of the workpiece while the lathe is on. I attached a handle to one of my drill bits so that I can use it like a turning tool with the tool rest. But if you have a drill chuck for the tailstock, you can use that.
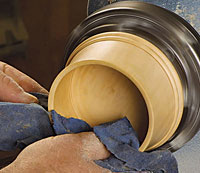
With the outside turned and the center hole drilled, hollow the inside using a 3/8-in. deep-fluted bowl gouge, cutting from the rim to the center. when the interior is nearly finished, switch to a 3/4-in. square-end scraper with a slight radius to make a nice, sharp corner where the wall meets the base. To limit tearout on the end grain, which makes up nearly 75% of the wall, go very slowly as you make the final cut. If you can’t cut cleanly with a scraper, use the 3/8-in. shallow gouge with the bevel rubbing against the wall of the box and the flute pointing to the base. Finally, sand and finish the box, inside and out.
Make the lid to fit loosely
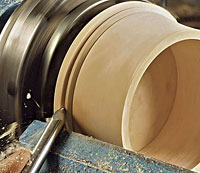
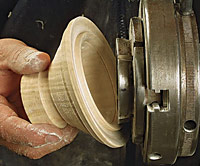
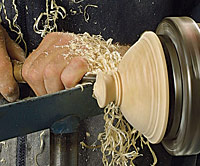
Unlike the box, which is shaped and then hollowed, the lid is hollowed and then shaped. Use the self-centering chuck to hold the wood (see photos, below). On a turned box of this size, it’s unwise to have a tight-fitting lid. Because of the direction of the grain, seasonal wood movement can cause the lid to expand and become jammed in the box. I make the lid so it’s just loose enough to spin on the box. The overhanging lip on the lid also helps disguise any movement or distortion that does occur.
Remove the lid from the chuck as needed to see how it looks on the box and to gauge the thickness of the walls. When you’re satisfied with the shape, sand and apply a finish.
Photos: Matt Berger; drawing: Rodney Diaz
From Fine Woodworking #184
Fine Woodworking Recommended Products
CrushGrind Pepper Mill Mechanism








Comments
Is this article not available in a downloadable PDF?
Log in or create an account to post a comment.
Sign up Log in