Cutting Dovetails in Curved Drawers
Helpful jigs make it easier than you think
Synopsis: Cutting dovetails in curved drawers is a challenging project. Here, furniture maker Ed Welch explains how he goes about laying out and cutting the joinery. Well-honed tools are a must.
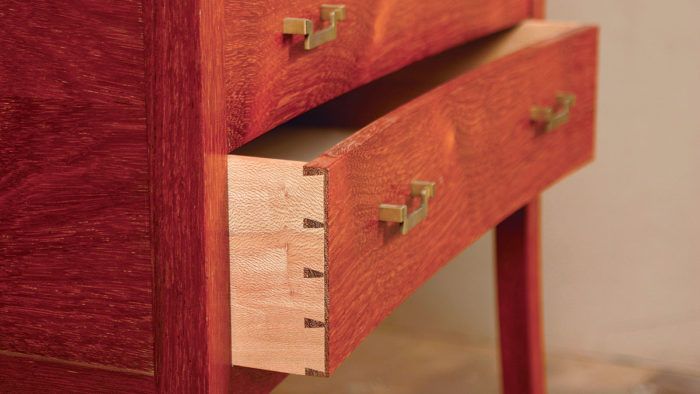
Introducing curves in furniture can be both exciting and intimidating; the same can be said of hand-cutting dovetails. So surely cutting half-blind dovetails in a concave drawer front must be a real emotional roller-coaster? There are three main ways to do this. My method is the most aesthetically pleasing, and with precise preparation and helpful jigs is easier than you’d think.
An accurate template is vital
When making furniture that includes steam-bent or bent-laminated parts, make these parts first. Then, if they spring back when removed from the form, you can adjust the design to the curve. With the curved parts made and the carcase assembled, make an accurate template of the bottom of the drawer pocket. I use 1⁄4-in.-thick medium-density fiberboard (MDF). The template, which should fit snugly in the pocket, displays the critical angle of the drawer front to each side. The success of this process will depend upon how closely you can match that angle.
Cut the ends of the curved drawer front on a crosscut sled on the tablesaw, using shims to secure it at the correct angle. Remember to leave the front 1⁄16 in. oversize; you will plane the drawer to fit the opening after glue-up. Cut the corresponding angle on the drawer sides by tilting the sawblade. Check the cuts by placing the pieces on the template, making sure there is no gap where the side butts against the front. Use a shooting board if necessary to make sure the angles are accurate and clean.
Precise preparation will pay off later
In order to chop pins in the drawer front, you will need a cradle to hold the curved piece in place. The original form used for the laminations works well.
Make a pair of chopping blocks from 2-in.-square pieces of hardwood that each have the critical angle on one corner. Gluing sandpaper on the bottom prevents slipping. Both blocks should be identical except that the block used to clamp the drawer front has an angled top to ensure perpendicular clamping pressure against the curved cradle.
Marking the setbacks
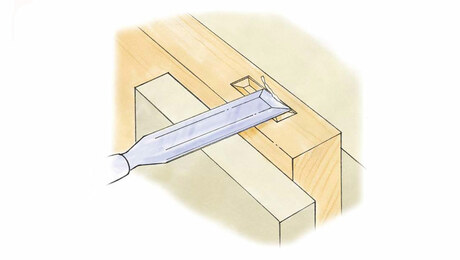
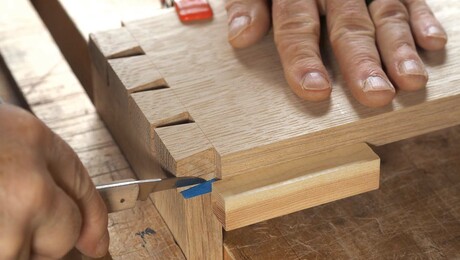
First, decide on a pleasing setback for the pins, in this case about 1⁄8 in. for drawer fronts that are 5⁄8 in. thick. Plane a piece of hardwood to this thickness and use double-sided tape to attach it to the end of the form. This piece serves as a paring platform for the pins, so make it about an inch wide to support the chisel. The platform angle should reflect the angled ends of the side pieces.
Set a gauge and scribe a line along the ends of the drawer front. Clamp the drawer front to the cradle against the paring platform. Because of minor differences in the thickness of each end of the drawer front, or on multiple fronts, you may need to shim the cradle with masking tape next to the paring platform so that a chisel slid across the platform hits the scribed line.
From Fine Woodworking #179
For the full article, download the PDF below:
Fine Woodworking Recommended Products

Jorgensen 6 inch Bar Clamp Set, 4 Pack

Pfiel Chip Carving Knife

Olfa Knife


Log in or create an account to post a comment.
Sign up Log in