A Simple Tapering Jig
This no-frills tablesaw jig makes easy work of cutting accurate tapered legs
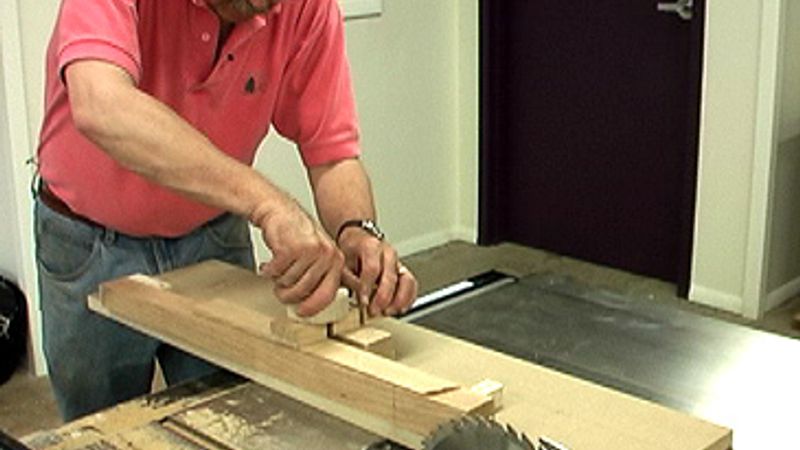
Alan Turner, a furniture maker and woodworking teacher in Philadelphia, shares his version of the tablesaw tapering jig in this video. His simple design rides in the tablesaw miter slot rather than against the rip fence, which makes set up and repeated use easy and safe. Watch Turner assemble the jig and set it up to cut a taper.
Supplies from scraps
The base of the taper jig is a 3/4 in. thick by 9-1/4 in. wide by 36 in. long MDF sled. A 3/8 in. thick by 3/4 in. wide maple runner attaches to the underside of the jig to ride in the miter slot. A shopmade knob and 1/4 in. carriage bolt are used to secure a workpiece to the jig. Finally, two scrap stop blocks are required to support the workpiece during the cut.
Tips for cutting four-sided tapered legs
 Start by marking the bottom of the leg with four scribe lines indicating the final dimensions of taper. Then mark the workpiece on all sides where the taper will begin, typically just below that flat edge where the apron joins the leg.
Next, secure the workpiece in the jig to cut the first side of the leg. To do this, line up the scribe lines on the bottom of the leg and the mark at the top of the leg with the edge of the tapering jig. Once the leg is in place, attach the two stop blocks to support the workpiece during the cut.
With the first taper cut, remove the leg from the jig and rotate it 90 degrees clockwise to cut the next face. Use the same stop block settings for this second cut.
For the third cut, you will need to reposition the two stop blocks to account for the material that has been removed. Again, line up the marked lines on the leg with the cutting edge of the jig (see image above), and follow the same steps to secure the leg to the sled. Maintain these stop-block settings to cut the forth and final side of the taper.
Alan Turner lives and works in Philadelphia where he operates the Philadelphia Furniture Workshop.
Why stop at a tapering jig. You should also check out
- Box Joints on the Tablesaw
- Machine Dovetails by Eye
- One-Stop Cutting Station
- Shopmade Tenoning Jig


Comments
Very nice Alan, simple, safe and cheap thanks a lot
Nicely done. I love that smile at the very end of the video.
Nice. What's the purpose of the second carriage bolt hole?
Log in or create an account to post a comment.
Sign up Log in