Making an Ogee Bracket Foot: Part III
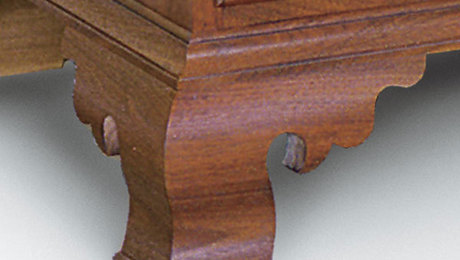
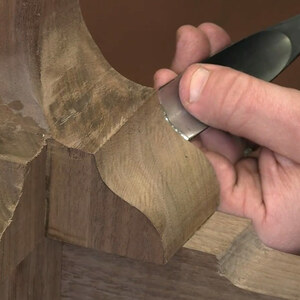
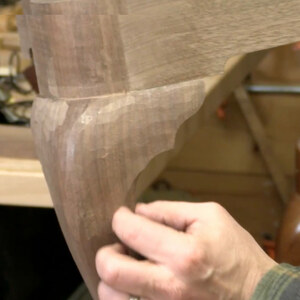
Part 3 of 3: Bandsaw the ogee profiles in this final step of the processLonnie Bird goes step-by-step through the process of producing a traditional ogee bracket foot in this three-part video series. The foot is a standard feature in 18th-century furniture.
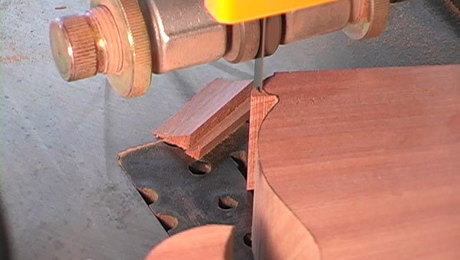
In this video, Bird completes the rough shape of the foot on the bandsaw by sawing the final ogee contours. He shows how to get good results during this delicate process with tips for cutting and holding your work on the bandsaw. Click on the links below to watch parts 1 and 2 of the series.





Comments
Very impressive demonstration of making the ogee bracket feet. Lonnie's methods really make the build up of the bracket feet seem very straight forward, though I know it takes quite a bit of skill. Thank you for the exceptional video demonstration!!
Setting aside the exceptional skill of Mr Bird, there I see several keys to success here. The first is a good, high quality template for the foot. I suspect a lot of trial and error goes into making that work properly.
The second is a dedicated jig to hold the foot that makes it possible to cut along the grain on the band saw. And, by the way, his bandsaw has got to be properly set-up, aligned and tuned to make this kind of cut work.
And, of course, the maximum size of the foot is determined by the size of your bandsaw and the jig to hold the foot. And that has to be taken into account when making the template!
Genius!
Log in or create an account to post a comment.
Sign up Log in