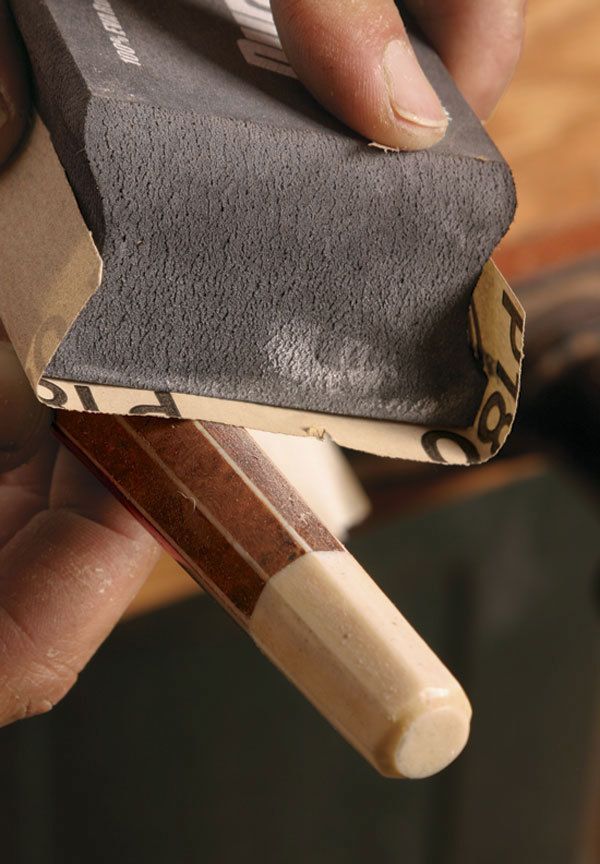
A Faceted Ruhlmann Leg
Step-by-step directions to recreate this signature style
Synopsis: This torpedo-shaped, multisided leg is the signature design of Emile-Jacques Ruhlmann. Woodworker Aaron Radelow details how to make a Ruhlmann leg by breaking construction down into manageable steps: creating a full-scale drawing of the eight leg segments, cutting the legs with the use of a jig, making the angled leg segments, adding veneer and inlay, and assembling the leg.
In Paris during the early years of the last century, Emile-Jacques Ruhlmann was “it” when it came to Art Deco design. One of his signature designs was a torpedo-shaped, multisided leg that attached to the corners of tables or cabinets. While looking through a book on Ruhlmann furniture, one of these fuseaux à facets, or spindle legs with facets, caught my attention. I was lured by the simplicity of their graceful curves, but I was shocked to learn that it took Ruhlmann’s top craftsman needed a week to create each leg.
Intrigued to discover their hidden complexity, I decided to take the plunge and to build a cabinet incorporating four of these legs. With the aid of various jigs, I broke down construction into manageable sections that, while still time-consuming, are not that difficult.
The leg’s core consists of eight pieces
You’ll need to create a full-scale drawing of the whole piece first. Use a thin strip of wood or metal to lay out the fair curve of the leg’s profile. At the leg’s widest point, draw a line perpendicular from the outside edge to the midpoint of the leg. Draw seven other lines of equal length radiating out from this midpoint and connect them at the ends to form an octagon. This will be your guide for making the eight sections of the leg.
Cut the leg components—Traditional Ruhlmann legs were veneered, so the core should be made from strips of stable and well-seasoned rift-sawn white oak or poplar. If you prefer a more contemporary look, use cherry or maple for the legs and skip the veneering. In either case, start by milling rectangular strips that are the same width as each segment in the octagon, slightly thicker than the outside edge of one facet, and about 1⁄4 in. longer than the leg. Make parts for two extra legs to allow for testing and waste.
I make a jig or sled to run these strips through my planer to create isosceles triangles with two base angles of 67.5º and a top angle of 45º (see drawing, facing page). All eight triangles must be identical so that when dry-fitted together they create a solid leg that matches the cross-section drawing.
From Fine Woodworking #187
For the full article, download the PDF below:
Fine Woodworking Recommended Products

Drafting Tools

Stanley Powerlock 16-ft. tape measure

Sketchup Class


Comments
Ah, this is why I love FW so much :)
Log in or create an account to post a comment.
Sign up Log in