An Introduction to Veneering
Simple techniques and common tools produce stunning panels for doors, box lids, and more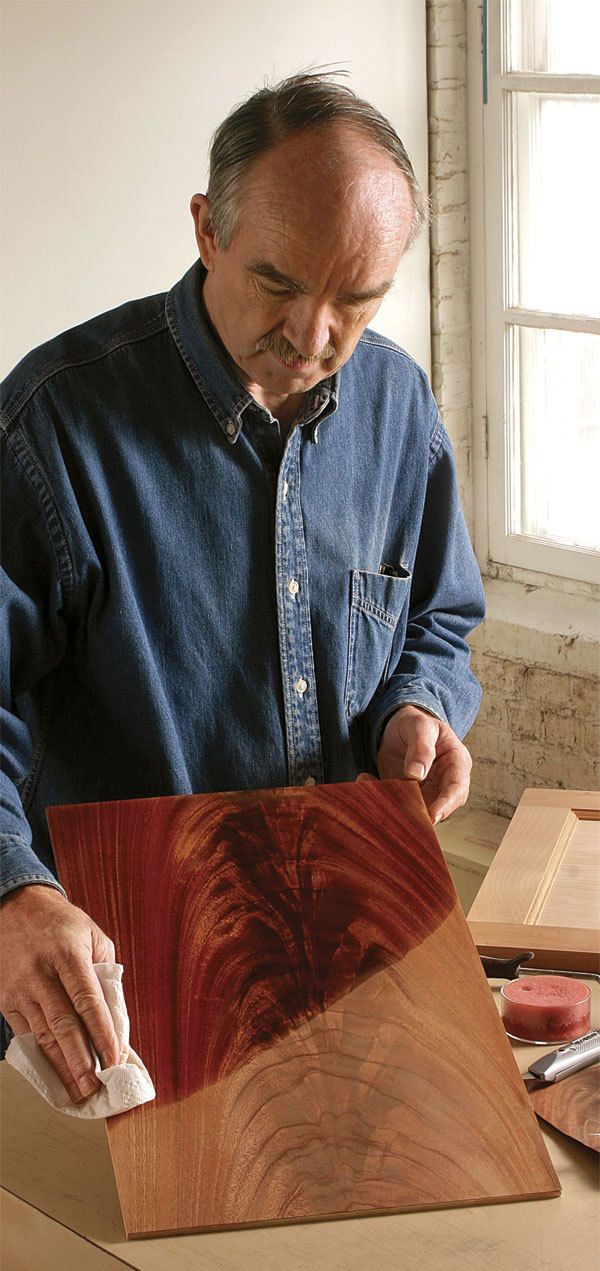
Synopsis: Two common misconceptions about veneering are that it is difficult to do and that the end result is somehow inferior to solid wood. Woodworker Thomas Schrunk sets the record straight with this article. He explains that the individual steps of veneering are easy to master and, with practice, you can produce beautiful results quickly. Veneering also opens up a world of exotic and beautiful woods, many of which would be difficult and prohibitively expensive to use as thicker lumber. Schrunk takes readers through the process of veneering a panel: selecting and preparing the veneer, creating an invisible seam, gluing up the panel, and trimming it to size. Side information details the best way to flatten exotic veneers.
From Fine Woodworking #189
Veneering has an image problem: Woodworkers see it as difficult; non-woodworkers consider it inferior to “solid wood.” Both perceptions are untrue. As with many woodworking procedures, the steps of veneering are easy to master and, with practice, you can produce beautiful results. Veneering opens up a world of exotic and beautiful woods such as burls and crotches, many of which would be difficult and prohibitively expensive to use as thicker lumber.
As an introductory project, we’ll veneer a plywood panel that can be inserted in a frame to form the door to a cupboard or bedside cabinet, or the lid for a box. The frame means there is no need to veneer the panel edges. And because it is not solid wood, the panel can be glued into its groove, strengthening the assembly. This is especially helpful with router-made cope-and-stick joinery, which has limited strength on its own.
Select and prepare the veneer Start with a core of 3⁄16-in.-thick birch plywood an inch wider and longer than the final size. After it is veneered and cut to size, it will fit into a 1⁄4-in.-wide groove.
If you don’t have a local supplier, try mail-order and online veneer sources (see p. 65). For this project, I selected some attractive cathedral-grain cherry for the outside, or face, of the panel, and quartersawn cherry veneer for the back side. You must veneer both sides to prevent the plywood from warping. The back veneer need not be the same species, but the grain direction should be the same as the face veneer.
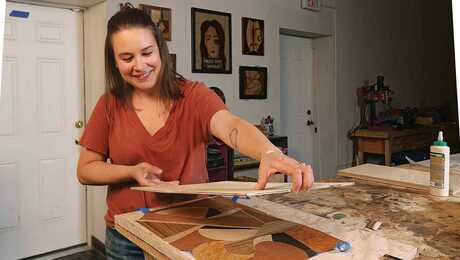
Book-matching shows off figure— You could use a single piece to veneer the panel, but a more interesting way to present some veneers is to take sequential leaves from the same log, and flip one piece over like the page of a book to form a mirror image, a process known as book-matching.
Compare the two pieces of veneer to find the location of the best match, and then lightly mark the cut line with a No. 2 pencil on the first piece. When cutting veneer, a self-healing mat used for fabric works well, but you also can cut on a piece of medium-density fiberboard (MDF). For most veneer I use a utility knife with a fixed blade (it is less wobbly than a retractable-blade knife) and I change blades frequently. I hold down the veneer with a 2-in.-wide aluminum rule with P80-grit sandpaper stuck to the back to prevent slipping. Make a light scoring cut, then four or five cuts of moderately increasing pressure until the cut is complete. Lay the freshly cut piece over the second piece of veneer, mark the exact matching line, and cut it, too.
For the full article, download the PDF below:
Fine Woodworking Recommended Products

AnchorSeal Log and Lumber End-Grain Sealer
Whiteside 9500 Solid Brass Router Inlay Router Bit Set

Bahco 6-Inch Card Scraper




Log in or create an account to post a comment.
Sign up Log in