Finishing a Drawer
Follow some logical steps to make finishing this problem-prone area straightforward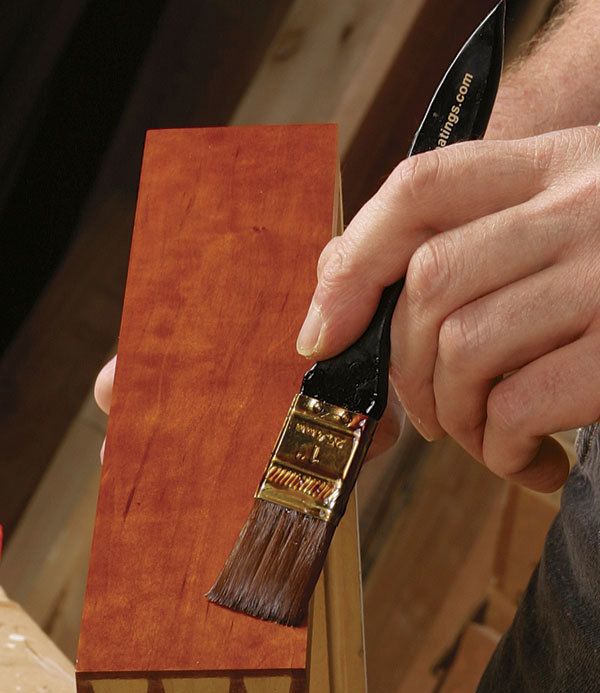
Synopsis: Drawers can be problematic when it comes to finishing. Internal corners either get too little finish or too much; the drawer has to transition from the visible outside of the piece to the less-visible inside; and the drawer must slide smoothly in a tight space. Jeff Jewitt’s method breaks the task down to a series of logical steps that turn a tricky job into a straightforward one: selective staining; finishing the sides, back, and bottom; and then finishing the drawer front and pull to match the rest of the piece.
From Fine Woodworking #189
When it comes to finishing, drawers seem to cause more problems than any other part of a workpiece. Pitfalls include internal corners that either avoid finish or collect a puddle of it; the drawer’s transition from the visible outside of the piece to the less-visible inside; and the need for the drawer to slide smoothly in a tight space. However, if you follow a series of logical steps, applying finish becomes straightforward.
Finish the drawer front first Most drawer fronts are made from a primary wood, with the sides, back, and bottom made from secondary woods. The stain (if applicable) and the clear coat on the drawer fronts should match the rest of the cabinet. The other parts of the drawer should get a minimal finish. This leads to the problem of how to make a clean transition, particularly if the sides are attached to the front with half-blind dovetails.
Staining? Isolate it— If the primary wood needs to be stained, do that before anything else. Apply stain first to the front and the top edge of the drawer front using a small piece of cotton cloth. For an even release of stain, dampen the cloth first with a liquid compatible with the dye’s solvent, in this case water. Be careful to keep the stain from creeping onto the inside of the drawer front or the tops of the drawer sides.
The next step is to stain the dovetail pins on the drawer front. Don’t run masking tape down the drawer sides and stain both the pins and the tails. This time-saving method looks awful. The best way is to use a #2 or #4 artist’s brush (available at artsupply stores).
With a steady hand, apply the stain to the pins and the narrow strip at the front, staying just away from the tails. Avoid overloading the brush; this increases the risk of stain spilling over onto the secondary wood.
For the full article, download the PDF below:
Fine Woodworking Recommended Products
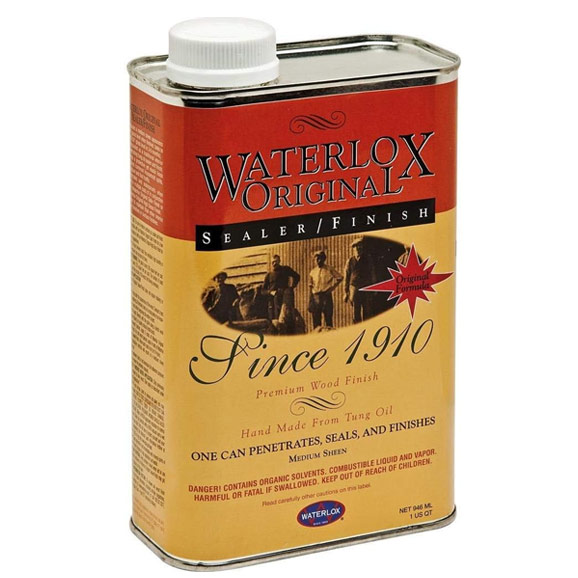
Waterlox Original
Foam Brushes






Log in or create an account to post a comment.
Sign up Log in