When to Stop Sanding?
Depending on the finish, probably earlier than you think.
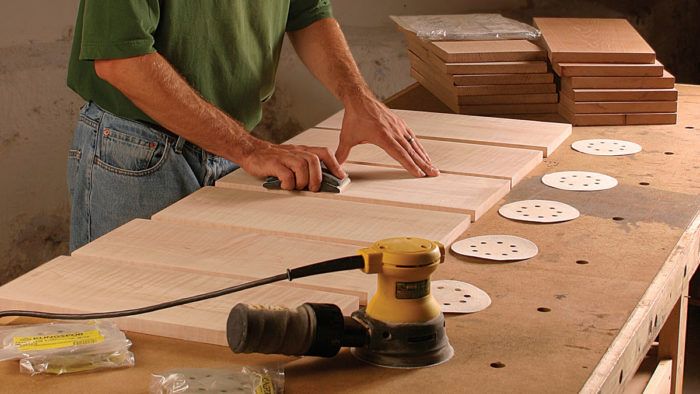
Synopsis: Ever consider that you may be sanding too much? Ari Tuckman has. Like many woodworkers, he dislikes sanding. So he set out to do a semi-scientific study to find out how much is too much. He tested six standard grits on cherry, white oak, and tiger maple, using a random-orbit sander and progressing through the grits to a final hand-sanding at the end, then finishing them with oil, shellac and wax, and polyurethane. His goal was to see if moving to a finer grit always makes an appreciable improvement in the finished surface. What he found might surprise you.
Sanding is most woodworkers’ least favorite activity. It’s dusty, boring, and time-consuming—the sooner done, the better. But what is the right stopping point? When does moving to a finer grit no longer yield appreciable improvements in the finished surface? To find out, I did a semi-scientific study. I took boards of cherry, white oak, and tiger maple, cut each into six pieces, and sanded them to six different grits. I then divided each piece into thirds and applied a different finish to each section, because what really matters is not how the bare boards look, but their appearance with a finish. The results were both interesting and reassuring.
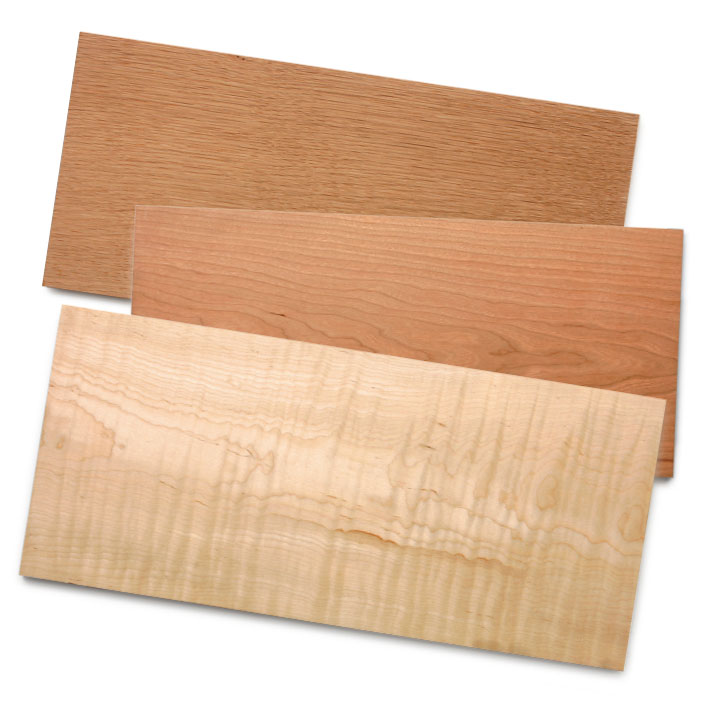 Six grits tested on three woods I used a random-orbit sander for the majority of the sanding, progressing through the grits. This was followed by hand-sanding with a sanding block, with the grain, at the same final grit. I changed the disks when they began to wear out, but I used fresh paper on each board’s final grit for both the random-orbit and the hand-sanding.
These three woods were chosen to see if wood grain or figure would make any difference. I cut one long board of each species into six 17 1⁄2-in. by 8-in. sections and machine-planed them flat. Once the 18 sections were sanded to the appropriate final grit, I removed the dust using a clean paintbrush and a vacuum.
Three types of finish applied After sanding, I used masking tape to separate each board into three sections. This allowed me to apply three different finishes to see if some are more sensitive to the final grit than others. I chose Danish oil for a minimal build, in-the-wood finish; shellac rubbed out with steel wool and then waxed for a medium-luster, thin film finish; and an oil-based polyurethane to give a more protective, high-gloss finish.
I used natural Watco Danish Oil, wiping on the first coat with a cotton cloth, and then wiping off the surplus. When dry, I applied a second coat and then wet-sanded using P400-grit wet/dry sandpaper and a sanding block. Then I wiped it dry to remove the surplus sawdust and oil. The next day, I applied a final coat in the same way as the first.
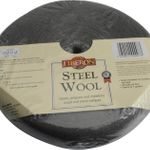
On the next section, I rubbed on Zinsser SealCoat shellac with a cotton cloth. I applied eight coats over two days, sanded lightly with P320-grit sandpaper on a sanding block, and then added two more coats. When dry, I rubbed the surface with 0000 steel wool, and applied a thin coat of paste wax, polishing with a cotton cloth.
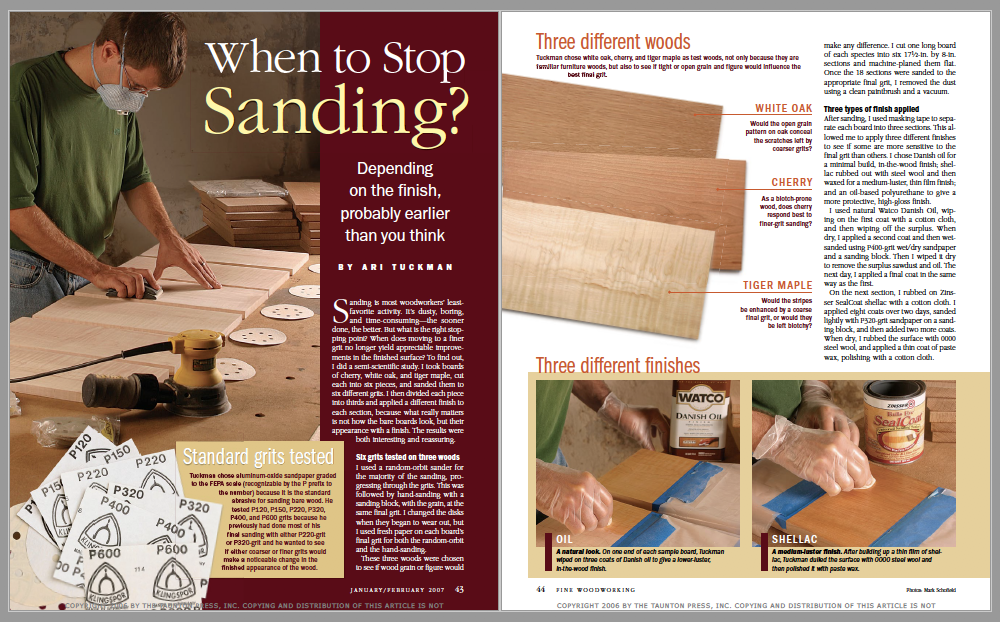 For the full article, download the PDF below:
From Fine Woodworking #189
Fine Woodworking Recommended Products
Diablo ‘SandNet’ Sanding Discs

Bahco 6-Inch Card Scraper


Log in or create an account to post a comment.
Sign up Log in