Marking System Keeps Track of Parts
Cabinetmaker's triangles ensure that the sides, back, and front of a dovetail assembly are properly oriented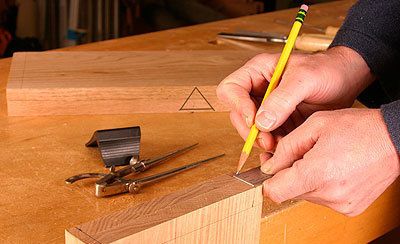
I find the best way to lay out dovetails is to do it with as few steps as possible. One trick that will ensure easy cutting and assembly without mistakes is to mark all of your pieces with cabinet makers triangles to keep track of the orientation of the pin boards and the tail boards.
The following photo series illustrates the three simple steps that I follow each time I start work on a dovetailed drawer or case. Taking the time to mark your workpieces accordingly means you won’t have to second guess your work.
Step One: Begin by putting the front and back of the assembly together orienting the pieces for the best appearance, carefully considering grain, color, defects, and other criteria of the piece you’re building. Draw a single triangle on the top edge (photo below) that points to the top of the case or the front of a drawer. The triangle should span across both pieces.
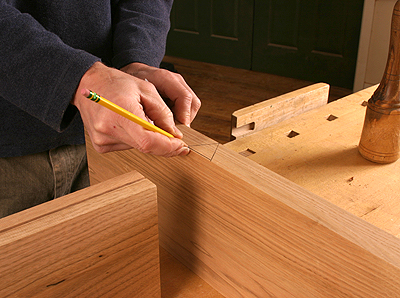
Step Two: Now put the two sides of the assembly together and draw a second triangle (photo below). The triangle should point in the same direction as the one drawn on the front and back workpieces.
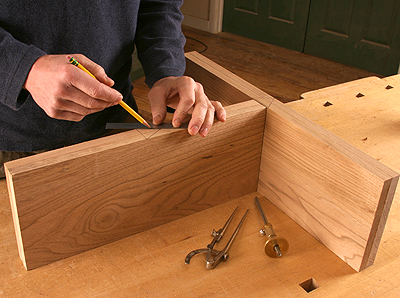
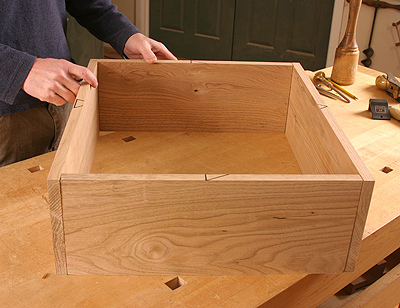
Step Three: When you arrange all four sides so that all the triangles are pointing in the same direction, they indicate the inside and outside (show) faces of the pin and tail boards and the top of the case or the end of a drawer or box. These two triangles contain all of the information you need to keep the parts in order as you cut your joinery.
Chris Gochnour is a furniture maker in Salt Lake City, Utah.
Photos: Tom McKenna
Fine Woodworking Recommended Products

Festool DF 500 Q-Set Domino Joiner
Pfiel Chip Carving Knife


Log in or create an account to post a comment.
Sign up Log in