A Portable Book Rack
An updated version of an Arts and Crafts classic. Read how the author builds it, watch a video of his technique for cutting through-mortises with no tearout, and order complete project plans.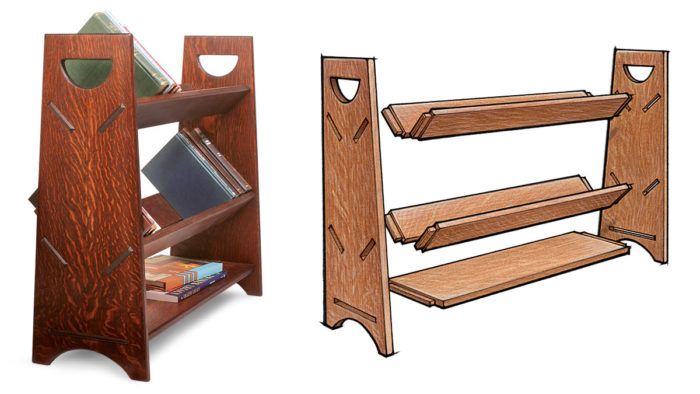
Synopsis: Gregory Paolini modeled his book rack after the #74 Gustav Stickley book rack — with its short design, V-shaped shelves, and D-shaped handholds. But Paolini also modified the design to make it his own, replacing wedged tenons with simple through-tenons, adding a shelf, and tapering the end panels for a look reminiscent of the Roycroft designs he loves. Paolini uses a router template to lay out and cut the slots for the shelf mortises and the other cutouts on the end panels. His router technique uses a guide bushing for initial cuts, followed by cleanup with a flush-trimming bit. The tenons are cut on the tablesaw, and the piece is finished with stain and shellac.
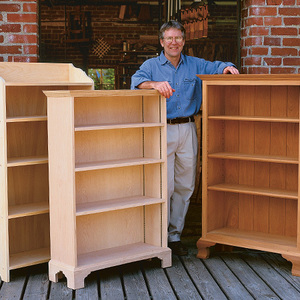
Years ago, while researching American Arts and Crafts designs, I took an immediate liking to gustav Stickley’s No. 74 book rack. It’s shorter than most bookcases, with slats that form a V-shaped trough to hold books spine up. Its D-shaped handholds make it easy to move.
I’ve made a dozen racks based on that design, from small desktop versions to extra-tall ones that hold compact discs and DVDs. I’ve also modified Stickley’s design. Simple through-tenons replace the wedged tenons. I added a second V-shaped trough in the middle to make the rack more functional, and I tapered the end panels, reflecting the look of the roycroft designs that I favor. Despite the changes, the book rack retains its Arts and Crafts character. This version, made from quartersawn white oak, is sized to sit between a couple of Morris chairs.
Make the end panels and router template
Since the end panels are the focal point, you want boards with maximum figure. Use single wide boards if you have them, or edge-glue narrower boards.
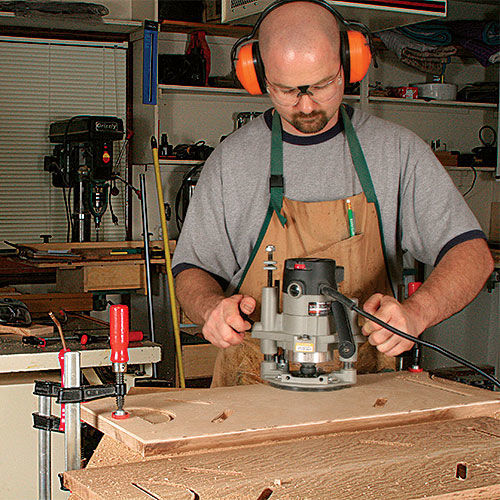
While the panels are drying, make a router template from 1⁄4-in. medium-density fiberboard (MDF) or plywood, which you’ll use to cut slots for the shelf mortises.
The template simplifies construction in several ways. It locates the shelf mortises, of course. And because I clamp the template to the inside face of one end piece and the outside face of the other, it ensures that the mortises will line up. when laying out the slots in the template, all you have to do is draw the dimensions for the 3⁄4-in.-thick shelves and cut a slot that wide. when using those slots to cut the through-mortises, use a bit and guide bushing. The offset between bit and bushing equals the width of the tenon shoulders. I get a mortise the right width, in the right location.
To avoid tearout when routing through-mortises, I work from one face toward the middle, without popping out the other side. So I rout the bulk of the mortises with the guide bushing, then use a flush-trimming bit from the other side to finish them cleanly.
From Fine Woodworking #197
For the full article, download the PDF below:

Get the Plan
CAD-drawn plans and a cutlist for this project are available in the Fine Woodworking store.




Log in or create an account to post a comment.
Sign up Log in