Tapered Laminations Made Easy
A single jig tapers the plies on the bandsaw and then guides them through the planer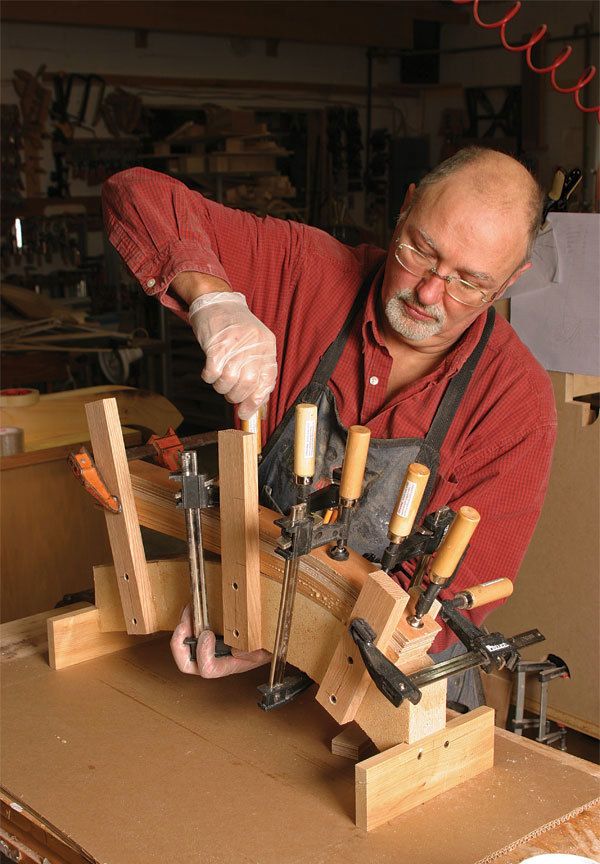
Synopsis:Open up a new range of design possibilities by incorporating tapered curved laminations into your furniture. The best technique for making these laminations, Michael Fortune says, is to taper each ply before they are glued together. If you glued up the lamination first and then tapered it, ugly gluelines would show up along the tapered surfaces, weakening the structure. Fortune’s jig makes it easy to cut the tapered plies on the bandsaw and clean them up on the planer. Another ingenious jig simplifies the job of cutting mortises in the curved pieces.
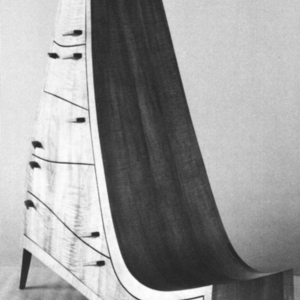
Incorporating tapered, curved laminations in your furniture opens up an incredible range of designs. However, tapering the component after it has been laminated has two disadvantages. If too many gluelines are broken, then the part will begin to straighten. Also, the severed gluelines are likely to show as a series of ugly lines.
A better way is to taper the individual plies, so that when they are glued together, both the inside and outside curves are continuous wood with no disfiguring gluelines. I have a jig that makes creating tapered plies a snap. It works not only to cut the tapered plies on the bandsaw, but also to clean them up on the planer.
Determine the dimensions of the plies
After creating a full-scale drawing of the piece, the first step is to figure out the number and thickness of the plies. This is a balancing act: The bond between thick, curved plies with only a few gluelines might weaken, letting the part slowly straighten, a process known as “cold creep.” Conversely, too many plies introduces too much glue, increasing the risk that the piece will contract or warp as it dries. As a guide, a 1-in.-thick laminated part bent around a 12-in. radius should comprise about 10 plies. You should be able to bend the plies around the form by hand; if not, make them thinner and add more.
When calculating the number of plies, start at the thin end of the finished part, maintaining a minimum thickness of 1⁄16 in. at the tapered end of each ply. Any thinner and they may not survive being passed through the planer. Then divide the thick end by the number of plies to get the maximum thickness of each ply. I recommend making the plies 1⁄4 in. wider than the finished part, and 1 in. longer (measured along the outside of the lamination) at both ends, to allow for cleanup and final sizing.
From Fine Woodworking #197
For the full article, download the PDF below:
Fine Woodworking Recommended Products
Ridgid EB4424 Oscillating Spindle/Belt Sander






Log in or create an account to post a comment.
Sign up Log in