Gluing up a Bandsawn Box
Q:
Mark Duginske’s video on making a bandsawn box is informative and helpful. However, twice in his presentation he mentions using a “gap-filling glue” without specifying what he uses or how he gets it into the small gaps. Can these points be clarified?
Peter H. De Graff, Ithaca, NY
A:
Almost any kind of glue will work for securing the parts of a bandsawn box. Ideally the glue should be thick enough to fill the gaps and stiff enough that it doesn’t run out of the opening.
GarrettWade 202Gf gap-filling glue is the favorite
After experimenting with just about every product I could obtain, I settled on GarrettWade 202Gf gap-filling glue. I buy the quart size since I use it for almost all projects. This glue is water-based polyvinyl acetate (PVA) glue that fills gaps without leaking out of them. Thick glues like epoxy also fill gaps, but they are hard to distribute because they are too thick and “sticky.”
Before using the GarrettWade glue, squeeze the bottle to mix in any solids that have separated. Otherwise, the glue may come out with streaks. The open time is from 10 to 15 minutes depending on temperature.
Once dry, one of the advantages of this glue is that it machines well with sharp hand tools or sandpaper. Epoxy, on the other hand, dries to a very hard consistency.
The glue-up process
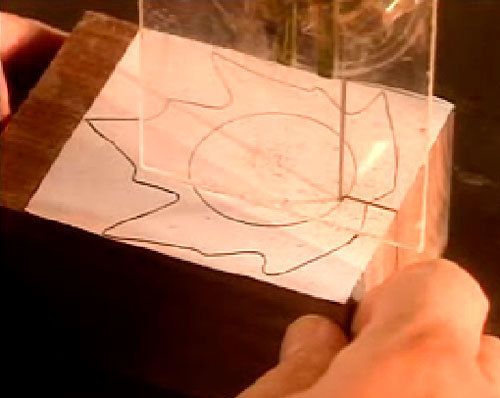
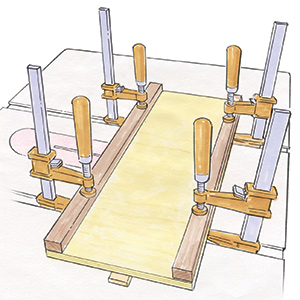
Generally, I spread glue with a flux brush before assembly but the bandsawn box project has tight crevices that can get glue-starved. Rather than using paper or a toothpick to move the glue, I’ve had good luck using a vacuum cleaner to pull the glue into the gap. I apply glue on one side of the seam and put the vacuum hose to the other side. I make a seal between the hose and the wood using my hand or duct tape. When the vacuum is turned on, it sucks the glue from one side of the material to the other. Each seam requires a little experimenting to determine how best to setup the vacuum.
You could also try pushing glue through the gap using a putty knife, plastic shim stock that comes in a variety of thicknesses, or an automotive feeler gauge, which has blades in various widths. Paper or toothpicks are not the best choices because they absorb moisture from the glue and could easily stick to the project.
Finishing
For the bottom, you need to glue the plug into the base. This doesn’t require clamps; just let gravity hold the plug in place on top of waxed paper to prevent sticking. I then sand the bottom of the completed box by rubbing it on a flat piece of 120-grit sandpaper. The glue around the plug takes in some of the sawdust and gives the bottom a clean and uniform color.
If there are still gaps in the assembly after glue-up, they can be filled with a combination of glue and fine sawdust. The GarrettWade 202Gf glue maintains a nice consistency when mixed with sawdust and doesn’t turn into a thick, unmanageable paste like some other glues.
Experiment with some scrap to get a feeling for the various techniques.
Fine Woodworking Recommended Products
Bessey EKH Trigger Clamps
Bessey K-Body Parallel-Jaw Clamp
Dubuque Clamp Works Bar Clamps - 4 pack




Log in or create an account to post a comment.
Sign up Log in