Easy Finish Ages a Classic Cherry Piece
Simple steps to mute color of new cherry wood and create a durable finish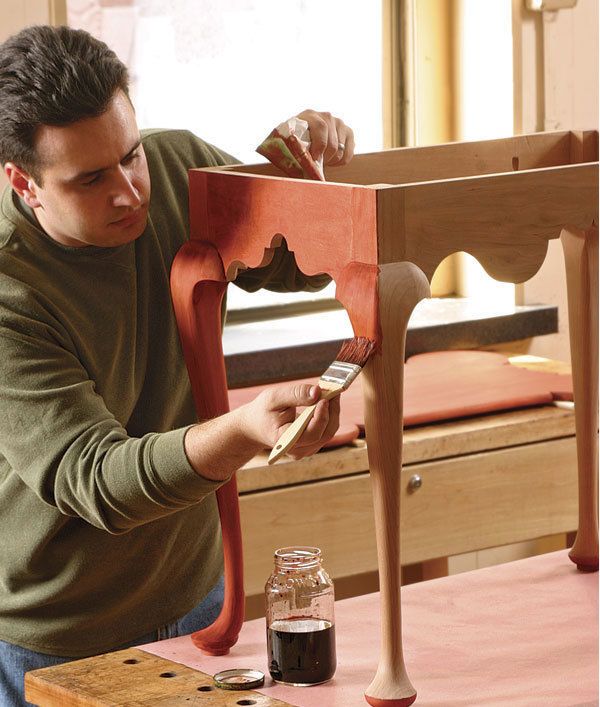
Synopsis: Dan Faia’s first goal when finishing his porringer-top tea table was to tone down the brightness of the new cherry wood. Cherry’s tendency to blotch can make dyeing tricky, but this staining method helps to minimize the problem. He started with a shellac washcoat, then applied water-based aniline dye. Unthinned varnish completed the finish. With step-by-step directions for correct dye application and finishing, this technique makes aging a classic cherry piece easy.
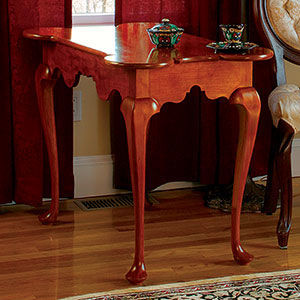
Like many furniture projects, this porringer-top tea table in cherry (see pp. 60-67) won’t be the first piece of furniture in its new home. There is a spot all picked out for it in the living room, between pieces of age-darkened cherry and stained pine. So my first goal was to tone down the table’s bright natural cherry a little to help the new piece blend in.
Cherry’s tendency to blotch can make dyeing tricky, but this staining method helps to minimize the problem. For a topcoat afterward, I chose Waterlox Original Satin Finish because it allowed me to build a durable finish quickly, with a minimum of fuss.
Surface preparation is important to all finishes, but especially when dyeing and staining. Coloring wood highlights and magnifies minor imperfections like overlooked glue squeeze-out or small areas of tearout. Glue will absorb less dye and appear lighter than the surrounding wood. Sanding scratches and tearout will do just the opposite.
Begin the process by handplaning to level the surfaces and to remove mill marks. A thorough scraping will refine the surfaces, helping to clean up any tearout. How the wood is scraped will determine the sanding grit to begin with—P180-grit is most likely. To preserve the feeling of hand-worked surfaces on this period reproduction, I sanded only by hand, without using a sanding block.
Even though I seal the surface before applying the water-based dye, I still start by raising the grain. After sanding, slightly dampen the surface with distilled water. If you use tap water, be sure to test it on a piece of scrap first. Some tap water has a high iron content that can stain the wood, leaving black or yellow spots. Allow the wood to dry thoroughly and resand the wood lightly with P220-grit paper.
The key to applying dye: keep moving
Water-based aniline dye is easy to mix. I used Homestead Finishing’s TransFast dye powder in antique cherry red. Start with a capful (about 1⁄2 oz.) of dye powder in a pint of warm water and add small amounts of dye or water to adjust the color. Always test the color on a scrap piece of project lumber that also has been sanded and sealed.
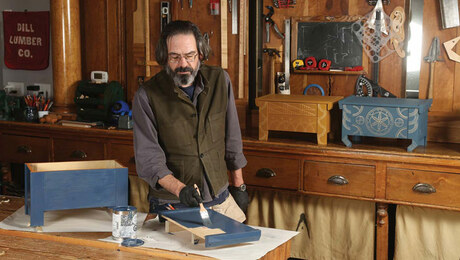
To achieve a uniform color when applying the dye, it’s best to be methodical. Brush dye on one element of the project at a time, then mop away the excess with a rag. If the dye puddles or sits too long, it could darken the piece unevenly. You can make the overall color darker by applying further coats. The dye shouldn’t raise the grain enough to require any additional sanding, but you can smooth the surface with 0000 steel wool.
From Fine Woodworking #191
For the full article, download the PDF below:
Fine Woodworking Recommended Products
Odie's Oil

Bahco 6-Inch Card Scraper







Log in or create an account to post a comment.
Sign up Log in