The Pegged Joint, Exposed
Showcase and strengthen mortise-and-tenon joints
Synopsis: Driving a hardwood peg through a mortise-and-tenon joint does more than add a decorative element: It makes the joint stronger. Though the same technique can be used on other types of joinery such as box joints and dovetails, the pegged mortise-and-tenon is a staple in author Matthew Teague’s furniture. In this article, Teague details the technique for standard and drawbored pegging, and gives tips for layout and design, including different ways to trim pegs to add decorative details on the ends. Included are directions for a shopmade punch that easily squares up holes for square pegs.
From Fine Woodworking #191
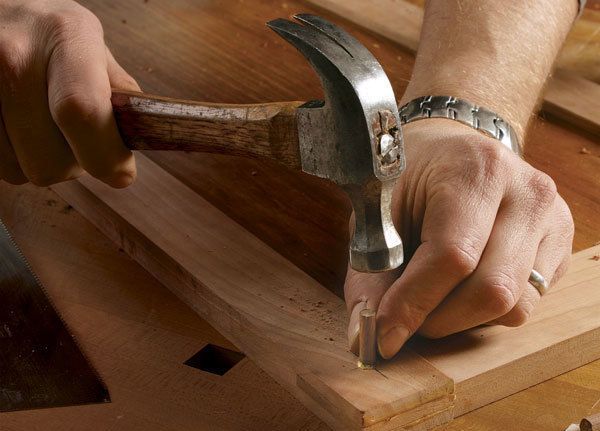
I seldom cut mortises and tenons—whether in doors, leg-to-apron joints, or on breadboard ends—without pegging the joints. Driving a wood peg through a mortise and tenon not only strengthens the joint, but it also adds a decorative element that I’ve come to depend on in most of my designs. Because I lean toward joinery that is honest and exposed, using pegs makes the construction process transparent. If you see pegs, you can bet that they’re more than ornamental, and you can tell at a glance how the piece is held together.
Reinforcing a joint in this manner involves driving a hardwood peg through the mortise and tenon (though I’ve seen the same technique used on other types of joinery, including box joints and dovetails). Structurally, the peg strengthens the mechanical connection between mortise and tenon—often to the extent that glue isn’t necessary. Aesthetically, the peg can add a subtle or bold detail to your work.
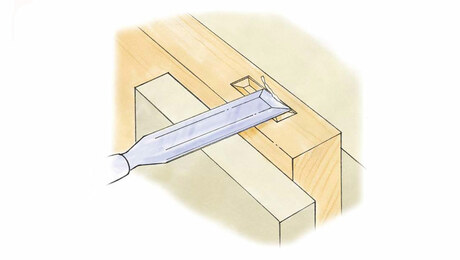
Most of the time, I drive pegs into a mortise-and-tenon joint that has already been assembled. But with proper planning, pegs also can be integral to the assembly process, exerting their own clamping pressure. This method, called drawbored pegging, calls for some drilling and layout work before assembly (for details, see pp. 44-45). Both methods make for bombproof joints, and the techniques are relatively simple.
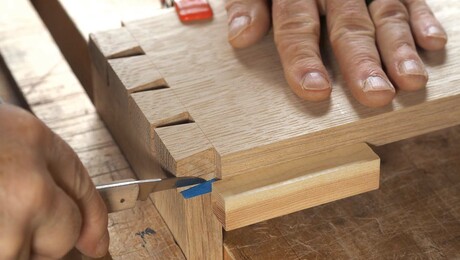
Let the furniture dictate the peg form Pegs can be designed to suit most furniture styles. For starters, you can make them round, square, flush, or even proud and faceted (for an assortment of peg styles, see the photo on p. 39). Then there is the species of wood. Because the end grain of the pegs is exposed and will darken with an applied finish, they will offer contrast in some form. For a more subtle appearance, cut the pegs from the same primary wood you’re using on the project. To pump up the contrast, choose pegs of a darker or lighter species. I often use walnut to add a darker accent to cherry designs. Ebony is dense and strong, and the near-black color offsets mahogany or walnut well. On occasion, especially if I want a more contemporary look, I’ll use pegs of a lighter color: holly pegs in a mahogany door, for instance.
For the full article, download the PDF below:
Fine Woodworking Recommended Products

Leigh D4R Pro

Festool DF 500 Q-Set Domino Joiner

Veritas Precision Square


Log in or create an account to post a comment.
Sign up Log in