Adirondack Chair
Build this comfortable, lightweight version of the quintessential American outdoor chair.

Synopsis: Unlike many others of its type, this version of the quintessentially American outdoor chair has a curved seat and back for added comfort. It is also lightweight, so your back shouldn’t suffer as you move it around the yard. Assembled with screws, this chair has step by step instructions for assembling the seat, back, side, and leg assemblies. Once completed and given a good coat of finish, it should be happy outside for years to come. Included with the project article is a gallery of Adirondack chair designs.
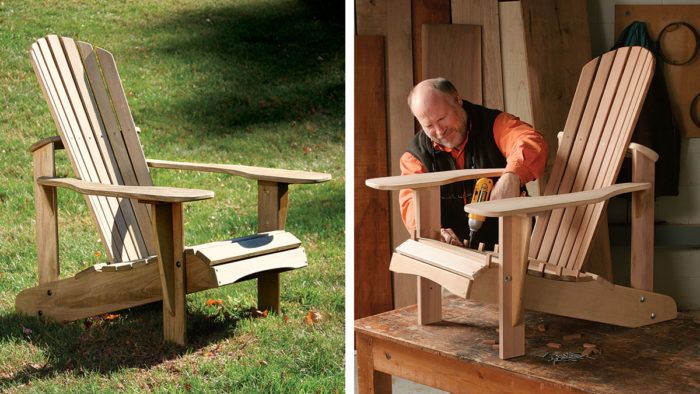
This quintessentially American outdoor chair was born in the early 1900s in the Adirondack mountain region of New York state. The generous slant of the seat and back make it an inviting place to relax outdoors. And for those who like to graze while relaxing, armrests the size of small tables offer plenty of room for a plate of snacks and a favorite beverage.

Unlike the original, our chair has a curved seat and back, making it a place where you won’t mind spending a lot of downtime. It is made from western red cedar, a weather-resistant, lightweight wood available at most lumberyards. Cypress, mahogany, and redwood also are lightweight and enjoy the outdoors. Ipé an teak are at home outdoors, too, but expect a chair made from either to be a muscle-strainer.
Most of the parts are made from presurfaced “1-by” stock, but for the parts that carry extra load—sides, legs, risers, and cradles—I used 5/4 presurfaced stock. Much like a 2×4, the actual dimensions end up slightly less. That said, if you use teak, ipé, or any other hardwood, you can build the entire chair from 1-by boards.
Begin with the sides
The sides are the foundation of the framework. bandsaw. Smooth the sawblade marks on the edges of the sides with a plane, scraper, or sanding block.
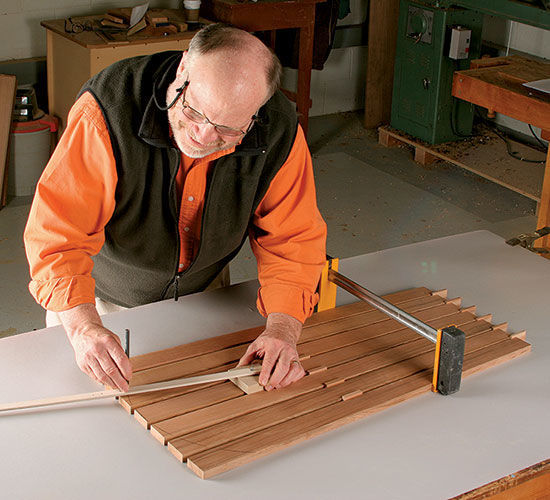
Cut seat slats, stretcher, and lower back-slat cradle
Cut the seat slats to size before moving on to the front stretcher. To lay out the curve along the bottom edge of the stretcher, make a jumbo compass (see tip, p. 55). Measure 33 in. from the compass pivot point and drill a 1⁄8-in.-dia. hole to accept a pencil point.
Before scribing the curve, add reference points to the stretcher. At a point 3⁄4 in. from the front edge, draw a line across the length of the piece. On that line, mark the center point. Now, place the stretcher on a workbench. Align the pivot point of the compass with the center mark on the stretcher, positioning the pencil on the center point. Use the compass to scribe the arc across the stretcher, use a bandsaw to cut it out, then smooth the sawn edges.
 From Fine Woodworking #192
To view the entire article, please click the View PDF button below:


Log in or create an account to post a comment.
Sign up Log in