Cutting Thin Strips on the Table Saw
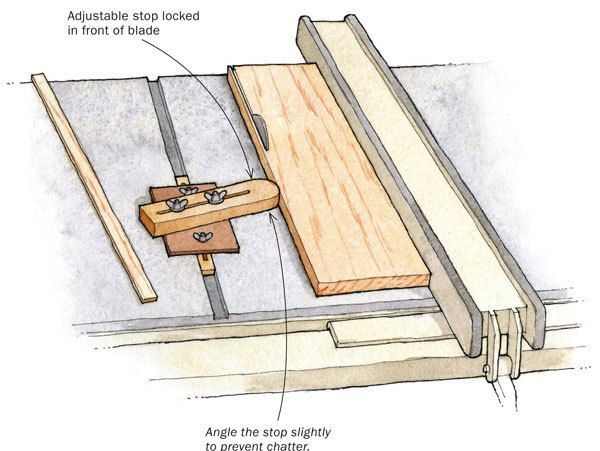
Sooner or later, we all need to cut thin strips on the tablesaw. The normal procedure is to set the rip fence to the width of the strip, but this creates a situation where the strip could be captured and thrown back at you, or scarred by teeth at the back of the blade.
A safer option is to put the bulk of the stock between the blade and the fence so the strip is cut to the left of the blade. The problem with this is that the fence must be adjusted by eye each time, and the results will never be uniform.
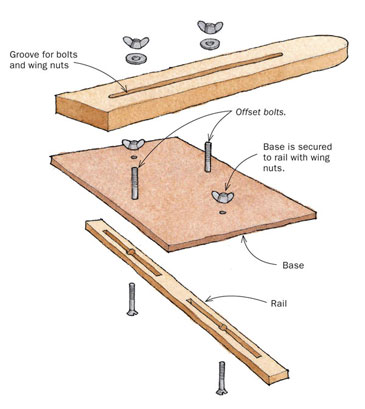
I built a jig with an adjustable stop that enables me to cut consistently sized, repeatable strips on the left side of the blade. The base of the jig locks into the miter slot with two wing nuts that expand the rail. The adjustable stop slides along the base and is locked in place with wing nuts.
To use the jig, I lock the base in place, with the adjustable stop loose. I snug the workpiece against the fence, then slide the piece and fence past the blade until it’s set to cut a strip to the thickness I need. At that point I lock the fence in place, slide the adjustable stop against the workpiece, and lock it in place.
I then make a test cut. If the strip is the correct size, I slide the workpiece and fence against the stop again, lock the fence, and repeat the cut. If the cut isn’t the right size, I adjust the stop’s position and try again. Using this method, I can cut hundreds of strips that are all the same thickness.
Drawings by Jim Richey.
Drawings by Jim Richey.
Fine Woodworking Recommended Products
Incra Miter 1000HD
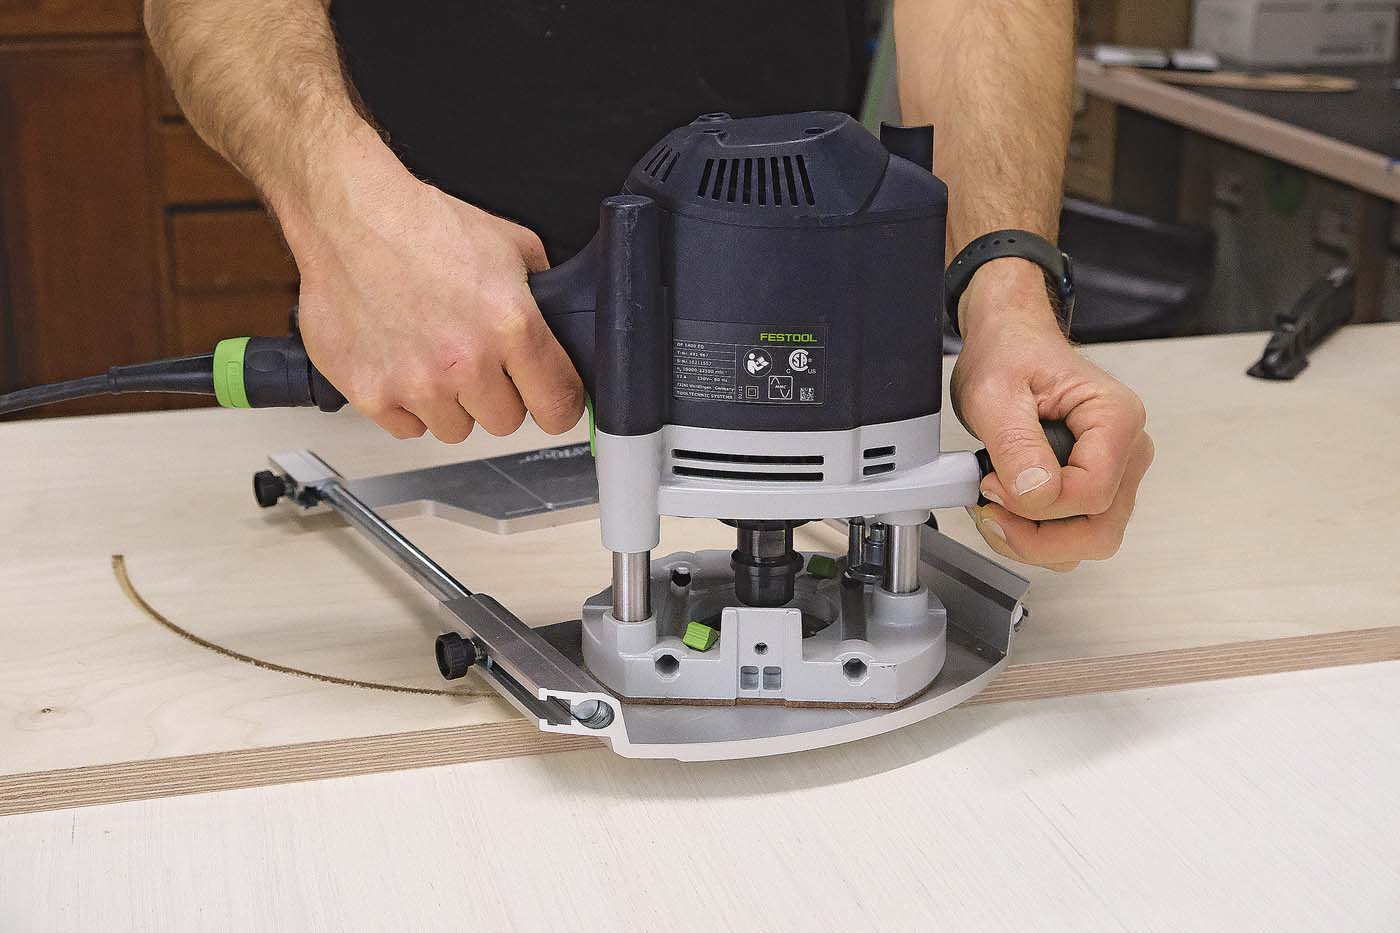
Woodriver Circle Cutting Jig
Milescraft 4007 6in Bench Clamp




Log in or create an account to post a comment.
Sign up Log in