Two Designs for Carved Rosettes
How to create a three-tier rosette and a walnut-shell rosette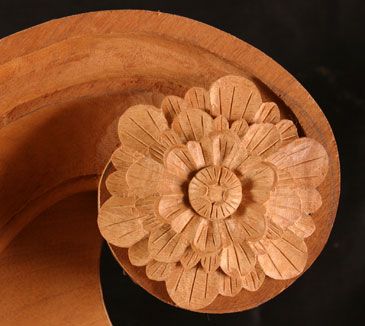
Here are two other designs for rather elaborate rosettes. Although they may look complicated, most of the cuts are made with a #7 20-mm sweep, a #7 6-mm sweep, and a V-tool. Both rosettes begin with a simple turned blank. The photos below show key intermediate stages in the carving as well as the finished rosette.
Three tier rosette
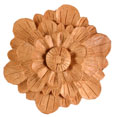
When I first saw this rosette I couldn’t begin to think how I could tackle it in stages, but Irion Company Furniture Makers were kind enough to let me handle a finished rosette so that I could study it in detail.
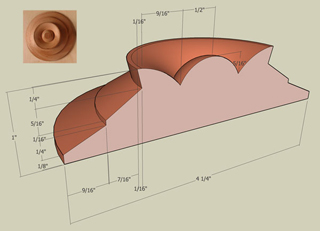
Turn the blank. Follow the dimensions in the drawing. Turn the three layers first, then the central dome. Click to enlarge.
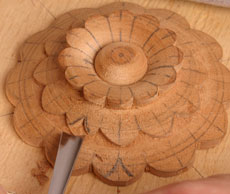
Begin the carving. Divide the blank into 12 sections and draw pairs of circles on the lower two levels. Draw and then cut the perimeter of the wide petals on all three tiers. You then need to divide every other large petal into two smaller petals. In the photo above, the gouge points to one divided petal.
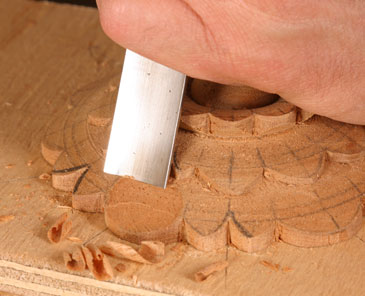
Shape the petals. Once the perimeters of the petals are defined, carve their concave profiles.
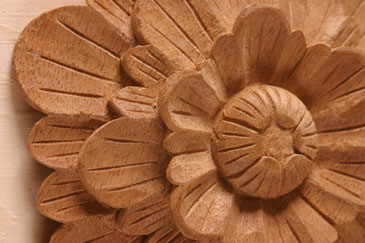
Add finishing touches. Create a small hexagonal hollow in the center of the dome, then add veining.
Walnut shell rosette
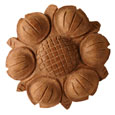
Note that the lip around what I term each walnut shell is a little tricky to carve without breakout.
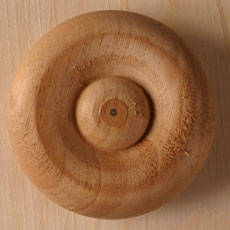
Turn the blank. This shape is very similar to the one shown in the Master Class.
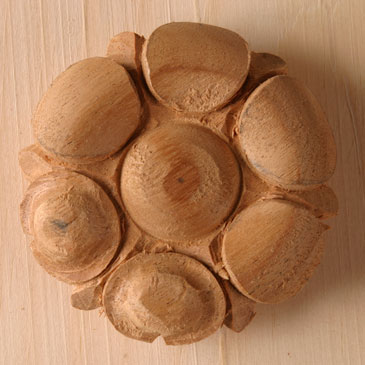
First, define the perimeter. Then excavate the valleys between each walnut shell.
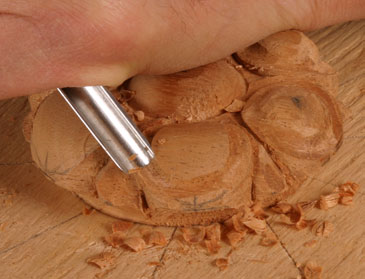
Create the lip around each shell. Use a small gouge with a #8 or #9 sweep. Use light pressure and take small cuts.
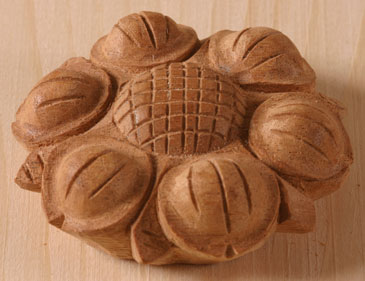
Add finishing touches. Carve three veins to each walnut shell and crosshatched veins to the central dome.
Photos: Mark Schofield. Drawing: The FWW.Com SketchUp bloggers




Log in or create an account to post a comment.
Sign up Log in