Carve a Rosette
Learn essential carving skills with this classic ornament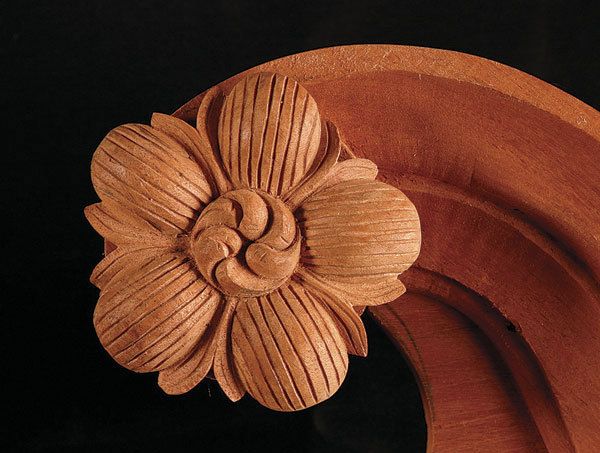
Synopsis: Period furniture maker Tony Kubalak takes the intimidation out of carving in this Master Class article on crafting a rosette. Carving is as much a science as an art and needs to be done in logical, repeatable steps. First the blank is roughed out with a bandsaw, next the elements are turned on a lathe, and then the carving begins. Kubalak explains in detail how to create the rosette using a small number of repeatable steps. By the end of the article you’ll see how something that seems daunting and complex becomes manageable. Learn to carve two other versions of the classic rosette in a Web-only feature.
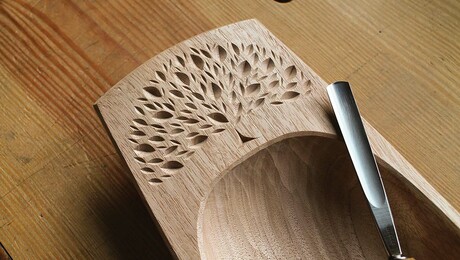
To many furniture makers, carving is intimidating and frightening. A great way to overcome these fears is to carve an applied rosette: It requires only a small amount of wood; it’s independent of the piece it eventually will reside on; and it has a small number of elements that are repeated multiple times. Rosettes come in many variations, and although small in size, they significantly refine a high chest or a clock case. I’ll cover one style here and two more (see p. 100) on FineWoodworking.com.
When I became interested in building period furniture, I didn’t think that I’d be able to tackle the carving. I assumed that you had to be an artist and I didn’t consider myself one. I’ve since learned that carving is as much science as art, a process taken in logical, repeatable steps. That said, carving is a skill that you can continue to hone for a lifetime.
Turn a blank on the lathe and lay out the design
Start with a blank that’s approximately 7⁄8 in. thick by 37⁄8 in. square. After cutting out a rough circle on the bandsaw, screw the blank to a screw chuck that already has a 1⁄2-in.- thick disk of wood attached to it. You need to include this other piece of wood because you will undercut the back of the rosette and you don’t want the turning tool hitting the chuck. This rosette is one element repeated five times, so divide the disk into five equal sections.
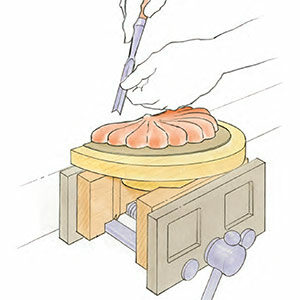
You’ll need a backer board to hold the rosette for carving. Lay out this board with lines radiating out from a center point at the desired spacing and extending about 3 in. beyond the blank. In this case there are five major divisions, so draw a major line every 72º marking the midpoint of the petals, with minor lines dividing the petals halfway between the major ones. Drill a hole through the center of the backer board and screw on the blank, penetrating the blank by no more than 1⁄2 in. Place a pencil dot at the center of the blank, and by eye, extend the backer-board lines onto the blank. Draw two circles and lay out the petals.
From Fine Woodworking #194
For the full article, download the PDF below:







Log in or create an account to post a comment.
Sign up Log in