Quick, Sturdy Bookcase
Learn to taper sliding dovetails for an easier glue-up
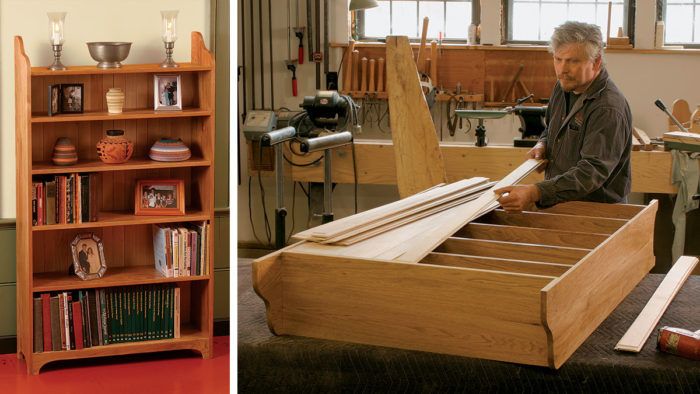
Synopsis: This butternut-and-maple bookcase is strong enough to hold a heavy load of books but small enough to fit in any room. The tapered sliding dovetails that connect the shelves to the sides create a powerful wedged joint that requires no clamps during assembly. All of the parts are made of 3/4-in.-thick stock, except for the shiplapped back boards. Bracket feet and gentle curves along the tops of the sides add movement to the design. Milkovits used a router and jig setup to cut the tapered dovetail slots and keys.
In my home, bookcases show up in every room, serving not only as places to store our growing collection of books, but also as places to display art and other items of interest. This butternut-andmaple bookcase is a versatile piece, big enough to hold a good number of books and/or collectibles while small enough to fit in almost any room.
The design is understated, with bracket feet and gentle curves along the tops of the sides, and maple back boards contrasting softly with butternut sides and shelves.
But you can use this construction method to build a bookcase in any style. The shelves are attached to the sides with sliding dovetails, which provide a mechanical connection that will never pull apart. Sliding dovetails also are used to connect cabinet tops to bottoms, to join vertical partitions to shelves, to attach molding to case sides, to connect breadboard ends to tabletops, and to attach drawer fronts to sides. In this case, I stopped the dovetails for a clean look on the front of the piece. The back boards are shiplapped to allow for wood movement.
Why taper the dovetail?

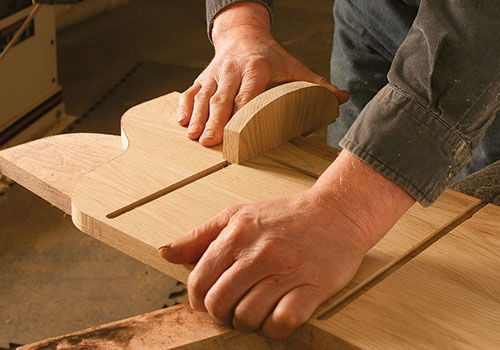
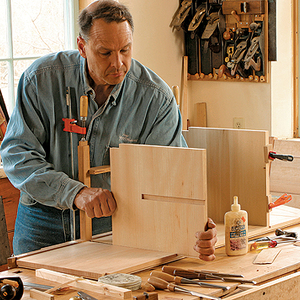
A sliding dovetail has two parts: the slot and the dovetail key. Here the slots are routed into the case sides, and the keys are cut on the ends of the shelf. When you use this joint in wide stock, binding is a common headache during glue-up. The joint goes halfway home, then the glue makes the wood swell and the joint seizes. That’s why I taper the joint slightly toward the front of the case. The taper—cut on one side of the slot and on the corresponding face of the key—makes it easy to slide the shelf in from the back without binding, and creates a wedging action in front as the shelf is tapped home.
The amount of taper is not that critical as long as it is consistent. I keep it to about 1⁄32 in. (about as thick as three business cards) per 10 in. of board width. With a taper like this, the joint can be almost completely assembled for trial fitting, and can be driven home with a few mallet blows.
Learn how Milkovits finishes this bench in a finishing recipe feature.
From Fine Woodworking #194
For the full article, download the PDF below:


Log in or create an account to post a comment.
Sign up Log in