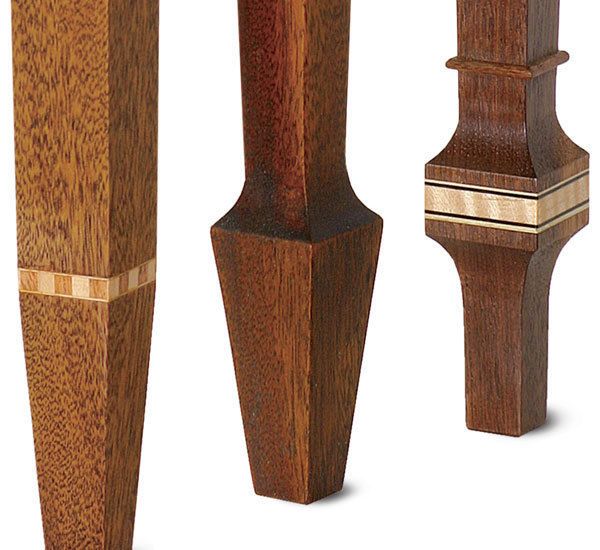
Synopsis: This article demonstrates how to build a square tapered leg with three different styles of feet. Once the leg blank is milled square, virtually all the shaping is done using a drill press with a Forstner bit and simple jig, and a tablesaw with a tapering jig. A simple procedure for setting up the jigs ensures repeatable results on each side of the leg and from one leg to the next. The first is a double-taper leg with banding at the ankle between the tapers. The second is a simple spade foot, with curves shaped on the drill press. And the third is a complex spade foot with decorative banding centered within the square section and beading at the ankle for a finishing touch.
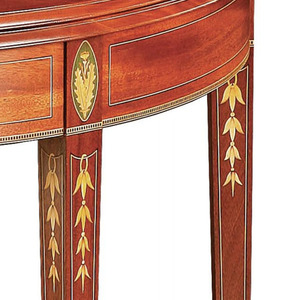
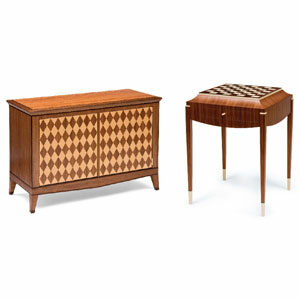
Three years ago, I had the privilege of participating in the inaugural Three month Furniture making Intensive workshop offered by the North bennet Street School in Boston. In addition to increased knowledge of the craft, wonderful experiences with the instructors, and new friends, I came away with an elegant Federal-style writing desk (see photo, facing page).
Making the square tapered legs required a fair amount of work with handplanes, spokeshaves, rasps, and files. After some experimentation, I figured out how to cut three styles of Federal leg using simple shopmade jigs. once cut, the legs need only minor cleanup. one leg has a double taper. The other two are variations on a spade foot.
All three styles of leg use the same cutting sequence for the tapers. (For the spade feet, you first drill out sections that form the flares at the ankle.) cut the long tapers first, then flip the leg end for end in the tapering jig. readjust it for the tapers at the foot, then make those cuts.
To make the legs shown here, mill blanks that are 11⁄4 in. sq. and 18 in. long. mark the point near the top where the taper begins (it’s 3 in. for these legs). mark the ankle: in this case, 23⁄4 in. mark two sets of reference lines on the bottom of the blank, at 3⁄16 in. and 5⁄16 in. from each face. These will help position the blank to cut the long and short tapers. If you wish to make legs of a different size, a full-size pattern will help you refine proportions and the angles of the tapers.
Start with a tapering jig
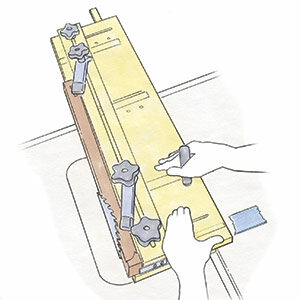
I designed this tablesaw jig for cutting square tapers. Cut the base from 1⁄2-in.- thick birch plywood and the fence from a double thickness of 3⁄4-in.-thick plywood. The length of the base and fence can vary. Rout dadoes and slots in the base and fence, as shown, to accommodate a runner for the saw’s miter slot and the bolts that hold the fence in place. Screw a stop to the short end of the fence nearest the front of the tablesaw. Fasten two toggle clamps to the top of the fence. Drill extra sets of holes for the screws holding the clamps; the jig is handier if you can relocate the clamps. i screw a handle to the front of the jig, but it’s not necessary.
Secure the runner to the bottom of the base, slide it into the miter slot, and trim the edge of the base to align it with the blade.
From Fine Woodworking #194
For the full article, download the PDF below:
Fine Woodworking Recommended Products
Bessey K-Body Parallel-Jaw Clamp

Stanley Powerlock 16-ft. tape measure

Drafting Tools







Log in or create an account to post a comment.
Sign up Log in