Synopsis: Start each woodworking session with a quick, practice dovetail to work out the kinks and get in tune with your hand tools. That’s what Gary Rogowski teaches his students. For seasoned woodworkers, the exercise will help you practice handskills while easing into the focused mindset required for woodworking. For beginners, it’s a great introduction to hand-cutting a dovetail joint.
What is it about woodworkers?
Baseball players loosen up their arms and take batting practice before a game. Violinists rosin their bows and tune their instruments before a concert. Artists draw big circles on their pads before drawing a portrait. Everyone seems to warm up before starting work except woodworkers.
What hubris tricks us into believing that we can begin sawing right now on that fiddleback maple, without getting ready? Some of us, hell-bent on “getting something done tonight,” only make more work for ourselves in fixing mistakes. I do not have an answer. But I do have a strategy, at least for myself and for my students. It’s called the five-minute dovetail.
This simple exercise consists of hand-cutting a single large dovetail to join a couple of pieces of scrap. It helps me practice hand skills while easing me into the focused mindset required for woodworking. For beginners, it’s also a great introduction to hand-cutting a dovetail joint. The results don’t have to be perfect. The point is to practice and get familiar with your body, the tools, and your bench.
The exercise uses wood like poplar or alder milled to about 5⁄8 in. thick by 2 in. wide by 3 in. long. You’ll need a pencil, a backsaw, a coping saw, two chisels (3⁄4 in. and 1⁄2 in.), a mallet, and a bench hook. Your tools should be sharp, your saws waxed for lubrication. Start by marking out the thickness of the stock on all four sides. There’s no need for a marking gauge; just hold one board tight to the other and pencil in the line.
Guiding a saw
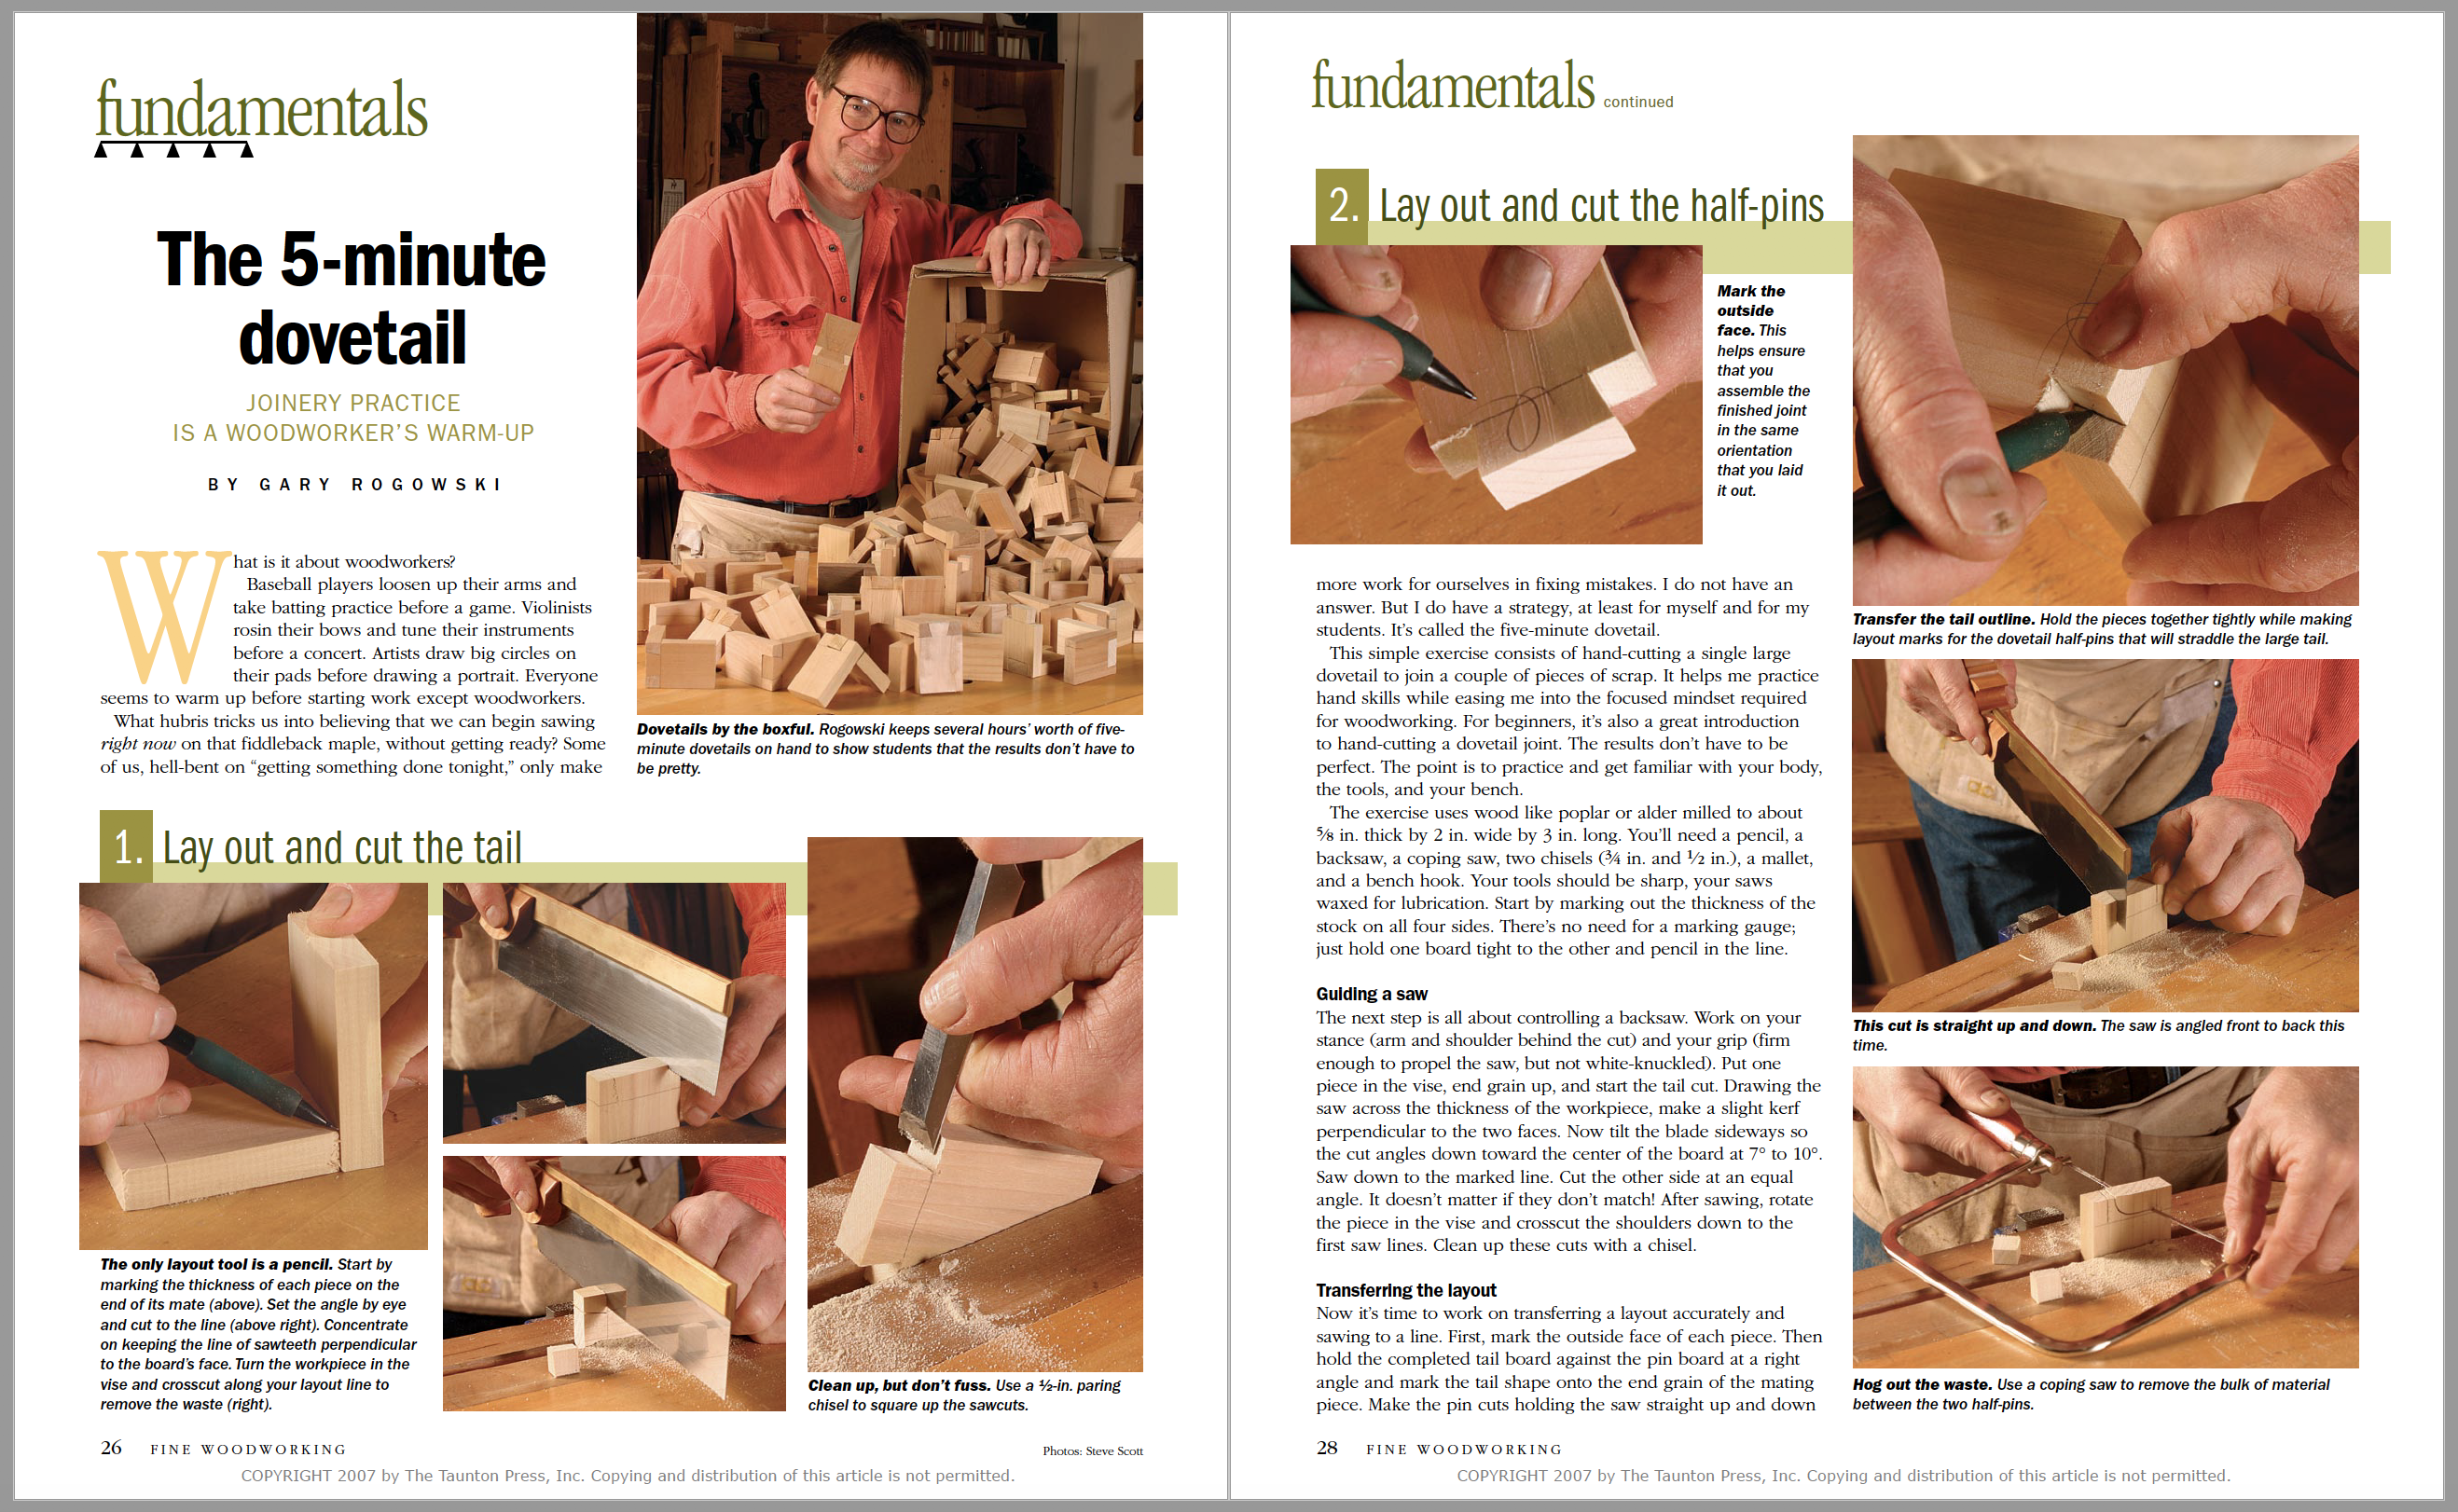
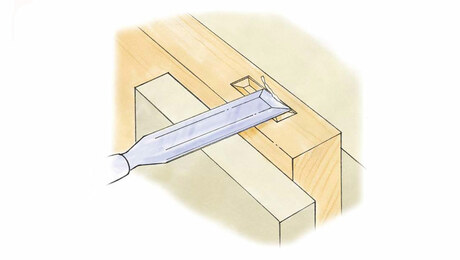
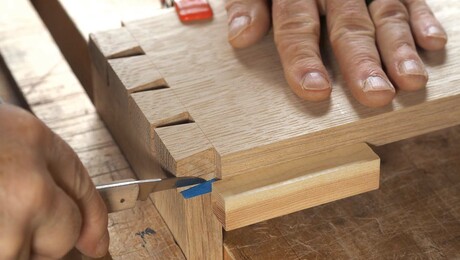
The next step is all about controlling a backsaw. Work on your stance (arm and shoulder behind the cut) and your grip (firm enough to propel the saw, but not white-knuckled). Put one piece in the vise, end grain up, and start the tail cut. Drawing the saw across the thickness of the workpiece, make a slight kerf perpendicular to the two faces. Now tilt the blade sideways so the cut angles down toward the center of the board at 7° to 10°. Saw down to the marked line. Cut the other side at an equal angle. It doesn’t matter if they don’t match! After sawing, rotate the piece in the vise and crosscut the shoulders down to the first saw lines. Clean up these cuts with a chisel.
 From Fine Woodworking #196
For the full article, download the PDF below:
Fine Woodworking Recommended Products

Marking knife: Hock Double-Bevel Violin Knife, 3/4 in.

Starrett 12-in. combination square

Suizan Japanese Pull Saw


Log in or create an account to post a comment.
Sign up Log in