Precise Dovetails: Tips for Laying Out Tails
Andy Rae shares his secrets for making a dovetailed drawer that's square, flush, and flat at the corners.Andy Rae, a FineWoodworking.Com contributing editor, takes you step-by-step through the process of cutting full and half-blind dovetails. In these three videos, he shows you how to mark and cut the tails, mark and chisel the pins, then bring all the pieces together in a nice, tight fit.
 |
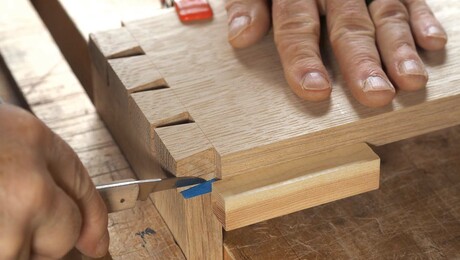
NOW PLAYING: Part One: Laying out and cutting the tails See how Andy uses his marking gauge to strike the lines that set the depth of the pins and tails. You’ll also see how he uses a bandsaw to quickly remove waste, then pares with a chisel to clean up the saw cuts. |
|
 |
Part Two: Cutting pins and half-blind dovetails In this video, you’ll see how Andy marks parts to keep the sides, front, and back of a drawer properly oriented. You’ll also see how he aligns the ends and sides of the workpieces to mark pins quickly and accurately. |
|
 |
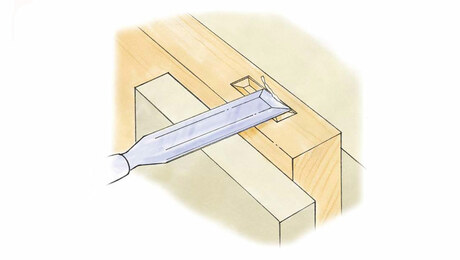
Part Three: Fitting and glue-up This final video shows how Andy finishes paring the pin sockets for a half-blind dovetail joint, then carefully fits the pieces and uses light paring cuts with a chisel to produce a tight fit. You’ll also see how he uses pinch rods to check the assembled drawer for square before glue-up. |





Log in or create an account to post a comment.
Sign up Log in