Kid's Woodworking Project: A Small Bench
A simple but sturdy bench or stepstool, from the students of the Clear Spring School in Eureka Springs, Ark.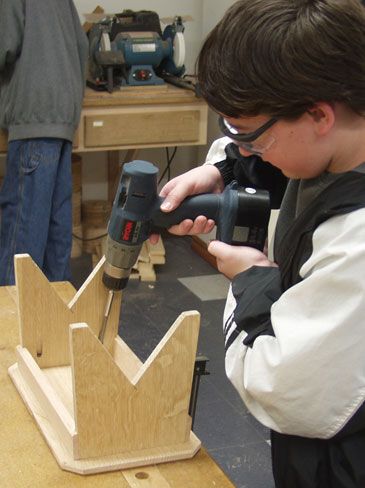
The projects in this series were first made by the students at the Clear Spring School, a small independent school in Northwest Arkansas. When my daughter Lucy was a student there, I developed a woodworking program called Wisdom of the Hands. It recognizes the importance of integrating the head and hands in the development of intelligence for all students. My daughter is now in college, but woodworking remains a favorite activity throughout the school. The direct, hands-on problem-solving that goes on in the woodshop helps the kids in all their other classes.
The Clear Spring pre-school teacher asked if the wood shop could make small benches. After finishing one project ahead of schedule, I asked the 7th and 8th grade kids, “What do you want to do next?” “Anything from wood,” was their response. So we made the benches as a service contribution to the school. Each child designed his or her own shape for the cutout in the end pieces, using folded paper and scissors to make the shapes symmetrical.
|
Rules for Grownups 1. Set an example of caring craftsmanship. Rules for Kids 1. Listen to what the grownups tell you. Rules for Working Safely 1. No woodworking without adult supervision. |
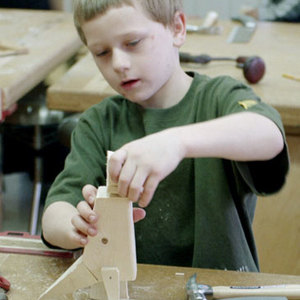
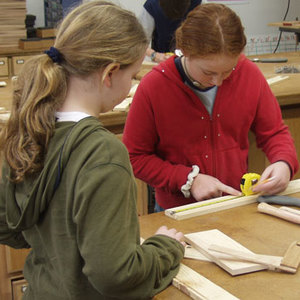
How to Build the Small Bench 1. Grownups cut the parts to size. 2. Taper the sides of the end pieces. The grownups can do this with a bandsaw and jointer. Or, the kids can clean up the bandsawn taper with a No. 3 or No. 4 handplane. 3. Kids cut a lap joint in the ends of the cross braces, using a Japanese-style pull saw. They also saw off the corners of the top.
5. Follow the project plan for drilling pocket holes to attach the base to the top. If you don’t have a pocket-screw jig, use nails and glue to attach the top. 6. Kids glue and nail the cross braces to the end pieces. Two number 3 or 4 finish nails at each end of the braces should be enough. If you use hardwoods like the white oak used by the students at Clear Spring, have the kids drill pilot holes for the nails.
|
|
The secret to nailing without splitting There’s a secret to driving a nail without splitting the wood. It’s revealed in the way the point is shaped. The sharp edges created when the nail is formed must be oriented across the grain, so that the nail cuts its way into the wood. Take the time to study the end of a nail, then turn it over and drive it in place. That can be a challenge with small nails. But if you rely on the sensitivity of touch, you can roll the nail in your fingers until you feel the sharp edge in the right position, then hammer it in. The ridges on the upper part of the nail can also be used to orient the point properly. If your fingers are pointing along the grain and you dont’ feel the ridges on the nail, that means it’s oriented properly for split-free driving. |
Fine Woodworking Recommended Products

Suizan Japanese Pull Saw

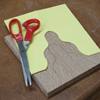 4. Kids create the shape for the cutout on the end pieces. To make a symmetrical design, fold a sheet of paper in half and draw half the design; use scissors to cut out the shape. Unfold the paper to reveal the complete shape, then trace it on the end pieces. Use a pull saw for straight cuts, a coping saw for curved cuts. Cut the shape from both end pieces at the same time. Once the kids have made the cutouts, they sand all the pieces smooth.
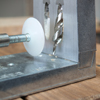 7. Kids center the end piece-cross brace assembly on the top, then drive the pocket screws in place. Use 1 1/4-in. pocket screws with the drill depth set as shown in the photo.





Log in or create an account to post a comment.
Sign up Log in