Prevent Blotching in Cherry
Solutions and strategies that make the most of this prized wood and eliminate problems with blotching.
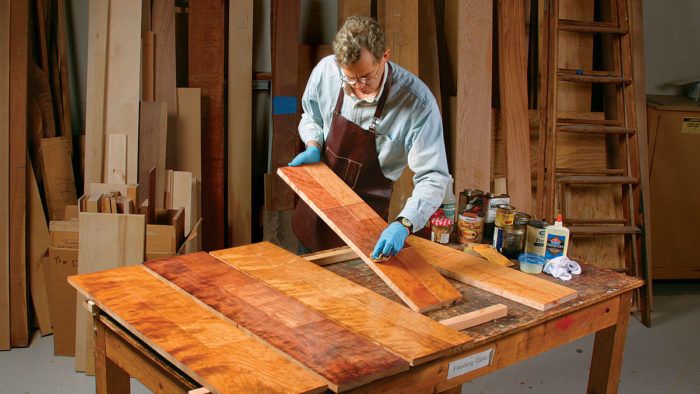
Synopsis: Everybody loves cherry, and what’s not to love: It’s hard but not heavy, it cuts easily, it has interesting but workable grain, and it ages beautifully. But if cherry seems too good to be true, sometimes it is: Sometimes you apply an oil-based clear finish and the wood breaks out in random, ugly blotches. Sometimes you apply a dye or pigment stain and the results are even worse. There are tricks to finishing cherry, as Mark Schofield has learned. Here, he shares the knowledge you’ll need to spot problems before you begin, and he’ll show you how to pretreat the wood before applying stain or clear coat. Follow his advice, and your love affair with cherry will have a happy ending.
Cherry’s popularity for fine furniture is no surprise: It is hard but not heavy; it cuts easily with power tools or by hand; the grain is restrained but interesting; and over time it takes on a beautiful, deep, red-brown color.
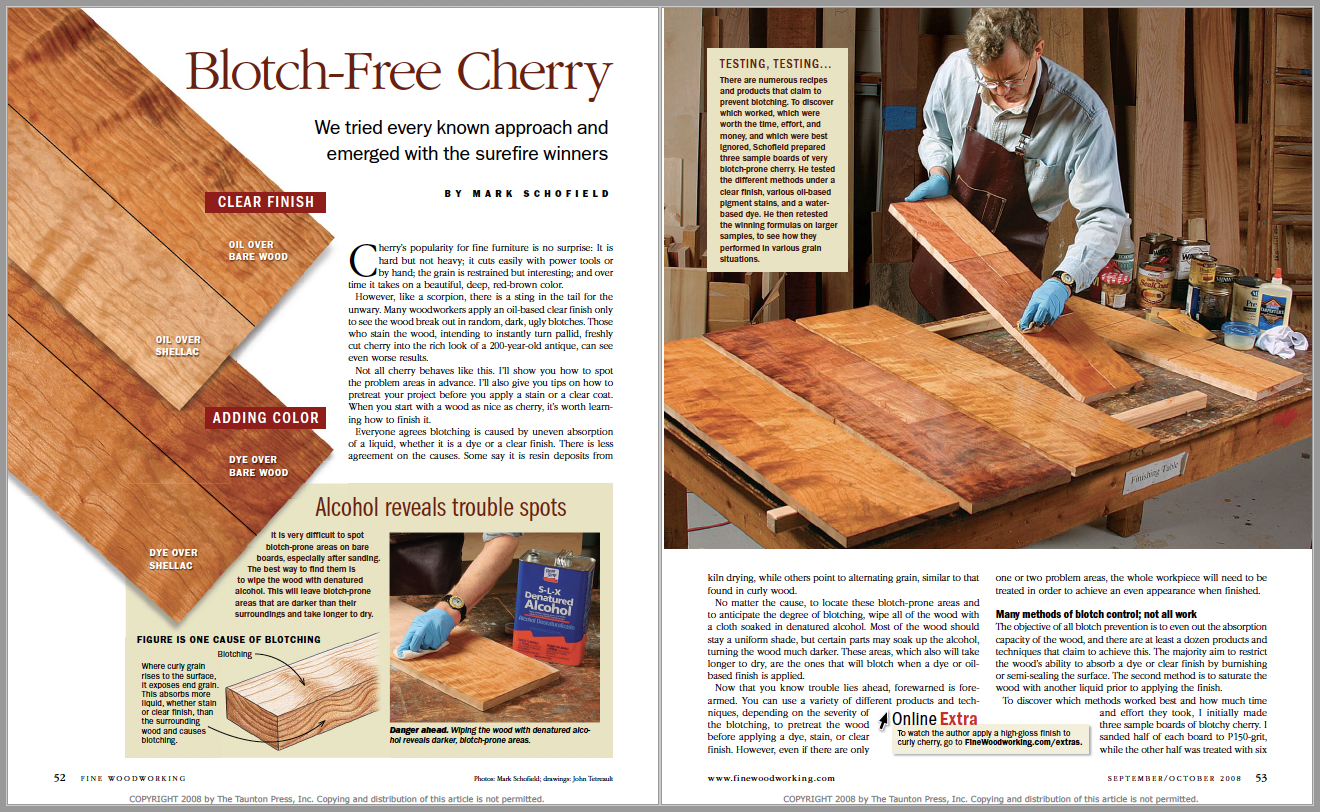
However, like a scorpion, there is a sting in the tail for the unwary. Many woodworkers apply an oil-based clear finish only to see the wood break out in random, dark, ugly blotches. Those who stain the wood, intending to instantly turn pallid, freshly cut cherry into the rich look of a 200-year-old antique, can see even worse results.
Not all cherry behaves like this. I’ll show you how to spot the problem areas in advance. I’ll also give you tips on how to pretreat your project before you apply a stain or a clear coat. When you start with a wood as nice as cherry, it’s worth learning how to finish it.
Everyone agrees blotching is caused by uneven absorption of a liquid, whether it is a dye or a clear finish. There is less agreement on the causes. Some say it is resin deposits from kiln drying, while others point to alternating grain, similar to that found in curly wood.
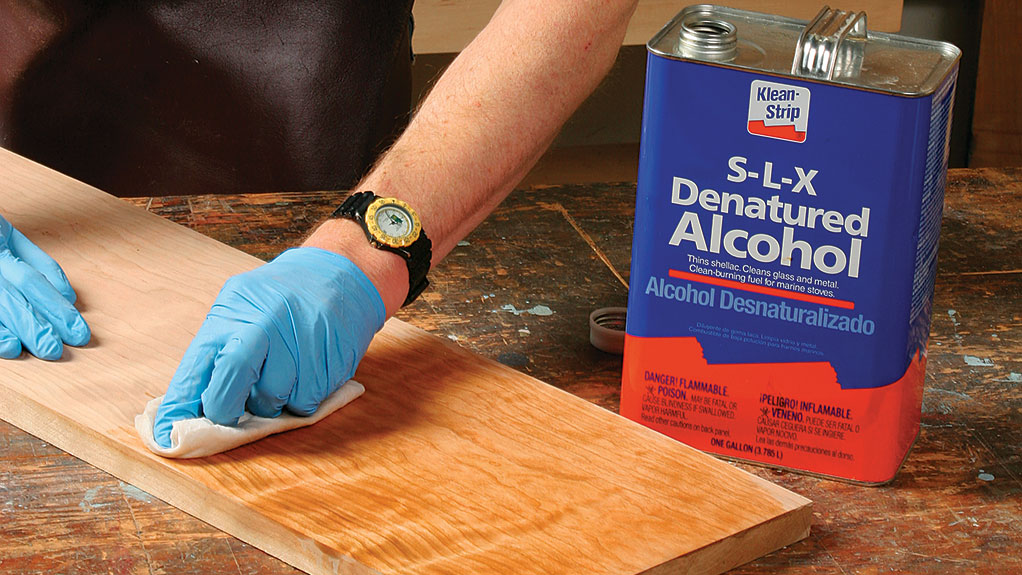
No matter the cause, to locate these blotch-prone areas and to anticipate the degree of blotching, wipe all of the wood with a cloth soaked in denatured alcohol. Most of the wood should stay a uniform shade, but certain parts may soak up the alcohol, turning the wood much darker. These areas, which also will take longer to dry, are the ones that will blotch when a dye or oilbased finish is applied.
Now that you know trouble lies ahead, forewarned is forearmed. You can use a variety of different products and techniques, depending on the severity of the blotching, to pretreat the wood before applying a dye, stain, or clear finish. However, even if there are only one or two problem areas, the whole workpiece will need to be treated in order to achieve an even appearance when finished.
Many methods of blotch control; not all work: The objective of all blotch prevention is to even out the absorption capacity of the wood, and there are at least a dozen products and techniques that claim to achieve this. The majority aim to restrict the wood’s ability to absorb a dye or clear finish by burnishing or semi-sealing the surface. The second method is to saturate the wood with another liquid prior to applying the finish.
 From Fine Woodworking #200
For the full article, download the PDF below:
Fine Woodworking Recommended Products
Osmo Polyx-Oil
Foam Brushes


Log in or create an account to post a comment.
Sign up Log in